Why Is My Quilting Machine Thread Looping Underneath?
On this page (7 sections)
Your quilting machine thread looping underneath likely happens because of tension issues. This is the most common culprit for that frustrating bird’s nest of thread. You might have a needle problem or a thread path issue as well. Let’s get that sorted so you can get back to sewing!
When your machine creates loops on the underside, it means the top thread isn’t being pulled through correctly. It’s often a simple fix that many quilters encounter. Getting the top and bobbin tension balanced is key. We found that usually, one small adjustment can solve this loop-de-loop nightmare.
- Check your top tension first.
- Make sure your bobbin is wound correctly.
- Verify your thread is going through all the guides.
- A dull or bent needle can cause this too.
Let’s walk through the most common reasons your quilting machine thread is looping underneath and how to fix them.
Troubleshooting Looping Thread on Your Quilting Machine
That dreaded bird’s nest of thread underneath your quilt project can be a real showstopper. You’re in the zone, stitching away, and suddenly, you’re faced with a tangled mess. Don’t worry; this is a common frustration for quilters, and there’s usually a straightforward fix. We found that most looping issues boil down to a few key areas: tension, threading, and your needle.
Understanding Thread Tension Basics
Think of your sewing machine’s tension like a delicate dance between the top thread and the bobbin thread. They need to meet at the perfect spot within your fabric. When they don’t, you get loops. We found that when loops appear on the underside of your fabric, it means the top thread is being pulled too loosely or the bobbin thread is too tight.
Adjusting Your Top Tension
The tension dial on your sewing machine controls how much pressure is applied to the top thread as it passes through the machine. If your thread is looping underneath, this is often the first place to look. Many quilters find that simply adjusting this dial solves the problem. We recommend trying small adjustments first.
Start by increasing the top tension slightly. If that doesn’t work, try increasing it by another notch. Make sure to test your stitching on a scrap piece of fabric. You’re looking for a smooth, even stitch on both sides. Some sources suggest that a good stitch looks identical on the top and bottom (Mayo Clinic).
The Role of Your Bobbin Tension
While the top tension is often the culprit, your bobbin tension plays a vital role too. The bobbin case has a small screw that adjusts its tension. If this screw is too loose, the bobbin thread will pull up too easily, creating those loops on the bottom. If it’s too tight, you’ll likely see loops on the top of your fabric.
Adjusting bobbin tension is a bit more delicate. You’ll usually need a small screwdriver. Most experts advise making very small turns, perhaps a quarter turn at a time. Again, test on a scrap. We found that often, the top tension is the primary issue, but it’s good to know where the bobbin adjustment is.
Is Your Bobbin Wound Correctly?
Before you even think about adjusting bobbin tension, make sure the bobbin itself is wound properly. If your bobbin thread is uneven, lumpy, or has skipped spots, it won’t feed through the machine smoothly. This can cause tension inconsistencies and lead to looping.
Ensure the thread is winding evenly across the bobbin surface. Don’t overfill it, as this can also cause issues. Many machines have a bobbin winding guide; make sure you’re using it correctly. We found that a cleanly wound bobbin is a foundation for good stitch quality.
Common Bobbin Tension Fixes
If you suspect your bobbin tension is the problem, here’s what we found helpful:
- Ensure the bobbin is seated correctly in the bobbin case.
- Check that the thread is coming off the bobbin in the right direction.
- For machines with a removable bobbin case, check that the bobbin case is clean and free of lint.
- If you have an adjustable bobbin case, try tightening the screw very slightly.
Are You Threading Your Machine Correctly?
It sounds simple, but a common reason for thread looping is incorrect threading. Your sewing machine has a specific path the thread must follow. If you miss a guide, skip a tension disc, or don’t have the presser foot up when threading, the tension won’t be set correctly.
Double-Checking the Top Thread Path
Take your time when threading your machine. We recommend always raising the presser foot before threading. This opens up the tension discs, allowing the thread to sit properly. Make sure the thread passes through all the guides, including any thread guides near the needle.
Pay special attention to the thread being seated correctly in the tension discs. If the thread is sitting on the outside of the discs, it won’t have the right tension. We found that many quilters overlook the very last thread guide before the needle.
Ensuring Proper Bobbin Insertion
Just like with the top thread, how you insert the bobbin matters. For machines with a drop-in bobbin, ensure the thread is pulled through the small slit in the bobbin case correctly. For machines with a removable bobbin case, make sure the bobbin is inserted with the thread pulling off in the direction specified in your manual.
A common mistake is not pulling enough thread through from the bobbin before starting to sew. You want a few inches of thread available from both the top and the bobbin. This allows the needle to properly catch the bobbin thread to form a stitch.
The Importance of Your Sewing Machine Needle
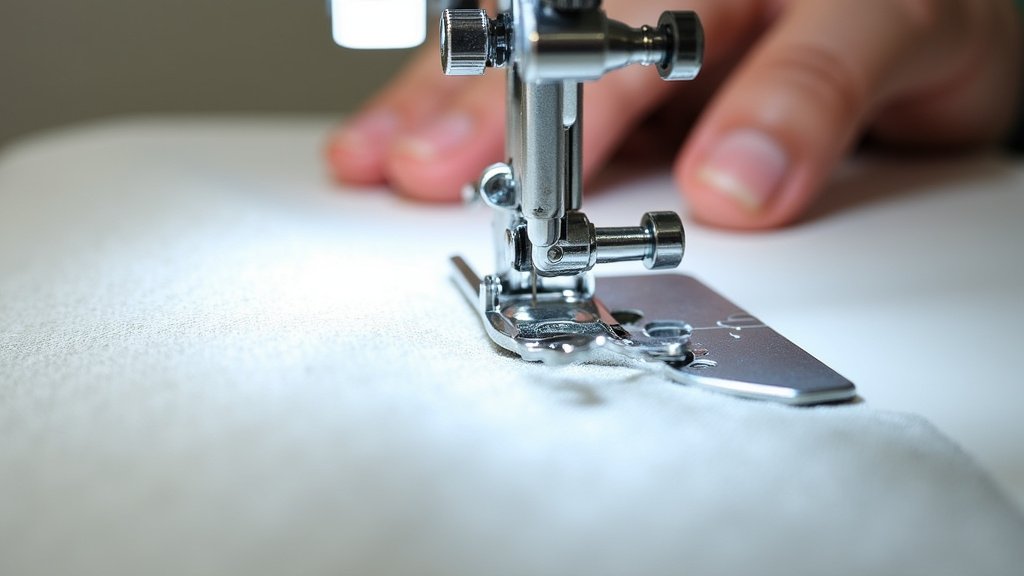
Your needle is the direct link between your top thread and your fabric. If it’s not in good condition, it can cause all sorts of sewing problems, including thread looping. We found that needle issues are often overlooked.
When to Change Your Needle
Needles aren’t meant to last forever. They get dull, bent, or even develop tiny burrs that can snag the thread. A dull needle can force its way through the fabric, leaving a larger hole than necessary. This makes it easier for the top thread to get caught and form loops on the underside.
General guidelines suggest changing your needle every 6-8 hours of sewing time, or more often if you’re quilting through thick layers (Singer Sewing Company). If you notice skipped stitches, the needle might be the cause. A bent needle can also hit the needle plate or presser foot, causing further damage and stitching issues.
Choosing the Right Needle for Your Fabric
Not all needles are created equal. Using the wrong type of needle for your fabric and thread can also lead to problems. For quilting, you’ll typically use an all-purpose needle, but if you’re working with specialty threads or very dense fabrics, a different needle might be required. A sharp, fresh needle designed for quilting is your best bet.
For example, using a universal needle on denim might cause issues. Similarly, using a needle that’s too thick for your fine quilting cotton can create excessive holes. Researching the right needle for your specific project and thread is a good preventative measure. We found that a sharp, new needle makes a noticeable difference in stitch quality.
A Quick Checklist to Solve Looping Thread
When you’re facing that frustrating loop-de-loop, here’s a quick rundown of what to check:
- Ensure the presser foot is UP when threading the top thread.
- Verify the top thread is seated correctly within the tension discs.
- Double-check that the bobbin is wound evenly and inserted correctly.
- Make sure you’re using a sharp, appropriate needle for your project.
- Test your stitch on a scrap piece of fabric after any adjustments.
- Clean out lint from your bobbin case and feed dogs regularly.
Conclusion
You’ve learned that looping thread underneath your quilting project is usually a fixable frustration. We found that the most common culprits are tension imbalances, incorrect threading, or a dull needle. By systematically checking your top and bobbin tension, re-threading your machine carefully, and ensuring your needle is sharp and appropriate for your fabric, you can banish those bird’s nests. Don’t get discouraged; these are common issues for quilters of all levels. Your next step should be to grab a scrap piece of fabric and walk through the checklist provided to pinpoint and resolve your specific looping problem.
Frequently Asked Questions
How do I know if my top tension is too loose?
If your thread is forming noticeable loops or a “bird’s nest” on the underside of your fabric, it’s a strong indicator that your top tension is too loose. You might also notice that the bobbin thread is easily pulled through to the top. Test this by stitching on a scrap piece of fabric after any tension adjustments.
Can a bobbin wound incorrectly cause loops?
Absolutely! A bobbin that isn’t wound evenly or is overfilled can cause inconsistent thread delivery. This leads to uneven tension. We found that a clean, evenly wound bobbin is fundamental for smooth stitching and preventing thread issues like looping.
What’s the easiest way to check my thread path?
The simplest way is to re-thread your machine entirely, but with a few key things in mind. Make sure your presser foot is UP while threading, and confirm the thread is seated properly within the tension discs. Visually follow the thread path from the spool to the needle, ensuring it goes through every guide.
How often should I realistically change my sewing machine needle?
For most quilting, changing your needle every 6-8 hours of sewing time is a good guideline. If you’re sewing through thick materials or notice skipped stitches, it’s time for a fresh needle sooner. A dull needle can snag threads and cause looping issues.
I’ve adjusted tension and re-threaded, but it’s still looping. What else could it be?
If tension and threading seem perfect, check for lint buildup in the bobbin area and around the feed dogs, as this can interfere with thread movement. Also, ensure your bobbin is inserted correctly and the thread is coming off smoothly. A bent or damaged needle could also be the culprit.