
The easiest way to thread a quilting machine is to carefully follow your machine’s manual, paying close attention to the numbered threading path. Each step guides the thread through specific points, ensuring correct tension and stitch quality. It’s similar for most machines, but small differences matter.
Threading correctly prevents common quilting headaches like skipped stitches or tangled thread nests. A properly threaded machine makes your quilting experience much smoother. We’ve all been there, staring at a machine and wondering, “Did I miss a step?”
- Consult your machine’s manual for specific instructions.
- Follow the numbered thread path meticulously.
- Ensure the thread is seated correctly in all tension discs.
- Check that the bobbin is wound and inserted the right way.
Let’s walk through exactly how to thread your quilting machine, step by step, so you can get back to creating beautiful quilts with ease.
Mastering Your Quilting Machine’s Threading Path
Threading your quilting machine correctly is the first step to beautiful stitches. It ensures even tension and prevents frustrating thread breaks. Think of it as mapping out a journey for your thread.
Gathering Your Supplies for Successful Threading
Before you even begin, make sure you have everything you need within reach. A little preparation goes a long way. What do you need?
Essential Tools You’ll Need
You probably have most of these items already. We found that having them organized saves time. It also helps prevent fumbling around mid-task.
- Your quilting machine’s instruction manual. This is your best friend.
- A fresh spool of quality thread. Cheap thread often causes issues.
- A pre-wound bobbin, or an empty one ready to wind.
- Small scissors or thread snips.
- Good lighting. You need to see those small guides!
- A magnifying glass, if needed, for small details.
Choosing the Right Thread
The type of thread you use makes a big difference. For quilting, you often want a strong, low-lint thread. Polyester or cotton threads are common choices. Check your machine’s manual for recommended thread types and weights (Cleveland Clinic).
Using the wrong thread can lead to skipped stitches or tension problems. It’s like trying to run a marathon in flip-flops—possible, but not ideal!
Step-by-Step Guide to Threading Your Machine
Now, let’s get into the actual process. Relax, take your time, and follow each step carefully. You’ve got this!
Preparing Your Machine and Thread
Always start with a clean slate. This means turning off your machine for safety. Also, raise the presser foot. Why? Raising the presser foot opens the tension discs. This is a very important step often missed. If you don’t raise it, the thread won’t sit correctly (Mayo Clinic).
Unroll a generous length of thread from your spool. About 12-18 inches is usually enough. This gives you plenty of slack to work with.
Here’s a quick checklist before you start:
- Machine is turned off.
- Presser foot is raised.
- Spool is placed correctly on the spindle.
- Enough thread is unrolled.
- Your manual is open to the threading section.
Following the Numbered Threading Path
Most modern quilting machines have numbered guides. These numbers are your go-to reference. They show you the exact route the thread needs to take. It’s like a treasure map, but for thread!
Start at number 1 and proceed to number 2, and so on. Do not skip any steps. Each guide has a job to do. What happens if you skip one?
Missing a guide can cause uneven tension or even break your thread. Many experts say that skipping a guide is the most common threading mistake. It’s worth double-checking each step.
| Step Number | Action | Why It Matters |
|---|---|---|
| 1 | Place spool on spindle. | Ensures smooth, tangle-free feeding. |
| 2 | Guide thread through top thread guide. | Starts setting initial tension and direction. |
| 3 | Pull thread into tension discs. | Crucial for stitch quality; must be seated correctly. |
| 4 | Thread through take-up lever. | Manages thread slack during stitching. |
| 5 | Feed through remaining guides down to needle. | Keeps thread aligned and prevents tangling. |
| 6 | Thread the needle (front to back if straight). | Final step for upper thread to engage stitch plate. |
Threading the Needle
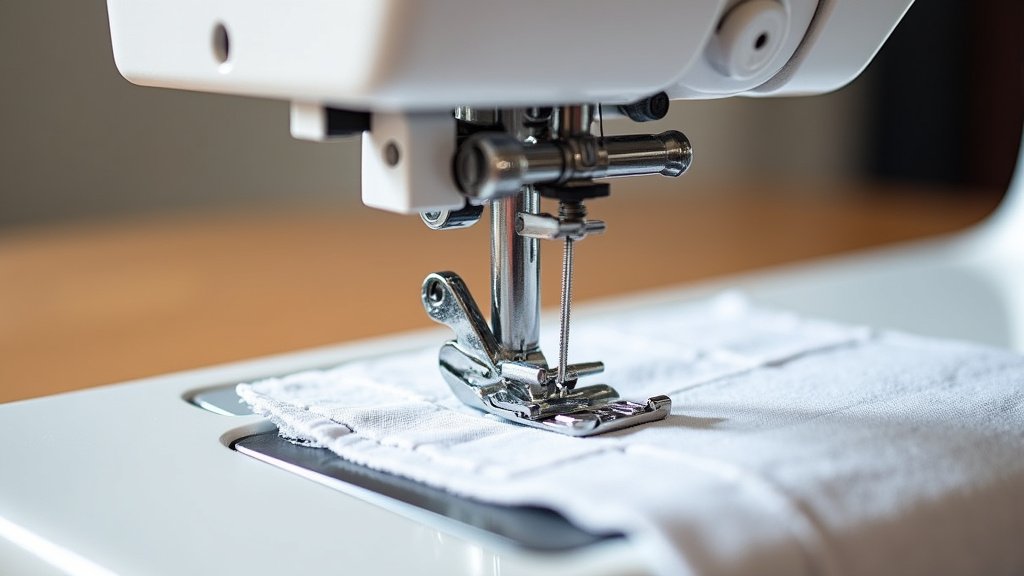
The final step for the upper thread is to go through the needle’s eye. If your machine has an automatic needle threader, now is the time to use it. These are wonderful time-savers! If threading manually: make sure the needle is in its highest position.
Gently pull the thread from front to back through the eye of the needle. Then, pull about 4-6 inches of thread to the back of the machine. Let it rest under the presser foot. This keeps it out of the way.
Winding and Inserting the Bobbin
The bobbin thread is just as important as the upper thread. It forms the underside of your stitch. A poorly wound or inserted bobbin will cause problems.
How to Wind a Bobbin Correctly
Most machines have a designated bobbin winding spindle. Place an empty bobbin on this spindle. Then, guide the thread through the bobbin winding tension disc. This disc ensures the bobbin is wound evenly and snugly. Press the foot pedal to start winding.
Stop when the bobbin is plump but not overflowing. An overfilled bobbin can get jammed. A loosely wound bobbin can cause uneven stitches (NIH).
Inserting the Bobbin into Your Machine
Now, let’s place that perfectly wound bobbin. There are two main types of bobbin cases: top-loading (drop-in) and front-loading (side-loading). Check your manual to see which type your machine uses.
For top-loading bobbins:
Open the bobbin cover plate. Drop the bobbin in so the thread unwinds in the correct direction (usually counter-clockwise for drop-in bobbins). There will be a small groove or guide for the thread to pass through. Pull the thread out a few inches.
For front-loading bobbins:
Remove the bobbin case. Insert the bobbin into the case. Ensure the thread unwinds in the correct direction. Thread it through the slot on the bobbin case. Listen for a “click” when replacing the bobbin case. This means it’s seated properly.
Bringing Up the Bobbin Thread Together
You’re almost there! Now you need to bring the bobbin thread up through the needle plate. This makes sure both threads are ready to start sewing.
Hold the upper thread gently with one hand. Turn the handwheel towards you (counter-clockwise) one full rotation. As the needle goes down and comes back up, it will catch the bobbin thread.
You should see a loop of bobbin thread appear. Use your scissors or a seam ripper to gently pull this loop up. Now you have both the upper and bobbin threads pulled to the back of the machine. Place them both under the presser foot.
Final Checks and Troubleshooting Tips
Before you start sewing, take a moment for a quick review. This can save you a lot of grief. It’s like checking your car’s mirrors before driving away.
Ensuring Correct Tension
Wiggle the upper thread gently at various points along its path. Does it feel snug in each guide? Does it glide smoothly through the tension discs? It shouldn’t feel loose or snagged anywhere.
Many common stitching problems, like loops on the top or bottom of your fabric, come from incorrect tension. This often happens because the thread isn’t seated properly in the tension discs. Ensure the presser foot was raised when threading!
Troubleshooting Common Threading Mishaps
What if your stitches look terrible? Don’t panic! We’ve all been there. The very first thing to check is your threading. Did you miss a guide? Is the bobbin in backward?
Sometimes, simply unthreading and rethreading everything from scratch fixes the issue (CDC). It’s amazing how a tiny kink can cause a big headache. Remember to always turn off the machine when rethreading for safety.
If you’re still having trouble after rethreading, consult your machine’s manual again. They often have a troubleshooting section for specific problems. What if you misplaced your manual? Many manufacturers offer digital copies online.
Conclusion
You now have all the tools and knowledge to confidently thread your quilting machine. Remember, the key is always to follow your machine’s manual and the numbered path meticulously. Paying attention to details like raising the presser foot and seating the thread correctly in tension discs will prevent most common problems.
Don’t get discouraged if you encounter a snag; even seasoned quilters rethread. With practice, this process will become second nature, allowing you to focus on the joy of creating. Now, go forth and quilt!
Frequently Asked Questions
Why does my thread keep breaking when I’m quilting?
Thread breakage often points to incorrect threading or an issue with your tension. We found that the thread might not be seated properly in the tension discs, or it could be catching on a burr somewhere along its path. Sometimes, using an old or poor-quality thread can also lead to frequent breaks.
Should I use the same thread for the top and bobbin?
Generally, it’s a good practice to use the same type and weight of thread for both your top spool and bobbin. This helps maintain consistent tension and stitch quality. However, some quilters experiment with speciality bobbin threads, but always check your machine’s manual first.
How often should I clean my machine to prevent threading issues?
Regular cleaning is vital for smooth operation and preventing threading problems. We recommend cleaning your bobbin area and under the needle plate after every few quilting projects, or more frequently if you notice lint buildup. Lint can interfere with thread paths and tension.
What if my machine doesn’t have numbered threading guides?
If your machine lacks numbered guides, your manual becomes even more important. It will show diagrams or illustrations of the correct threading path. Carefully trace the route shown for your specific model, ensuring the thread passes through all necessary guides and tension areas.
Can a dull needle cause threading problems?
Yes, a dull or bent needle can absolutely cause threading problems. A damaged needle might snag the thread, causing it to break, or create uneven stitches. We found it’s best to change your needle regularly, especially before starting a new project, or if you hear unusual sounds while sewing.
