
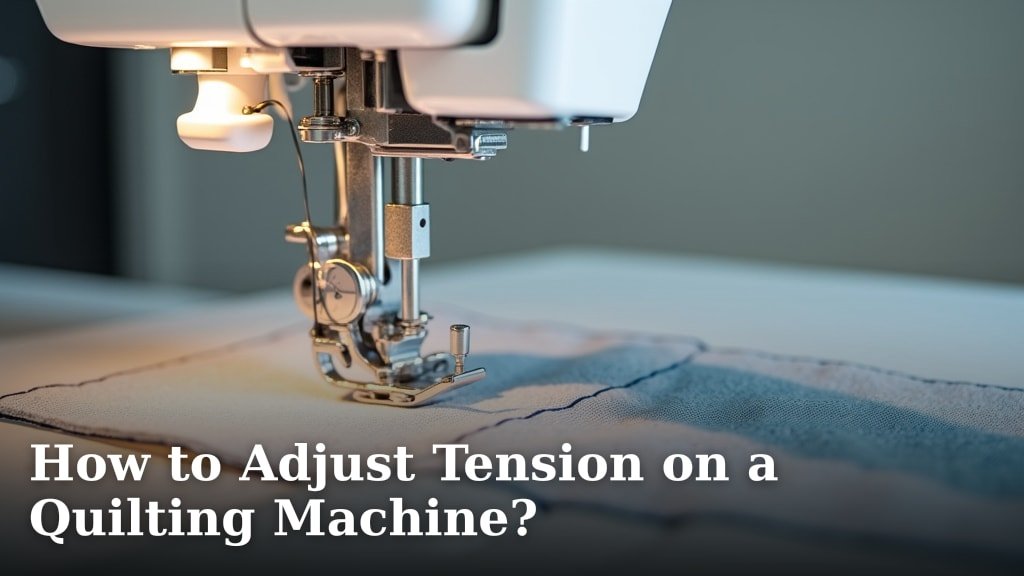
To adjust tension on a quilting machine, you typically turn the tension dials on your machine. Start with the top tension dial, usually on the front or top of the machine, and then adjust the bobbin tension if needed.
Achieving the perfect stitch is key for beautiful quilts. We found that correct tension settings prevent puckering, skipped stitches, and thread breakage. It ensures your top thread and bobbin thread interlock perfectly.
- Identify your machine’s tension dials.
- Learn how to test your stitches.
- Adjust top tension first.
- Tweak bobbin tension carefully.
- Troubleshoot common tension problems.
Ready to get those stitches looking crisp and even? Let’s walk through exactly how to master your quilting machine’s tension settings, step-by-step.
Mastering Your Quilting Machine’s Tension
The secret to a beautiful quilt often lies in balanced tension. Think of it like a delicate dance between your top thread and your bobbin thread. When they’re in harmony, your stitches look perfect on both sides of the fabric.
When they’re out of sync, you get unsightly loops, puckers, or even broken threads. Learning to adjust this balance lets you take control of your stitching quality.
Understanding Machine Tension
What exactly is “tension” on your sewing machine? It’s the amount of resistance applied to the thread as it flows through your machine. Too much resistance, and the thread pulls tight. Too little, and it flows too freely.
We found that proper tension creates a strong, even stitch. The goal is to make the threads meet exactly in the middle of your fabric layers.
Top Thread Tension
Your machine’s top tension system uses a series of discs and springs. These parts apply pressure to the thread coming from your spool. When you turn the dial, you’re adjusting how tightly these discs grip the thread.
Most machines have a numbered dial, often from 0 to 9. A higher number means more tension, and a lower number means less. Your machine manual is your best friend here, as settings can vary.
Bobbin Thread Tension
The bobbin tension is a bit trickier to adjust. It’s usually controlled by a small screw on the bobbin case itself. This screw adjusts the pressure on the bobbin thread as it unwinds. Many experts say to avoid adjusting the bobbin tension unless absolutely necessary (University of Arizona Cooperative Extension).
If you do need to adjust it, remember that even a tiny turn of the screw makes a big difference. We’ll show you how to do this safely a little later.
Setting Up for Success: Preparation Steps
Before you even touch a dial, a little preparation goes a long way. These steps will help you get accurate results while adjusting.
Clean Your Machine
Dust, lint, and old thread bits can wreak havoc on your machine’s performance. They can gum up the tension discs or interfere with thread flow. We recommend a thorough cleaning before any major tension adjustments.
Use a small brush to remove lint from the bobbin area. You can also use a soft cloth to wipe down tension discs if they are accessible. Often, performance issues attributed to tension are solved with a good cleaning.
Use Good Quality Thread
Cheap or old thread can cause problems that mimic tension issues. It might be uneven, fuzzy, or prone to breaking. Always use high-quality thread that is appropriate for your project.
When you’re trying to figure out tension problems, using a reliable thread removes one variable. We found that matching thread types for both top and bobbin often gives the best results.
Thread Your Machine Correctly
This sounds basic, but it’s often the root of many tension woes. Ensure your machine is threaded absolutely correctly, from the spool pin all the way to the needle. A missed guide or a tangled thread can make your stitches look terrible.
When in doubt, remove all thread and re-thread your machine from scratch. Make sure the presser foot is up when you thread the top; this opens the tension discs. Lower the presser foot before you start sewing.
The Stitch Test: Your Diagnostic Tool
How do you know if your tension is off? You perform a stitch test! This is your most important tool for assessing thread balance. It’s like checking the pulse of your machine.
Creating a Test Swatch
Take two layers of scrap fabric that are similar to your project fabric. For quilting, this would typically be two layers of cotton with a layer of batting in between. Stitch several lines on this swatch.
Try straight lines, some curves, and maybe even a few tight turns. This helps you see how the machine performs under different conditions.
Analyzing Your Stitches
Examine both the top and bottom sides of your test swatch. What do you see? Here’s what balanced tension looks like:
- The top thread and bobbin thread meet neatly in the middle of the fabric layers.
- Stitches are even and consistent.
- There are no loops, gaps, or puckers on either side.
If your stitches don’t look like this, don’t worry. We’ll help you fix it.
Adjusting Top Thread Tension First
This is where you start almost every time. Most tension problems stem from the top tension. The general rule is to adjust your top tension until your bobbin thread looks good.
Signs of Incorrect Top Tension
Let’s look at what common issues tell you your top tension isn’t quite right.
Loops on the Bottom of the Fabric
If you see loops of your top thread on the underside of your fabric, your top tension is too loose. The top thread is flowing too freely, and the bobbin thread is pulling it down.
To fix this, incrementally increase your top tension. Turn the dial to a higher number, perhaps by one increment at a time. Then, retest and check your stitches again.
Loops on the Top of the Fabric
If you see loops of your bobbin thread on the top side of your fabric, your top tension is too tight. The bobbin thread is being pulled up through the top layer.
To fix this, incrementally decrease your top tension. Turn the dial to a lower number. Test, evaluate, and adjust until those loops disappear.
When to Adjust Bobbin Tension (Carefully!)
We often say to avoid bobbin tension adjustments if you can. It’s delicate, and changing it can affect all your other projects. Many quilters keep a separate bobbin case specifically for tension adjustments.
However, there are times when it’s necessary. If you’ve adjusted your top tension through its full range and still can’t achieve balanced stitches, it’s time to look at the bobbin.
Testing Bobbin Tension (The Drop Test)
Here’s a common way to test your bobbin tension. Take your bobbin case with a full bobbin inserted. Hold the thread tail, letting the case hang freely. Give a slight tug or “pop” to the thread.
- If the case drops freely by 2-3 inches, your bobbin tension is likely okay.
- If the case sinks slowly or not at all, the tension is too tight.
- If it drops quickly or “free-falls,” the tension is too loose.
This is a general guide, and it takes some practice to get a feel for it.
Adjusting the Bobbin Tension Screw
Locate the tiny screw on the side of your bobbin case. Use the smallest screwdriver that came with your machine, or a jeweler’s screwdriver. When making adjustments:
- Turn the screw in very small increments. Think of it like turning a clock hand from 12 to 12:30.
- Turn clockwise for tighter tension.
- Turn counter-clockwise for looser tension.
Make a small adjustment, then put the bobbin back in your machine. Perform another stitch test. Repeat until your stitches are balanced. We found that the smallest turns can make the biggest difference here.
Troubleshooting Common Tension Problems
Even with careful adjustments, you might run into issues. Here’s a quick guide to what some common problems mean and how to fix them.
| Problem Observed | Likely Cause | Solution |
|---|---|---|
| Fabric Puckering | Top tension too tight; too much stabilizer; pulling fabric | Loosen top tension; use less stabilizer; let machine feed fabric |
| Skipped Stitches | Incorrect needle; bent needle; threading issue | Change needle; re-thread machine; check for lint |
| Thread Breaking Often | Poor quality thread; too much tension (top or bobbin); burrs on machine parts; incorrectly threaded |
Use better thread; loosen tension; check machine path for rough spots; re-thread carefully |
| Uneven Stitches | Inconsistent fabric layers; motor speed variation; mixed thread types | Ensure flat layers; maintain steady foot pedal pressure; use matching threads |
This table summarizes some common issues. Always start with the simplest solutions first, like re-threading or changing your needle. We often discover that what seems like a tension problem is actually a simple issue.
The Perfect Tension Checklist
As you work towards perfect tension, keep this checklist handy. It helps you stay organized and methodically address any issues you encounter.
- Clean machine thoroughly.
- Use new, quality needle and thread.
- Ensure machine is threaded correctly (top and bobbin).
- Perform a stitch test on scrap fabric.
- Identify if loops are on top or bottom.
- Adjust top tension dial first, in small increments.
- Only adjust bobbin tension as a last resort, making tiny turns.
- Continue testing and adjusting until stitches are balanced.
Remember, patience is key. Finding the sweet spot might take a few tries, but once you do, your quilting will look much more professional and satisfying.
Conclusion
Mastering quilting machine tension might seem daunting at first. However, by understanding the roles of both top and bobbin tension, and systematically working through cleaning, proper threading, and stitch tests, you can achieve beautiful results. We’ve seen that patience and methodical adjustments are your best tools here. Keep practicing, keep testing, and soon you’ll intuitively know exactly what your machine needs for that perfect, balanced stitch. Your quilts will thank you!
Frequently Asked Questions
How often should I check my quilting machine’s tension?
You should check your tension every time you start a new quilting project, especially if you’re using different fabric types or threads. It’s also a good idea to perform a quick stitch test whenever you change your needle or bobbin.
Can bad tension damage my quilting machine?
Consistently sewing with incorrect tension isn’t good for your machine. It can put undue stress on parts, lead to thread jams, or even damage your tension discs over time. Properly balanced tension helps your machine run smoothly and efficiently.
What if my machine doesn’t have numbered tension dials?
Some older or simpler machines might not have numbered dials. In these cases, you’ll rely more heavily on visual cues and the feel of the dial. We recommend making very small adjustments and testing frequently to find the sweet spot.
Should I use the same thread brand for both top and bobbin?
While not strictly necessary, using the same brand and type of thread for both your top and bobbin can simplify tension adjustments. It ensures consistent thickness and fiber quality, which makes achieving balance much easier.
What’s the biggest mistake people make when adjusting tension?
The biggest mistake is usually over-adjusting or not being methodical. People often turn the dial too much or adjust both top and bobbin tension at once. Always make small adjustments to your top tension first, then test before making more changes.
