Why Is My Quilting Machine Not Picking Up Bobbin Thread?
On this page (6 sections)
Your quilting machine not picking up bobbin thread is usually caused by a few common issues. The most likely culprits are incorrect bobbin tension, a dirty or obstructed bobbin case, or an improperly inserted bobbin. We found that these are the top reasons for this frustrating problem.
When your machine skips stitches or creates loops on the back of your fabric, it’s a clear sign something’s amiss. Don’t worry, though. Many quilters run into this, and it’s almost always fixable with some simple troubleshooting. We’ll help you get your stitches looking perfect again in no time. If your machine is skipping stitches, our guide on how to fix skipped stitches on a quilting machine can help.
- Bobbin tension is too loose or too tight.
- The bobbin area is dirty or has lint buildup.
- The bobbin isn’t seated correctly in the case.
- The needle might be bent or dull.
- Thread needs to be re-threaded through the machine.
Let’s walk through exactly how to diagnose and fix why your quilting machine isn’t picking up that bobbin thread so you can get back to creating beautiful quilts.
Troubleshooting Your Quilting Machine’s Bobbin Thread Issues
It’s a frustrating moment when you’re deep into a quilt project, and your sewing machine decides it’s time for a strike. Specifically, when your quilting machine won’t pick up the bobbin thread, it can halt your progress instantly. Don’t worry, though! This is a common hiccup many quilters encounter. We’ve found that most issues stem from a few key areas. Let’s walk through them to get you stitching smoothly again.
Understanding How Your Bobbin Works
Before diving into fixes, it helps to understand what’s supposed to happen. Your sewing machine uses two threads to create a stitch: one from the top needle and one from the bobbin below. The needle goes down, hooks the top thread, and pulls it through the fabric. As the needle rises, it catches the loop of the top thread with the bobbin thread. This creates a secure stitch, like a tiny handshake between the two threads. If that handshake isn’t happening, something is preventing the loop from forming or being caught.
The Role of Bobbin Tension
Bobbin tension is arguably the most common reason for thread-pickup problems. Think of it like a delicate balancing act. The bobbin thread tension needs to be just right – not too tight, not too loose. If it’s too loose, the bobbin thread will create big loops on the back of your fabric, or worse, the needle won’t catch it at all. If it’s too tight, it can cause the needle thread to break or make it difficult for the machine to pull the bobbin thread through. We found that many quilters overlook this critical setting. You may also want to consider if you can use regular thread for quilting, as thread type can impact stitch formation.
When Bobbin Tension is Too Loose
A loose bobbin tension means the thread isn’t being held firmly within the bobbin case. When the needle tries to form a loop, the bobbin thread isn’t snug enough to be grabbed. This often results in visible loops or birds’ nests on the underside of your fabric. You might also notice skipped stitches. We’ve found that this is especially noticeable when you first start sewing.
When Bobbin Tension is Too Tight
Conversely, if the bobbin tension is excessively tight, the needle thread might struggle to pull the bobbin thread through. This can lead to the needle thread breaking, or you might see puckering on your fabric. The machine might also make a louder noise as it forces the threads together. Many experts advise that a consistent, balanced tension is key (Singer Sewing Company).
How to Check and Adjust Bobbin Tension
Most bobbin cases have a small screw or two that control tension. To check it, you can perform the “drop test.” Hold the bobbin case by its thread and let it drop. It should fall a few inches, perhaps giving a slight twitch, before stopping. If it drops too fast or keeps spinning, the tension is likely too loose. If it barely moves, it’s too tight. Adjusting involves turning the screw slightly – a tiny turn makes a big difference. We recommend making one small adjustment at a time and testing again. Many manuals offer specific guidance for your model.
Cleaning the Bobbin Area: A Linty Situation
Lint. It’s the nemesis of every sewing machine. Even the best machines can accumulate lint and stray threads in the bobbin area. This gunk can get in the way of the bobbin case and the hook mechanism, preventing it from properly engaging with the needle thread. We found that regular cleaning is essential for smooth operation.
Where to Look for Lint
The bobbin area includes the bobbin case, the feed dogs, and the area directly beneath where the needle enters the machine. Lint loves to hide in these nooks and crannies. It can get packed around the bobbin case or even inside the little groove where the bobbin sits. If you’re not seeing any stitches form, a good, thorough cleaning is your next step.
How to Clean Effectively
First, remove the needle plate and the bobbin case. Use a small brush (often provided with your machine or a clean makeup brush works well) to sweep away any visible lint and dust. A can of compressed air can also be helpful for blowing out stubborn bits. Be sure to hold the machine so the debris falls away, not deeper inside. Some quilters use a long, thin pair of tweezers to carefully pick out larger pieces. We found that q-tips can sometimes leave fibers behind, so a brush is often preferred.
The Bobbin Itself: Is It Seated Correctly?
Even if everything else is perfect, a bobbin that isn’t seated properly can cause your machine to skip stitches or fail to pick up the thread. It sounds simple, but it’s a frequent culprit. The bobbin needs to sit snugly and be threaded correctly within its case.
Proper Bobbin Insertion
When you place the bobbin into its case (or the bobbin area if your machine doesn’t have a separate case), there’s usually a specific way the thread should lead. Most machines require the bobbin to be inserted so the thread unwinds in a certain direction, often counter-clockwise. The thread should then be guided through a small slit or notch in the bobbin case. If this is backward or missed, the tension won’t be right. We found that referring to your machine’s manual for the correct orientation is the best bet.
Checking for Damaged or Poorly Wound Bobbins
Sometimes, the issue isn’t insertion but the bobbin itself. A bobbin that is wound unevenly, with threads loose or overlapping, can cause problems. Similarly, a bobbin that is damaged (e.g., nicked, warped, or made of cheap plastic) might not fit correctly or unwind smoothly. Always use bobbins recommended for your machine. We’ve seen that using the wrong type of bobbin can lead to fit and tension issues.
When the Needle Might Be the Problem
While we’re focusing on the bobbin, the needle plays a critical role in the stitch formation process. If the needle isn’t functioning correctly, it can prevent the bobbin thread from being picked up, even if the bobbin setup is perfect.
A Bent or Damaged Needle
A needle that is slightly bent can hit the bobbin case or the throat plate opening as it moves. This can misalign the hook or prevent the thread loop from forming correctly. A dull or damaged needle tip can also lead to skipped stitches. We found that needles should be replaced regularly, typically after about 8-10 hours of sewing time or on a large project (Brother Sewing Machines).
The Wrong Type or Size of Needle
Using the wrong type or size of needle for your fabric or thread can also cause issues. A needle that’s too thick might not fit through the throat plate opening properly. A needle that’s too fine might not be strong enough for the fabric or thread, leading to bending or breaking. Always match your needle to your fabric and thread weight.
Re-threading: The Universal Fix?
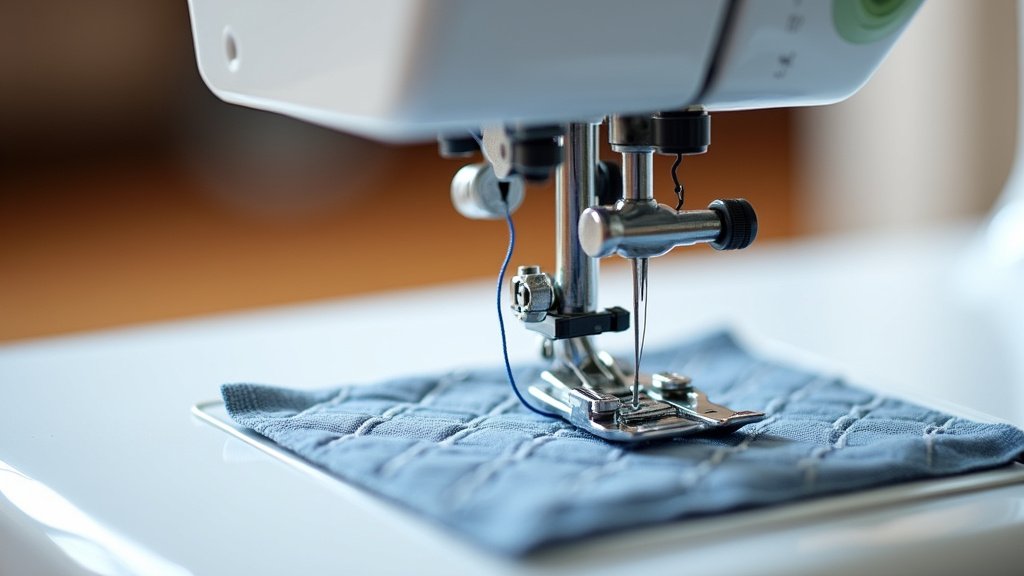
Sometimes, the simplest solution is to start fresh. If you’ve tried adjusting tension, cleaning, and checking the bobbin, it might be time to re-thread the entire machine, both the top thread and the bobbin. A misplaced thread path, even slightly, can cause this problem.
The Top Thread Path Matters
The path the top thread takes through your machine is critical. It goes through guides, tension discs, and the take-up lever. If the thread isn’t seated correctly in any of these points, it can affect how the needle loop is formed and how the bobbin thread is picked up. Ensure the thread is in all the correct guides and that the presser foot is up when threading to disengage the tension discs.
A Complete Reset
Remove all thread from the machine. Re-thread the top thread slowly and carefully, making sure it’s properly seated everywhere. Then, insert your bobbin and ensure its thread is also correctly routed. Test again. We found that this complete reset can often clear up elusive issues. It’s like giving your machine a fresh start.
Quick Checklist for Bobbin Thread Pickup Issues
- Check Bobbin Tension: Is it too loose or too tight? Perform the drop test.
- Clean Bobbin Area: Remove lint and debris from the bobbin case and surrounding area.
- Verify Bobbin Insertion: Is the bobbin seated correctly and threaded in the right direction?
- Inspect the Needle: Is it bent, dull, or the wrong type/size for your project? Replace if needed.
- Re-thread Top Thread: Ensure the top thread is correctly routed through all guides.
- Use Quality Materials: Ensure your bobbin and thread are suitable for your machine.
Conclusion
When your quilting machine skips stitches or fails to pick up bobbin thread, don’t let it derail your creative flow. We’ve seen that the fix is usually within reach, often related to bobbin tension, a clean bobbin area, or proper bobbin insertion. You’ve learned how to check these common issues and address them with simple adjustments. Remember, regular maintenance and attention to detail are your best allies. If you’ve worked through these steps and are still having trouble, it might be time to consult your machine’s manual or seek help from a sewing machine technician.
Frequently Asked Questions
What’s the easiest way to test bobbin tension?
The “drop test” is very effective. Hold the bobbin case by its thread and let it drop. It should fall a short distance and then stop, perhaps with a slight twitch. If it falls too fast or spins, the tension is likely too loose.
How often should I clean the bobbin area of my quilting machine?
We found that cleaning the bobbin area should be done frequently, ideally every time you change your bobbin or thread. Regular cleaning prevents lint buildup, which is a major cause of thread pickup issues.
Can the type of bobbin I use affect thread pickup?
Yes, absolutely. Always use bobbins recommended by your machine’s manufacturer. Unevenly wound or damaged bobbins, or those made from the wrong material, can prevent smooth thread unwinding and proper engagement.
My machine is still not picking up bobbin thread after cleaning and checking tension. What else could it be?
You may want to re-thread your entire machine, both the top thread and the bobbin. Ensure the top thread is seated correctly through all guides, especially the tension discs. A misplaced thread path can cause this problem.
Is it possible that a dull needle is causing my bobbin thread issues?
Yes, a dull or bent needle can cause skipped stitches and prevent the machine from properly forming or catching the needle loop. We recommend replacing your needle regularly, especially after long sewing sessions or large projects.