
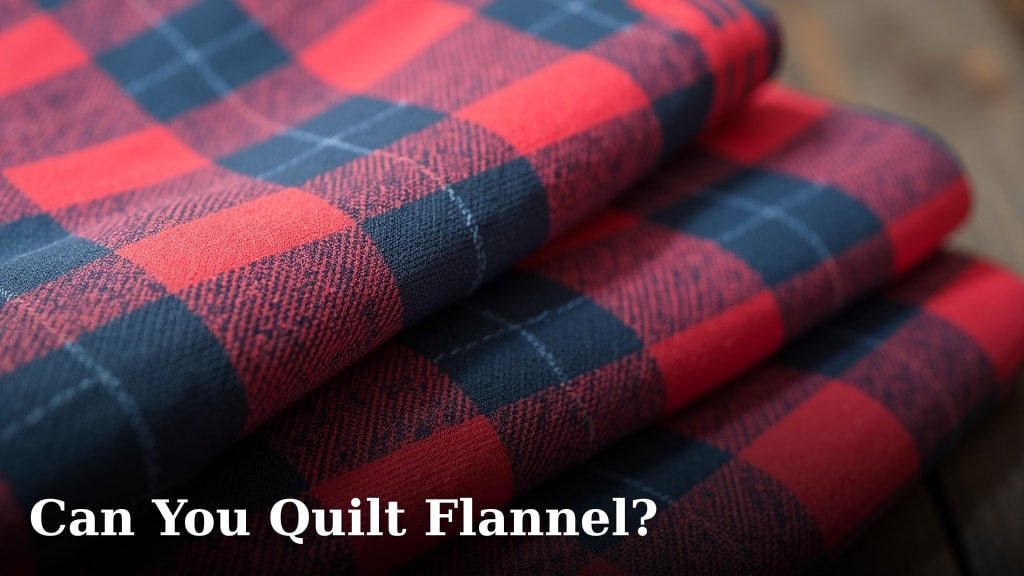
Yes, you absolutely can quilt with flannel! In fact, flannel is a fantastic fabric choice for quilts, especially for cozy, warm blankets. It’s known for its softness and warmth, making it perfect for a snuggly quilt you’ll want to snuggle up with.
When you’re choosing flannel for your quilting projects, you’ll find it’s a bit different from standard quilting cotton. It’s a bit more forgiving and can add wonderful texture. Many quilters love using flannel because it’s easy to handle and gives a lovely, plush finish to their finished quilts, often making them extra comfortable.
- Yes, flannel is great for quilting.
- It’s known for being soft and warm.
- Flannel quilts are super cozy.
- It’s a forgiving fabric for quilters.
- Great for blankets and throws.
Ready to get your hands on some flannel for your next quilt? Let’s walk through some tips and tricks for quilting with this wonderfully soft fabric.
You’ve got a pile of cozy flannel and you’re itching to turn it into a quilt. That’s wonderful! Flannel is such a delightful fabric for quilts, bringing an extra layer of comfort. You might be wondering how it behaves compared to your usual quilting cotton. Don’t worry, we’ve got you covered. Let’s dive into making your flannel quilt dreams a reality!
Working with Flannel Fabric for Quilts
Yes, you can absolutely quilt with flannel! It’s a fantastic choice for creating warm and soft quilts. Many quilters find it a bit more forgiving than standard cottons. This makes it a great option for both beginners and experienced crafters looking for a different texture. Flannel often has a fuzzy nap, which adds to its cozy feel. This nap can also affect how the fabric behaves during cutting and sewing.
Prepping Your Flannel: A Crucial First Step
Before you even think about cutting, you need to prepare your flannel. This is super important. Flannel is prone to shrinking, and it sheds a lot. You’ll want to wash and dry your flannel yardage before you start. Use a gentle cycle and a mild detergent. You can even tumble dry it on a low setting.
Why is this so critical? If you skip this step, your finished quilt might shrink unevenly after its first wash. This can lead to puckering and a less-than-perfect finish. We’ve found that pre-washing also helps to soften the flannel even more, making it a joy to work with.
Washing and Drying Tips
- Wash flannel separately for the first few washes. It can shed a lot of lint.
- Use cold water on a gentle cycle.
- Tumble dry on low heat. Remove promptly to minimize wrinkles.
- Inspect for any loose threads or fuzz.
Choosing the Right Flannel
Not all flannels are created equal. For quilting, you’ll want to look for quilting-weight flannel. This type is generally a bit sturdier and has a tighter weave than the flannel you might find for pajamas or shirts. Quilting cottons often have a thread count between 200-240, while quilting flannels might be higher, making them more durable.
We found that 100% cotton quilting flannel is usually the best bet. It will behave similarly to quilting cotton in terms of stability and shrinkage, just with that lovely soft nap. You can also find blends, but be aware that they might have different shrinkage rates or feel.
Cutting Your Flannel Fabric
Cutting flannel is similar to cutting cotton, but with a few key differences. The nap of the flannel can make it want to shift. This is where a good rotary cutter and a self-healing mat come in handy. A sharp blade is your best friend here. It will slice through the fabric cleanly without snagging.
When you lay your flannel flat to cut, ensure it’s as smooth as possible. Don’t stretch it. You might notice it feels a bit “grippier” than cotton. This can actually help it stay in place once you’ve positioned your ruler. Some quilters swear by using a bit of starch or a stabilizer spray on flannel before cutting, but we found that careful handling is often enough.
Rotary Cutting Best Practices
For the most accurate cuts, we recommend using a rotary cutter and ruler. Make sure your ruler has a non-slip backing to prevent it from sliding on the fuzzy flannel surface. Always cut away from yourself. Press down firmly on the ruler. Then, make a smooth, even cut with your rotary cutter.
If you’re cutting strips for binding or blocks, measure twice and cut once. The nap can sometimes be deceiving, so double-check your measurements. Be prepared for extra fuzz! You’ll want to keep a brush or vacuum handy to clean up your cutting mat as you go.
Dealing with Fuzz
Flannel is notorious for its fluff and fuzz. This happens because of the brushing process used to create its soft texture. When you cut it, those loose fibers are released. Don’t be alarmed by the amount of lint you produce.
A small brush or a lint roller can be very effective at keeping your workspace clean. Many quilters also find it helpful to clean their sewing machine’s bobbin case and feed dogs regularly when working with flannel. This prevents excess lint from building up and affecting your machine’s performance.
Sewing with Flannel
Sewing flannel is generally a pleasure. Because it’s a bit thicker and softer than quilting cotton, it can be more forgiving of slight imperfections. The nap also helps the fabric pieces stay put as you feed them through your sewing machine. This can be a real advantage when piecing small units together. Learn how feed dogs affect your quilt quality and how to maintain them.
You’ll likely want to use a slightly larger needle size than you might for standard quilting cotton. A size 80/12 or 90/14 universal needle is often recommended. A good quality thread, like an all-purpose polyester thread, will also hold up well with the thicker fabric.
Stitch Length and Tension
We found that a slightly longer stitch length can be beneficial when sewing flannel. Try setting your machine to around 2.5 mm. This helps prevent the stitches from tunneling through the thick fabric. You might also need to slightly adjust your machine’s tension. Start with your usual setting and make small adjustments as needed.
A good way to test your settings is to sew a few practice seams. Use scraps of your flannel. Check the stitches from both the top and the bottom. They should look neat and even. You don’t want them to be too tight or too loose.
Seam Allowances and Pressing
Standard quilting seam allowances of 1/4 inch are still the rule when working with flannel. However, pressing your seams becomes even more important. Because flannel is thick, well-pressed seams lie flatter and create a much neater finished quilt top.
When pressing flannel, we found it’s best to press seams to one side, especially if you’re using different colors. This helps reduce bulk. If your pattern calls for it, you can also press seams open, but be mindful of the fluff. Avoid using a steaming iron directly on flannel, as this can sometimes cause shrinkage or distortion. A dry iron on a medium-high setting is usually sufficient.
A Simple Table for Pressing Tips
| Seam Type | Recommendation | Why? |
|---|---|---|
| Standard Piecing Seams | Press to one side | Reduces bulk and makes nesting seams easier. |
| Opposing Seams (for nesting) | Press to opposite sides | Allows seams to “nest” snugly, creating a flat join. |
| Pressing Open | Use with caution | Can be okay for some patterns, but watch for excess fuzz. |
Quilting the Flannel Layers
When it comes to the actual quilting step, flannel can act as both your quilt top and backing fabric. This makes for wonderfully warm and heavy blankets! If you’re using flannel for your backing, remember it will be thicker than standard cotton.
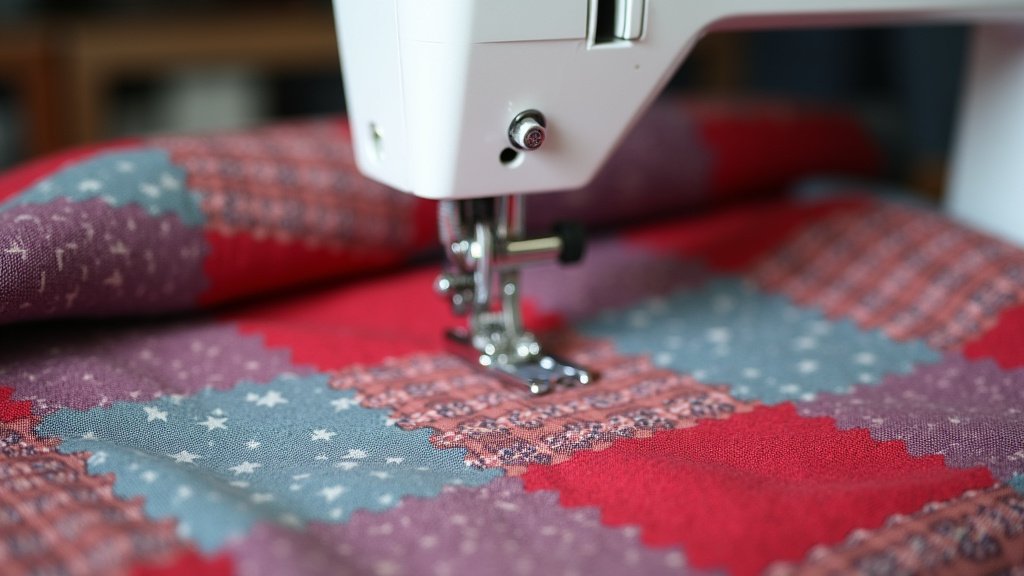
You might need to adjust your quilting density. Dense quilting is often recommended for flannel quilts to prevent the batting from shifting and to manage the loft of the fabric. Consider using a walking foot on your sewing machine. This helps feed the multiple layers of fabric evenly, preventing puckering.
What About Batting?
You have choices for your batting. A low-loft cotton or cotton blend batting works well. It won’t overwhelm the cozy feel of the flannel. If you’re aiming for a super warm, heavy quilt, a polyester batting could also be a good option. Many guidelines suggest choosing a batting that’s slightly larger than your quilt top and backing.
When layering, especially if you’re using flannel on both the top and back, you might find it helpful to use a bit more basting spray or safety pins. This extra security helps keep everything smooth and in place while you quilt. We’ve found that flannel has a tendency to shift more than cotton, so don’t skimp on the basting!
Finishing Your Flannel Quilt
Binding a flannel quilt is much like binding any other quilt. You’ll want to use a sturdy fabric for your binding, and quilting cotton is often a good choice. This provides a nice contrast and a durable edge.
When you’re sewing the binding on, remember that flannel can be thicker. Ensure your sewing machine can handle the layers. A walking foot can be a real asset here too. For that final, cozy touch, consider hand-stitching your binding down for a super neat finish.
Washing Your Finished Quilt
The first wash after quilting is almost as important as the pre-wash. Wash your quilt on a gentle cycle using cold water. This will help to “bloom” the flannel’s nap, making it even softer. It also helps to remove any remaining loose fibers from the construction process.
We found that tumble drying on low and removing the quilt while slightly damp, then laying it flat to finish drying, helps prevent excessive wrinkling. Your flannel quilt will become even cozier with each wash and dry cycle!
Quick Checklist for Flannel Quilting Success:
- Pre-wash and dry all your flannel fabric.
- Use a sharp rotary cutter and ruler for accurate cutting.
- Clean your workspace and sewing machine of fuzz regularly.
- Use a slightly longer stitch length and test your tension.
- Press seams carefully to reduce bulk.
- Consider using a walking foot for quilting and binding.
Conclusion
You’ve got this! Quilting with flannel is wonderfully rewarding. We’ve covered how to prepare, cut, and sew this cozy fabric for fantastic results. Remember that pre-washing is key, and a sharp rotary cutter will make cutting a breeze. Sewing flannel can be more forgiving, and careful pressing will ensure your quilt top lies beautifully flat. Now you’re ready to create your own super soft and warm flannel masterpiece. Grab your flannel and get stitching on your next snuggly project!
Frequently Asked Questions
What is the best way to wash flannel before quilting?
Always pre-wash your flannel fabric in cold water on a gentle cycle. We recommend washing it separately for the first few times as it can shed a lot of lint. Tumble dry on a low setting and remove promptly to avoid excessive wrinkles.
Can I use flannel for both the quilt top and backing?
Absolutely! Using flannel for both your quilt top and backing makes for an incredibly warm and cozy blanket. Just be aware that the added thickness may require adjustments to your quilting density and basting methods.
How do I prevent flannel from shrinking unevenly in my finished quilt?
The most effective way to prevent uneven shrinkage is to pre-wash and dry your flannel yardage thoroughly before cutting. This allows the fabric to go through its initial shrinkage before you construct your quilt.
Is it harder to cut flannel than regular quilting cotton?
Flannel has a nap that can sometimes cause it to shift, but it’s generally quite manageable. We found that using a very sharp rotary cutter and a non-slip ruler helps tremendously. The fabric’s slight “grippiness” can actually help it stay in place once positioned.
What kind of needle and thread should I use for sewing flannel?
For sewing flannel, we suggest using a slightly larger universal needle, such as an 80/12 or 90/14. A good quality all-purpose polyester thread is recommended to hold up well with the thicker fabric.
