Can You Quilt Velvet Fabric?
On this page (7 sections)
Yes, you absolutely can quilt velvet fabric! While it might seem a bit tricky at first glance, with the right techniques, you can create beautiful quilted projects with velvet. The key is to handle this luxurious fabric with care to avoid crushing its pile, ensuring your stitches look crisp and your quilt maintains its plush feel. Quilting velvet is achievable and rewarding.
Velvet can add a touch of opulence and depth to any quilt. Its light-reflecting qualities make patterns stand out beautifully. Many quilters find that using specific stabilizers and paying attention to your machine’s settings can make a world of difference. You’ll want to choose methods that preserve the velvet’s unique texture. It’s all about making sure the velvet pile stays intact throughout the quilting process.
- Yes, quilting velvet is possible.
- Handle velvet carefully to protect its pile.
- Use stabilizers and adjust machine settings.
- Choose techniques that preserve texture.
- Velvet adds luxury and depth to quilts.
Ready to give it a try? Let’s walk through the best methods and tips for successfully quilting with velvet.
Working with Velvet Fabric in Your Quilting Projects
You might be wondering, “Can I really quilt velvet?” The short answer is a resounding yes! Velvet brings a unique texture and richness that can transform a simple quilt into something truly spectacular. It has a luxurious sheen that catches the light beautifully, making patterns pop. But working with velvet does require a slightly different approach than your usual quilting cotton. You’ll want to be mindful of its delicate pile. This guide will walk you through how to quilt velvet successfully, ensuring your projects turn out stunning and your velvet stays plush.
Understanding Velvet’s Unique Properties
Before you start cutting, let’s chat about what makes velvet so special, and a little bit tricky. Velvet is known for its dense pile, those soft, upright fibers that give it that characteristic sheen and feel. This pile is what makes it so luxurious, but it’s also what can get crushed or damaged easily. Unlike cotton, velvet isn’t as forgiving if you press too hard or drag it around too much. Understanding this is the first step to success.
The Pile Factor: What to Watch Out For
The pile of velvet runs in a specific direction. If you look closely, you’ll see it either feels smooth and sleek when you run your hand one way, and a bit rougher the other. It’s essential to keep this nap running in the same direction for all your pieces. If you mix it up, your quilt will have patches that look different, like they’re absorbing light in odd ways. This can really throw off the overall visual appeal of your finished quilt. Think of it like painting a wall; you want all the brush strokes going the same way.
Velvet Types and Their Quilt-ability
Not all velvets are created equal when it comes to quilting. You’ll find a few main types, and some are definitely more beginner-friendly than others. Silk velvet, for example, is gorgeous but very delicate. Cotton velvet is more durable but can be heavier. Polyester velvet is often the most affordable and easiest to work with for quilting, and it holds up well to washing.
For quilting, we recommend starting with polyester or a polyester blend velvet. They tend to be more stable and less prone to crushing. They also offer a beautiful sheen without the high price tag or fragility of silk. You can find these in many quilting fabric stores, often in stunning jewel tones.
Essential Preparations Before Quilting Velvet
Getting your velvet ready is key to a smooth quilting experience. This isn’t a step you want to skip! Just like preparing any fabric, a little extra care with velvet goes a long way. We’re talking about pre-washing (or not!), cutting accurately, and ensuring your pieces are stable.
Pre-Washing: A Delicate Decision
This is where opinions can differ among quilters. Many experts suggest avoiding pre-washing velvet, especially if it’s a finer quality, to prevent crushing the pile. If you do pre-wash, do it gently. A hand wash in cool water with a mild detergent is best. Do not machine dry velvet; lay it flat or hang it to air dry away from direct heat or sunlight.
If your project involves fabrics that will be washed frequently, like a baby quilt, consider testing a small swatch first. You want to see how the velvet holds up. If you’re making a decorative wall hanging that won’t be washed often, you might choose to skip the pre-wash altogether to preserve that pristine pile.
Stabilizing Your Velvet for Success
This is perhaps the most critical step for successful velvet quilting. Because velvet can stretch and shift, using a stabilizer is highly recommended. This adds support and prevents the fabric from distorting under your needle. You’ll want a lightweight, tear-away stabilizer for most projects.
How do you use it? You’ll typically layer the velvet and the stabilizer together. Some quilters prefer to fuse a lightweight fusible interfacing or stabilizer to the wrong side of the velvet before cutting. Others will place the velvet on top of a layer of stabilizer and quilt through both. The key is to keep everything smooth and wrinkle-free. We found that using a spray adhesive to temporarily bond the velvet to the stabilizer can be a lifesaver.
Cutting Your Velvet Pieces
Precision is your friend here. Use a rotary cutter and a ruler on a self-healing mat. Make sure your mat is clean to avoid snagging the velvet. Cut on the wrong side of the fabric whenever possible. This helps you see your cutting lines clearly and minimizes the risk of accidentally crushing the pile.
When you place your ruler, apply gentle but firm pressure. Don’t slide the ruler around. Instead, lift and reposition it for each cut. Remember to keep that nap direction consistent! Lay your velvet out flat, feel the direction of the pile, and mark an arrow on the wrong side of each piece if you’re unsure. Always cut more pieces than you think you’ll need, just in case of errors.
Techniques for Quilting with Velvet
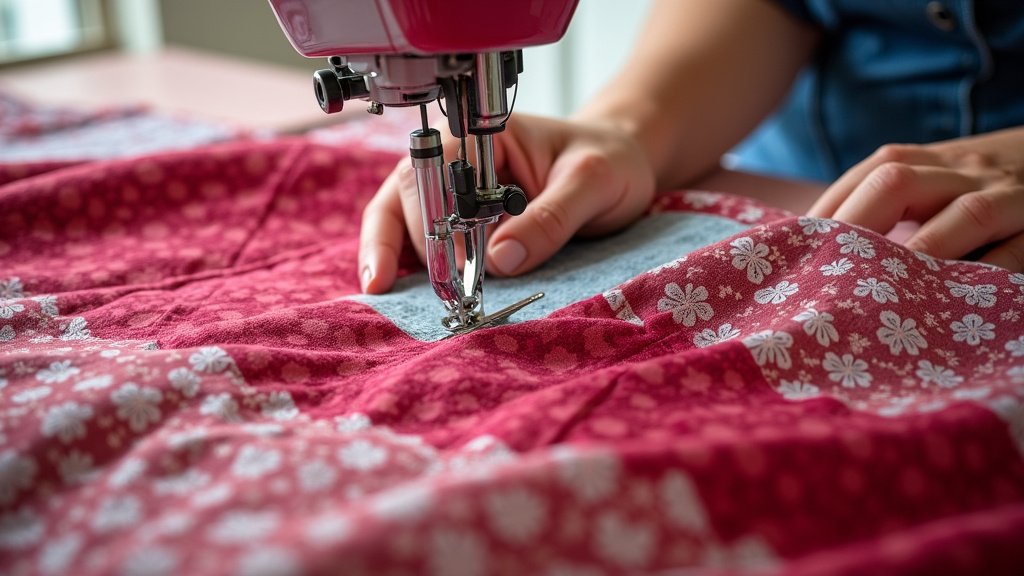
Once your velvet is prepped and cut, it’s time for the fun part: stitching! The actual quilting process needs a little finesse. You’ll want to adjust your machine settings and choose quilting methods that work with the velvet, not against it.
Machine Settings: Fine-Tuning is Key
Your sewing machine is your partner in this. Start by using a slightly longer stitch length than you normally would. A stitch length of 2.5 to 3.0 millimeters is often recommended. This helps prevent the fabric from puckering. You might also need to adjust your tension. Test on scraps first to find the sweet spot.
Consider using a walking foot or a free-motion quilting foot. A walking foot helps feed the layers evenly, reducing the chance of the velvet shifting. If you’re doing free-motion quilting, a darning or free-motion foot will give you more control. Some quilters even recommend a microtex or sharp needle; these are designed to pierce densely woven fabrics cleanly without snagging.
Quilting Methods: What Works Best?
There are several ways to quilt velvet, and the best choice often depends on your desired outcome and comfort level.
Hand Quilting Velvet
Hand quilting can be a wonderful way to work with velvet, as it gives you more control over the fabric. You can gently guide the layers as you stitch. Use a quilting needle and a smooth quilting thread. Be sure to use a hoop or frame to keep the fabric taut, but not stretched. This method is slower, but the results can be exquisite.
Machine Quilting: Straight Lines
For straight-line quilting, a walking foot is your best friend. Layer your velvet sandwich carefully, ensuring the stabilizer is in place. Quilt slowly and steadily along your marked lines or guide. Again, avoid pulling or pushing the fabric. Let the walking foot do the work of feeding the layers evenly.
Machine Quilting: Free-Motion
Free-motion quilting on velvet can produce stunning results, creating beautiful textures and patterns. Lower the feed dogs on your machine and use your free-motion foot. You’ll need to move the fabric gently and consistently. Keep the stabilizer in place to support the velvet. Practice on scraps first to get a feel for the movement and how the velvet responds. A quilt design with simpler, flowing lines might be easier to manage than dense, intricate patterns.
Binding Your Velvet Quilt
Binding velvet requires attention to detail. You can use velvet for your binding for an extra touch of luxury, or opt for a coordinating cotton. If using velvet binding, make sure the nap runs in the same direction as the quilt top. Attach it slowly and carefully, just as you would any binding. Press gently, using a pressing cloth if needed, and avoid direct high heat.
Tips for a Flawless Velvet Quilt Finish
You’re almost there! A few final touches can make all the difference in how your velvet quilt looks and feels. These are the little things that elevate your project from good to absolutely stunning.
Pressing and Finishing Touches
Pressing velvet is an art form. Always use a pressing cloth – a piece of cotton fabric or a dedicated pressing cloth works well. Use the lowest heat setting on your iron that will effectively press the fabric. Press from the wrong side, lifting and setting the iron down rather than gliding it across the surface. This helps prevent crushing the pile. If you must press from the right side, use a very low heat and a pressing cloth.
Dealing with the Pile Post-Quilting
After quilting, you might notice some of the pile has been flattened. A soft brush can help lift and restore the pile. A velvet brush or even a soft toothbrush can be used gently. Brush in the direction of the nap. Some quilters find that a light steam (held at a distance, not directly touching the fabric) can also help revive the pile.
Final Checklist for Quilting Velvet
Here’s a quick rundown to keep you on track:
- Always consider a stabilizer.
- Cut accurately, on the wrong side.
- Keep the velvet nap running in one direction.
- Use a longer stitch length on your machine.
- Test your machine settings on scraps first.
- Press gently with a pressing cloth.
Quilting with velvet might seem intimidating, but with careful preparation and the right techniques, you can create breathtaking quilts. The luxurious feel and unique sheen of velvet are worth the extra effort. So go ahead, experiment, and enjoy the process of creating something truly special!
Conclusion
You’ve learned that quilting with velvet is absolutely within your reach! By understanding its unique pile and choosing the right preparations, like stabilizing and careful cutting, you’re set for success. Remember to adjust your machine settings and use gentle techniques, especially during the quilting and binding stages. Don’t forget that a little extra care when pressing and a final brush to lift the pile can make your velvet quilt truly shine. Now, gather your velvet and get ready to create something luxuriously beautiful that you’ll be proud to show off!
Frequently Asked Questions
Can I use any type of velvet for quilting?
While many velvets can be used, polyester or polyester blends are often recommended for quilters. They tend to be more stable and forgiving, making them easier to handle than delicate silk or heavier cotton velvets. Always test a swatch first if you’re unsure how your chosen velvet will behave.
What is the best way to stabilize velvet for quilting?
Using a lightweight, tear-away stabilizer is highly recommended. You can either fuse it to the wrong side of the velvet before cutting or layer it beneath the velvet when constructing your quilt sandwich. This support prevents stretching and shifting, ensuring smoother stitching.
How do I prevent crushing the velvet pile while quilting?
The key is gentle handling. Always press from the wrong side with a pressing cloth and low heat, lifting the iron instead of gliding. When cutting, use firm but gentle pressure on your ruler, and avoid sliding it. During quilting, let your machine and feet do the work; don’t force the fabric.
Should I pre-wash velvet fabric before quilting?
Pre-washing velvet is a delicate decision. Many quilters opt to skip it to preserve the pile. If you do pre-wash, hand wash in cool water with mild detergent and air dry flat, avoiding heat and direct sunlight. Test a swatch if your project will be washed often.
How can I revive the pile on velvet after quilting?
After quilting, gently brush the velvet with a soft brush, like a velvet brush or a soft toothbrush, in the direction of the nap. A light steam held at a distance can also help lift flattened fibers and restore its plush texture.