Can You Learn Free Motion Quilting on Your Own?
On this page (9 sections)
Yes, you can absolutely learn free motion quilting on your own! With the right approach and some practice, you can master this creative quilting technique without formal classes. You might be surprised how accessible learning free motion quilting independently can be with dedicated effort and readily available resources. It’s a skill many quilters have successfully taught themselves.
Many quilters discover free motion quilting through online tutorials and by experimenting on their machines. You don’t need a fancy setup to get started; your standard sewing machine can do the job. Focus on understanding the basic principles and enjoying the process of creating unique designs. It’s about letting your creativity flow!
- Learning free motion quilting yourself is achievable.
- Online resources and practice are key.
- No special equipment is strictly necessary to begin.
- Focus on the basics and enjoy the learning journey.
Below, we’ll walk through exactly how you can get started and progress with learning free motion quilting on your own, step by step.
Teaching Yourself Free Motion Quilting
You absolutely can learn free motion quilting on your own! Many quilters have successfully mastered this technique without ever attending a formal class. With a little guidance and plenty of practice, you’ll be creating beautiful designs in no time. It’s a skill that rewards patience and a willingness to experiment. You can learn to use a longarm quilting machine, and our guide covers the best options for beginners.
Think of it like learning to ride a bike. At first, it might feel a bit wobbly and uncertain. But with consistent effort, you gain confidence and balance. Free motion quilting is similar; the more you do it, the more natural it becomes.
Setting Up Your Sewing Machine for FMQ
Before you start stitching, you need to prepare your sewing machine. This is a really important step. Getting your machine ready correctly makes a huge difference. It ensures a smoother experience and better results for your quilting.
Dropping the Feed Dogs
The most critical adjustment for free motion quilting is dropping the feed dogs. These are the little metal teeth under your presser foot. They normally move fabric along automatically. For free motion, you want to control the fabric movement yourself. Your sewing machine manual will show you how to do this. It might be a lever, a button, or something you unscrew.
Choosing the Right Presser Foot
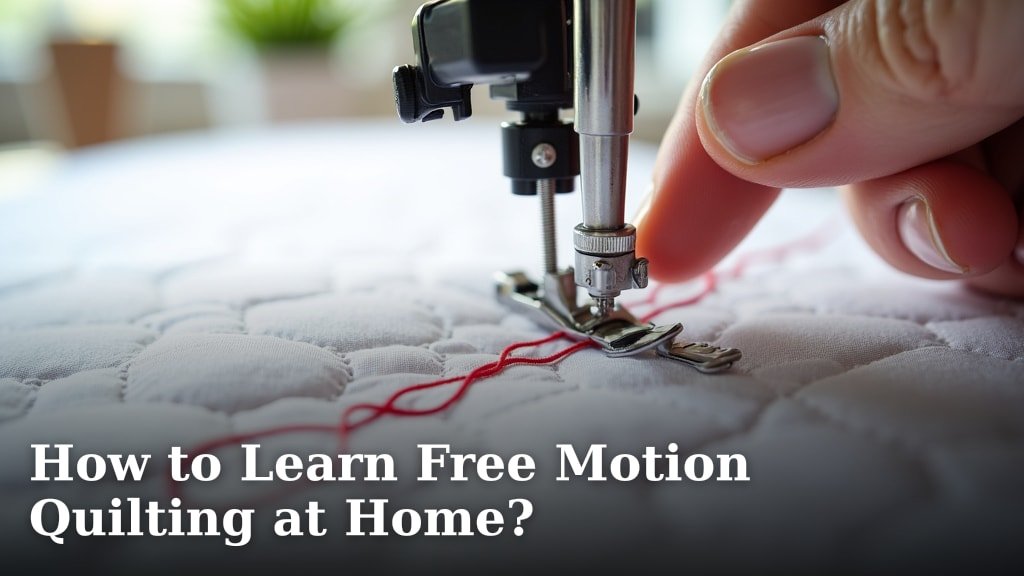
You’ll need a special presser foot for free motion quilting. It’s often called a darning foot or a free-motion foot. This foot has a spring that hops up and down. This helps prevent your fabric from getting snagged. It also keeps the stitches from skipping. Make sure your foot is designed for free motion work. Check your manual or the foot’s packaging.
Adjusting Your Stitch Length
When your feed dogs are down, your machine doesn’t automatically move the fabric. This means you control stitch length by how fast you move the fabric. Your machine’s stitch length setting should ideally be set to zero. Some machines might have a specific FMQ setting. If yours doesn’t, zero is usually best. This allows you to create stitches of varying lengths based on your movement speed.
Needle Choice Matters
Using the correct needle is also important for free motion quilting. A sharp, new needle is essential. A quilting needle or a sharps needle works well. If you’re using thicker threads or batting, consider a larger needle size, like an 80/12 or 90/14. Changing your needle regularly is a good habit. A dull needle can cause skipped stitches and fabric damage.
Understanding the Basics of Movement
Free motion quilting is all about how you move the quilt sandwich under the needle. Your sewing machine needle moves up and down. You control the side-to-side movement by moving the quilt. It’s a dance between your machine’s action and your quilt’s path.
Your Hands on the Quilt
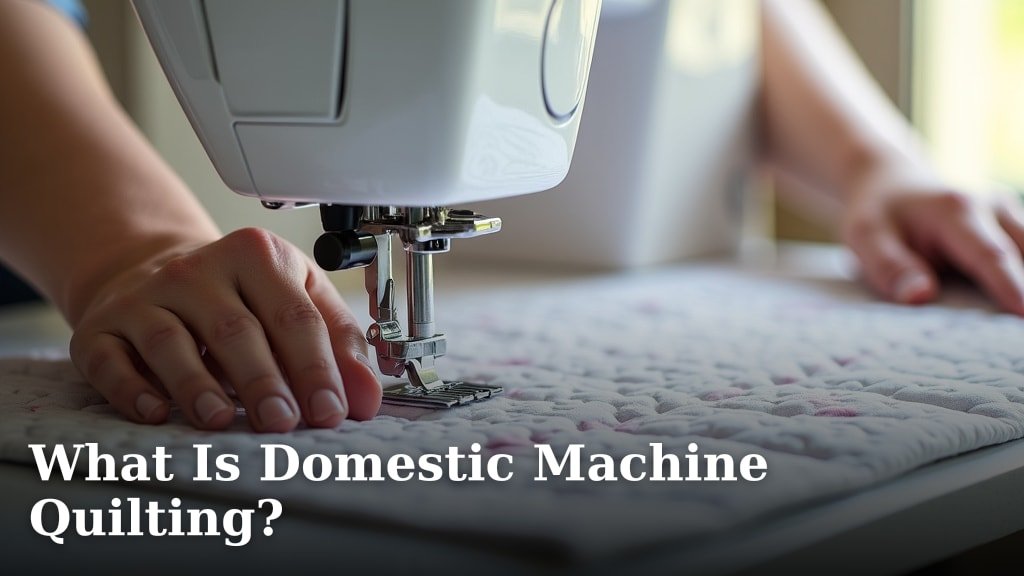
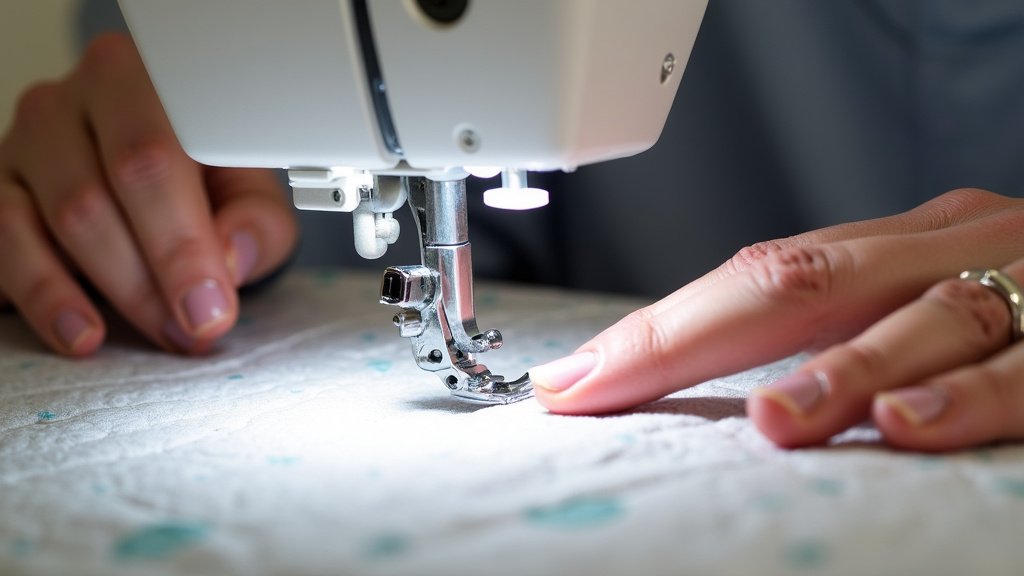
Your hands guide the fabric. They should be firm but gentle on the quilt. Don’t push or pull the fabric. Instead, let your hands glide smoothly. Imagine you’re drawing with your hands. You are directing the needle to create lines and shapes on the fabric.
The Machine’s Role
The machine does the stitching. The speed at which your machine runs directly affects stitch length. A faster machine speed creates longer stitches. A slower machine speed creates shorter stitches. Many quilters find it helpful to set their machine speed to a consistent medium-high speed. Then, they focus on moving the quilt smoothly.
Practice with Simple Shapes
Start with basic shapes. Think of lines, circles, and swirls. These are the building blocks of more complex designs. Practicing these simple movements helps you develop muscle memory and control. You can draw these shapes on paper first, then try them on fabric.
Essential Practice Techniques
Practice is the absolute key to mastering free motion quilting. You can’t just read about it and expect to be an expert. Consistent practice builds your skills and confidence. Don’t be afraid to make mistakes; they are part of the learning process.
Use a Practice Sandwich
Before you quilt on a real project, create a practice sandwich. This is simply a small piece of quilt batting sandwiched between two layers of fabric. Use scraps or inexpensive fabric. This allows you to experiment without worrying about ruining a finished quilt top. You can make many practice sandwiches easily.
Stitch in the Ditch (and Beyond!)
A great starting point is stitch in the ditch. This means stitching directly in the seams of your quilt blocks. It’s a straightforward way to get used to guiding the fabric. Once you’re comfortable with that, try outlining shapes. Then, move on to filling in areas with simple patterns like stippling or meandering.
Stippling and Meandering
Stippling is a random, wavy pattern that fills space. Meandering is similar but often has slightly longer, more connected lines. These are wonderful patterns for beginners. They don’t require much precision. The goal is to cover the area with a pleasing, continuous line. Many quilters find these patterns very forgiving.
Drawing Designs on Fabric
For more complex designs, you might want to draw your pattern onto the fabric first. Use a disappearing ink pen or a chalk pencil. This gives you a clear path to follow. You can start with simple grid patterns or outlines of shapes. As you improve, you can try more elaborate designs.
Common Challenges and How to Overcome Them
It’s common to run into a few bumps along the road when learning free motion quilting. Don’t get discouraged if things don’t look perfect right away. Most quilters experience these same issues.
Skipped Stitches
Skipped stitches are a frequent frustration. This can happen for several reasons. Your needle might be dull or bent. The thread could be old or not sitting correctly in the tension discs. Ensure you have a new, sharp needle and that your thread is wound properly. Also, check that your presser foot is the correct type and installed properly.
Thread Tension Issues
Getting your thread tension right is key. If your stitches look loopy on the underside, your top tension might be too loose. If the loops are on the top, your bobbin tension might be too loose, or your top tension too tight. Always do a test stitch on a scrap of your practice sandwich before quilting. You can adjust the tension settings on your machine to find the sweet spot.
Uneven Stitch Length
This often comes from inconsistent movement of the quilt. Try to maintain a steady speed with your machine and your hands. It takes practice to coordinate them. Focus on smooth, continuous motion. Don’t stop and start abruptly. Relax your shoulders and arms; tension in your body can transfer to your hands and affect your stitching.
Fabric Bunching or Puckering
This usually means you’re accidentally pushing or pulling the fabric instead of guiding it. Or, your feed dogs might not be fully down. Keep your hands lightly on the fabric. Allow the machine to do the work of creating stitches. Gentle guidance is all that’s needed.
Here’s a quick checklist to help you get started:
- Prepare your machine: Drop feed dogs, attach FMQ foot.
- Use a new, sharp needle: Quilting or sharps needle recommended.
- Set stitch length to zero: Control stitch length with movement speed.
- Practice with scraps: Make quilt sandwiches for consistent practice.
- Start simple: Focus on lines, circles, and basic fills.
- Be patient: Mastery takes time and consistent effort.
Online Resources for Self-Learners
The internet is a treasure trove for learning free motion quilting on your own. You don’t need to search far and wide for excellent tutorials and inspiration. Many talented quilters share their knowledge freely.
Video Tutorials on YouTube
YouTube is probably the best resource for visual learners. Search for “free motion quilting for beginners.” You’ll find hundreds of videos demonstrating techniques, explaining machine setup, and showcasing different designs. Watch how experienced quilters move their hands and control their machines. Pay attention to the details they mention.
Quilting Blogs and Websites
Many quilting blogs offer step-by-step tutorials with photos. These can be helpful for reviewing concepts you’ve learned from videos. Some sites even have downloadable practice patterns. Look for articles that break down complex designs into simpler steps. Reading about different approaches can also spark your creativity.
Online Quilting Communities
Joining online quilting groups or forums can be very beneficial. You can ask questions, share your progress, and get feedback from other quilters. Seeing the work of others can be incredibly motivating. You’ll find that many members are happy to offer advice and support. This sense of community can make the learning process feel less isolating.
Progressing Your Free Motion Skills
Once you’re comfortable with the basics, you’ll want to expand your repertoire. There are countless designs to learn and explore.
Developing Your Own Style
As you practice more, you’ll start to notice what you like and what comes naturally to you. Don’t be afraid to experiment and combine different elements. Your unique style will emerge over time. You might find you prefer dense fills, or maybe more open, flowing lines.
Learning More Complex Designs
Look for tutorials on more advanced techniques like echoing, feathered designs, and background fills. Many tutorials break these down into manageable parts. You can even adapt simple designs into more intricate ones by adding more detail.
Quilting Projects for Practice
Start with small, manageable projects. Think mug rugs, placemats, or simple cushion covers. These are great for practicing all-over quilting designs or creating borders. Finishing small projects gives you a sense of accomplishment and helps you build confidence for larger quilts.
Conclusion
You’ve seen that learning free motion quilting on your own is absolutely achievable! By preparing your machine correctly, practicing those fundamental movements, and utilizing the fantastic online resources available, you can build your skills step-by-step. Don’t be afraid to start with simple designs and embrace the learning process. The journey of a self-taught quilter is rewarding. Your next step? Gather your supplies and create your very first practice sandwich to start stitching!
Frequently Asked Questions
How quickly can I learn free motion quilting on my own?
The speed of learning free motion quilting varies for everyone. Consistent practice is key. Many quilters find they can achieve basic control and create simple patterns within a few weeks of dedicated practice. Don’t rush the process; focus on building confidence and skill.
What is the most common mistake beginners make with free motion quilting?
A frequent mistake is trying to go too fast or pushing and pulling the fabric. Free motion quilting requires you to guide the fabric gently, allowing the machine to create stitches at its own pace. Relaxing your hands and body helps achieve smoother results.
Can I really learn free motion quilting without buying special equipment?
Yes, you can start with your standard sewing machine. The most important “special” item is a free-motion or darning foot, which is often inexpensive. You’ll also need a new needle and some scrap fabric for practice. Your regular machine is capable!
What’s the best way to get comfortable moving the fabric under the needle?
Practice simple shapes like lines, circles, and swirls on scrap fabric first. Think of it like drawing or handwriting. Use a consistent machine speed and focus on smooth, controlled movements with your hands. Many quilters find it helpful to set their machine to a medium-high speed and control stitch length through their hand movements.
How do I keep my stitches looking consistent when I’m learning on my own?
Consistent stitch length comes from coordinating your machine’s speed and your hand movements. Start with a steady machine speed and focus on moving the quilt smoothly and evenly. It takes practice to develop this rhythm, so don’t get discouraged by initial unevenness.