Why Is My Quilting Machine Leaving Loops on the Back?
On this page (8 sections)
- Troubleshooting Loops on the Back of Your Quilting Stitches
- Understanding Thread Tension: The Master Key
- The Needle: Your Stitch’s Best Friend (When It’s Healthy!)
- Bobbin Woes: More Than Just Thread
- Thread Type and Quality Matter
- A Quick Checklist for Solving Loop Problems
- Conclusion
- Frequently Asked Questions
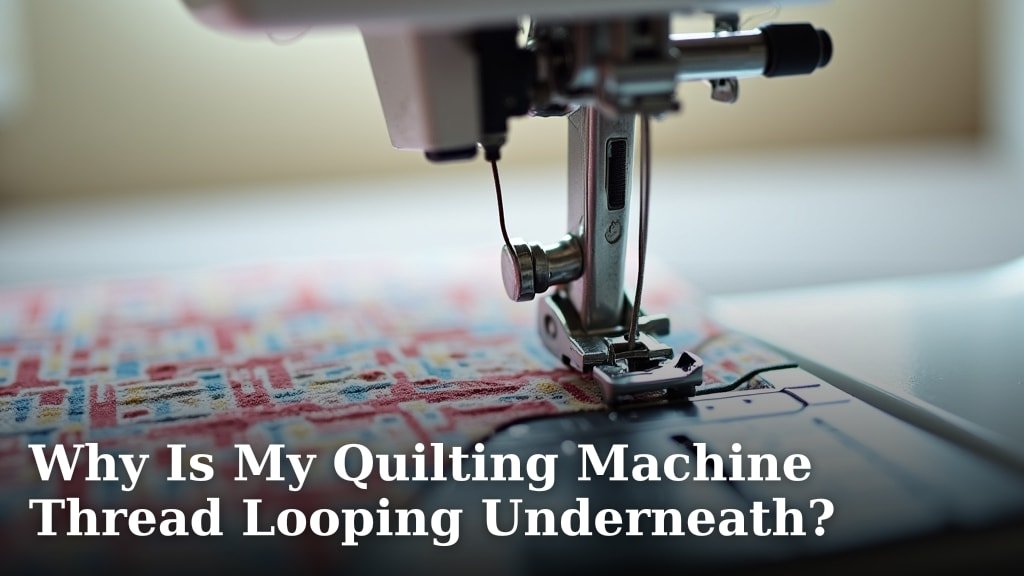
Your quilting machine leaving loops on the back usually means your thread tension is off. It’s often a simple fix that restores your beautiful stitches. We’ve found that properly adjusting your top thread and bobbin is key to solving this common quilting problem.
Seeing loops can be frustrating when you’re focused on creating something special. This issue pops up when the stitch formation isn’t balanced between the top and bottom threads. Many quilters experience this, and it’s typically related to a few common areas we’ll discuss.
- Thread Tension: The most common culprit.
- Bobbin Issues: A messy bobbin can cause problems.
- Needle Problems: A dull or bent needle can snag.
- Thread Type: Using the wrong thread matters.
Let’s walk through exactly why your machine might be doing this and how to get those stitches looking perfect again.
Troubleshooting Loops on the Back of Your Quilting Stitches
Seeing those pesky loops on the backside of your quilting project can really throw a wrench in your creative flow. It’s a common problem, and thankfully, usually a fixable one! We’ve found that most loop issues boil down to a few key areas. The good news? You don’t need to be a master mechanic to sort them out.
The loops you’re seeing are essentially a sign that your machine’s top thread and bobbin thread aren’t quite playing nicely together. They’re fighting for dominance, and the result is messy stitches. Let’s dive into the most frequent culprits and how you can get your quilting machine back to making beautiful, balanced stitches.
Understanding Thread Tension: The Master Key
Thread tension is the most common reason for loops appearing on the back of your quilt. Think of it like a tug-of-war between the threads. If one side is pulling too hard, the other thread gets pulled through where it shouldn’t.
Your sewing machine has two main tension adjustments: one for the top thread and one for the bobbin thread. When these are out of balance, you’ll get those tell-tale loops. We’ve found that a well-balanced tension creates a stitch that looks almost identical on both the top and the bottom of your fabric.
Adjusting Your Top Thread Tension
The dial or setting on your machine that controls the top thread is usually easy to find. It often has numbers associated with it, where higher numbers mean more tension and lower numbers mean less tension.
When you have loops on the back, it often means your top thread tension is too loose. This allows the bobbin thread to pull the top thread down through to the back. So, your first move should be to increase the top thread tension slightly.
Try increasing the tension by one or two numbers. Sew a small test line. Are the loops gone? If not, increase it by another number. Remember, small adjustments can make a big difference. We found that patience here pays off greatly.
Checking Your Bobbin Tension
The bobbin tension is usually set by a tiny screw on the bobbin case. Many machines have a pre-set bobbin tension that works well with most threads. However, sometimes this can get out of adjustment.
If your top thread tension is correctly set and you’re still getting loops on the back, the problem might be that your bobbin thread tension is too loose. This allows the top thread to pull it up excessively.
Adjusting bobbin tension is a bit more delicate. You’ll need a small screwdriver. Tightening the screw slightly (turning it clockwise) will increase the bobbin tension. Again, make very small adjustments. You can test this by letting the bobbin hang from its thread; it should unwind steadily without falling or being completely stiff. We’ve found this “hanging test” is a good indicator.
When to Consider a Bobbin Case Replacement
Sometimes, the bobbin case itself can become worn or damaged, affecting tension. If you’ve tried adjusting the bobbin tension multiple times without success, it might be time to consider if your bobbin case is the culprit. A worn bobbin case can make consistent tension impossible.
The Needle: Your Stitch’s Best Friend (When It’s Healthy!)
Your sewing machine’s needle is a small but mighty tool. When it’s not in good shape, it can cause all sorts of stitch problems, including those dreaded loops.
When Was the Last Time You Changed Your Needle?
Needles aren’t meant to last forever. They get dull with use. A dull needle can snag the fabric and thread, leading to skipped stitches and, yes, loops on the back. We recommend changing your needle after about 6-8 hours of sewing time, or at least every quilt project.
Is Your Needle Bent or Damaged?
A bent or burred needle can catch on the fabric and distort the stitch formation. If you’ve ever hit a pin or a thick seam allowance, your needle might have sustained damage you can’t easily see. Inspect your needle carefully. If you see any bends, nicks, or rough spots, it’s time to replace it. A brand-new needle is often the simplest fix for many stitch issues.
Using the Right Needle for Your Fabric and Thread
Different fabrics and threads require different types of needles. Using a needle that’s too large for your thread can create a hole that’s too big, allowing the bobbin thread to show through. Conversely, a needle that’s too small might not create a large enough channel for the thread. Using a needle that’s too large for your thread can create a large hole, allowing the bobbin thread to loop through, so understanding types of needles is important.
For quilting, you’ll often be working with cotton fabrics and cotton or polyester threads. A universal needle in size 80/12 or 90/14 is a good starting point. If you’re using finer threads or silks, you might need a sharper, finer needle. We’ve found that consulting your machine’s manual or thread manufacturer’s recommendations is very helpful here.
Bobbin Woes: More Than Just Thread
While tension is key, other issues with your bobbin can also lead to loops. Let’s look at what else could be going wrong down there.
Is Your Bobbin Wound Evenly?
An unevenly wound bobbin is a surprisingly common cause of stitch problems. If the thread is piled up on one side or is loose in places, it won’t feed smoothly through the bobbin case. This inconsistent feeding can disrupt the stitch balance.
Make sure your bobbin winder is set up correctly and that the thread is winding smoothly and evenly across the bobbin. If you notice the thread is going on crooked, check your bobbin winder tension or the way the thread is feeding from the spool. We found that rewinding a messy bobbin usually solves the problem.
Is the Bobbin in the Case Correctly?
This might sound basic, but ensuring the bobbin is seated properly in its case is essential. The thread should pull off the bobbin in the correct direction (usually counter-clockwise for most machines, but check your manual). If the bobbin is upside down or not fully seated, it won’t release thread evenly, leading to skipped stitches and loops.
Take the bobbin out and reinsert it, making sure it clicks or sits firmly in place. Pull the thread gently to ensure it moves freely. We’ve seen many quilters bypass this simple check, only to find it was the root of their troubles.
The “Scary” Bobbin Case Lint Ball
Lint is the arch-nemesis of sewing machines. It loves to gather in tight spaces, especially around the bobbin area. A buildup of lint in the bobbin case can obstruct the smooth movement of the bobbin and the thread, interfering with tension.
Regularly clean your bobbin area. Use a small brush or a puff of compressed air. If you suspect lint is the issue, remove the bobbin case and clean it thoroughly. You might be surprised how much gunk can accumulate. Many sewing machine maintenance guides, including those from the Association of Sewing and Design Professionals, highlight lint removal as a primary maintenance step.
Thread Type and Quality Matter
Not all threads are created equal, and using the wrong type can cause headaches. We found that the quality of your thread also plays a significant role.
Is Your Thread Too Thick or Too Thin?
Using a thread that’s too thick for your needle can create a large hole, allowing the bobbin thread to loop through. If your thread is extremely thin and your needle too large, you might not have enough thread strength to create a balanced stitch.
For general quilting, a good quality 100% cotton or polyester thread in a medium weight (like 40-50 weight) is usually ideal. If you’re using specialty threads like metallics or variegated threads, they often have specific needle and tension requirements. Always check the thread manufacturer’s recommendations.
Cheap Thread Can Cause Cheap Stitches
While it’s tempting to save money, very cheap or low-quality threads can have inconsistencies. They might be fuzzy, weak, or have knots that cause tension issues. These threads don’t run smoothly through your machine.
Investing in reputable brands of quilting thread will save you time and frustration in the long run. We’ve found that brands known for their consistency and strength generally lead to better stitch quality. Think of it as an investment in your project’s success.
A Quick Checklist for Solving Loop Problems
When those loops appear, don’t panic! Run through this quick checklist. We’ve found that systematically checking these points often leads you straight to the solution.
- Check your top thread tension: Increase it slightly if loops are on the back.
- Inspect your needle: Ensure it’s sharp, straight, and the correct size for your thread.
- Examine your bobbin: Is it wound evenly and seated correctly?
- Clean your bobbin area: Remove any lint that might be obstructing thread flow.
- Re-thread your machine: Sometimes a simple re-thread of both top and bobbin can fix an unseen issue.
- Try a different thread: Rule out thread quality or type as the cause.
Conclusion
Dealing with loops on the back of your quilting can feel discouraging, but as we’ve seen, it’s often a solvable puzzle. The key usually lies in the balance between your top and bobbin thread tensions, the condition of your needle, and the quality of your thread. We’ve found that a systematic approach, starting with the simplest checks like re-threading and needle inspection, can quickly resolve the issue. Don’t let these stitches frustrate you; take a deep breath, work through our checklist, and you’ll be back to creating beautiful, smooth quilting in no time.
Frequently Asked Questions
How often should I change my quilting machine needle?
We generally recommend changing your needle after about 6 to 8 hours of sewing time. If you’re working on a large quilt, it’s also a good idea to change it at the beginning of each new project. A fresh needle ensures cleaner stitches and prevents snagging.
What does it mean if my bobbin thread is looping on the top?
If your loops are appearing on the top of your quilt instead of the back, it usually means your top thread tension is too tight. Try reducing the top thread tension by one or two numbers. You can also check that your bobbin is wound correctly and seated properly in the machine.
Can the type of thread really cause loops?
Yes, absolutely. Using a thread that is too thick or too thin for your needle can cause issues. Low-quality threads might also have inconsistencies that lead to tension problems. We’ve found that using a good quality, appropriately weighted thread designed for quilting makes a significant difference.
What if adjusting the tension dials doesn’t help?
If you’ve carefully adjusted your top and bobbin tensions and still see loops, inspect your machine’s internal pathways. Check for any lint buildup, especially around the bobbin area and the feed dogs. Sometimes, re-threading the entire machine, both top and bobbin, can clear a subtle obstruction or seating issue.
Is it okay to use different types of thread for the top and bobbin?
While you can technically use different threads, we highly recommend using the same type and weight of thread for both your top and bobbin for optimal results. Using vastly different threads can make it very difficult to achieve balanced tension and consistent stitches. Stick to one consistent thread for predictable outcomes.