
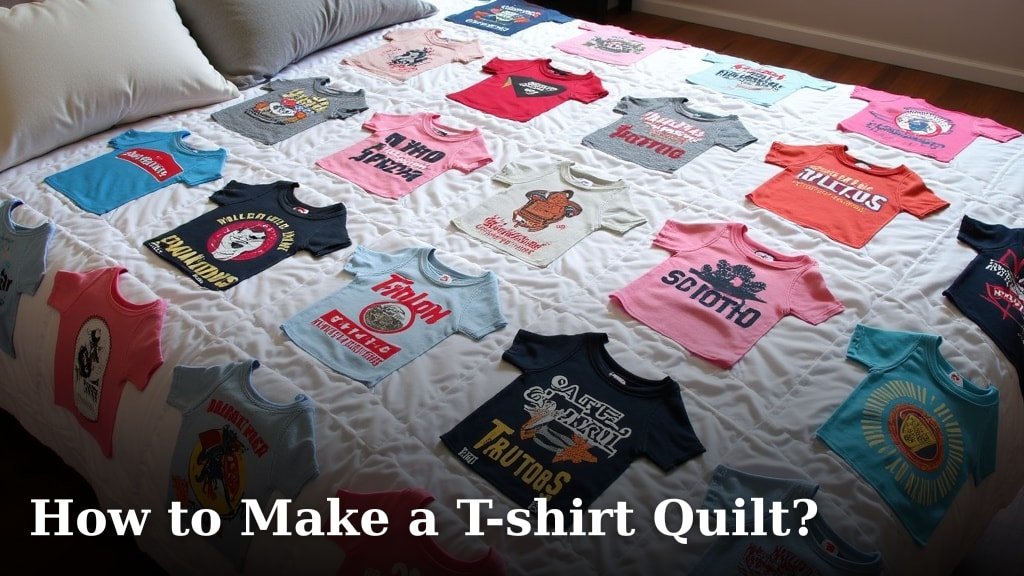
To make a T-shirt quilt, you will need to gather your favorite T-shirts, trim them into squares, add stabilizers if needed, and then stitch them together into a beautiful, personalized quilt top. This project lets you turn cherished memories into a cozy blanket.
Creating a T-shirt quilt is a wonderful way to preserve special memories from concerts, sporting events, or school days. You can showcase a lifetime of experiences. We found that the process is rewarding and surprisingly straightforward if you follow some key steps.
- Gathering your T-shirts
- Preparing and cutting your fabric
- Adding stability to stretchy material
- Arranging your T-shirt blocks
- Sewing the quilt layers together
Join us as we walk you through the entire process, step-by-step, ensuring your T-shirt quilt becomes a cherished keepsake for years to come.
Getting Your T-shirt Quilt Project Started
The first step in making your T-shirt quilt is to gather all the supplies you’ll need. This ensures a smooth process from beginning to end. Thinking ahead also helps you avoid frustrating mid-project trips to the store.
Gathering Your T-shirts
Choosing the right T-shirts is the most important part. You want shirts that hold special memories. Think about concerts, sports teams, school events, or family vacations. We found that well-worn shirts can be perfect for this project.
Selecting the Best T-shirts for Quilting
Not all T-shirts are created equal when it comes to quilting. Look for shirts made of cotton or cotton blends. Avoid extremely thin or delicate fabrics like silk or rayon. These might be too fragile for a quilt that will see a lot of use.
- Inspect for holes or stains. You might still use them if the damaged area can be cut around.
- Consider the graphic’s size. Larger graphics might require a larger block size for your quilt.
- Aim for variety. A mix of colors and designs makes for a more interesting quilt.
Washing and Preparing Your Shirts
It’s a good idea to wash all your T-shirts before cutting. Use your normal detergent and a gentle cycle. This ensures any dirt or oils are removed. Clean shirts also prevent potential shrinkage surprises later on (Centers for Disease Control).
After washing, make sure they are completely dry. Then, gently iron them flat if they are very wrinkled. This makes cutting much easier and more accurate. Remember, precision in cutting helps a lot when sewing.
Essential Tools and Materials
Having the right tools makes a big difference. You don’t need a huge array of specialized items, but a few key things will make your quilting journey much smoother. We found that good quality tools save time and frustration.
Here’s a checklist of what you’ll need:
- Rotary cutter with a sharp blade
- Self-healing cutting mat
- Quilting ruler (at least 15×15 inches)
- Fabric stabilizer (iron-on fusible interfacing)
- Sewing machine with basic functions
- Matching thread (cotton or polyester)
- Fabric for backing and binding
- Batting (the middle layer of the quilt)
- Sharp fabric scissors
- Straight pins or wonder clips
Preparing Each T-shirt Block
Once your T-shirts are clean, it’s time to get them ready for cutting. This involves stabilizing the fabric and accurately trimming the designs. This step might seem a bit tedious, but accuracy here pays off with a beautiful final product.
Applying the Fabric Stabilizer
T-shirt fabric is stretchy, which can make it hard to sew evenly. A fabric stabilizer, also called fusible interfacing, solves this. It’s an iron-on material that gives your T-shirt pieces more structure. This prevents stretching and distortion.
How to Iron On Fusible Interfacing
Follow the manufacturer’s instructions for your specific interfacing. Generally, you’ll place the rough, adhesive side of the interfacing onto the wrong side of your T-shirt fabric. Then, use a warm iron to press it in place. We found that a dry iron works best. Hold the iron for a few seconds over each section. Don’t slide the iron like you would when ironing clothes. Just press and lift.
Cutting Your T-shirt Blocks
Now for the cutting! This is where your chosen design really starts to take shape. Decide on a standard block size before you start. Many quilters prefer 12-inch or 14-inch squares. This size works well for most T-shirt graphics.
Here’s a basic approach:
- Center your T-shirt graphic.
- Place your large quilting ruler over the graphic, centering it as best as possible.
- Use your rotary cutter to trim around the ruler.
- Make sure you cut through both the T-shirt and the applied interfacing at the same time.
Aim for consistent sizing. This makes sewing much simpler later on. If a graphic is too large for your standard block size, you might need to make that block larger. You can then trim other blocks down to fit proportionally. Or, you can cut out just a part of a larger graphic. It’s your quilt, after all!
Designing and Sewing Your Quilt Top
With your T-shirt blocks prepared, it’s time to arrange them and start sewing. This is where your vision truly comes to life. Don’t be afraid to experiment with different layouts before committing to sewing.
Arranging Your T-shirt Blocks
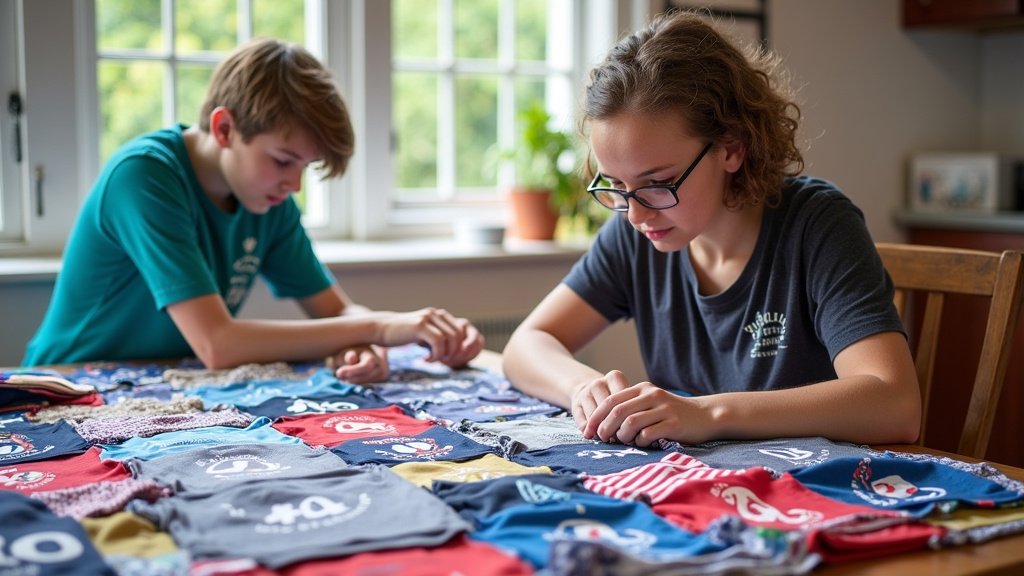
Lay out all your cut T-shirt blocks on a flat surface, like a bed or the floor. Experiment with different arrangements. Think about color balance and how the graphics flow together. Take a photo of your favorite layout before you start sewing. This way, you have a reference to follow.
| Consideration | Tip for Arrangement |
|---|---|
| Color Balance | Spread out similar colors to create visual harmony. |
| Graphic Flow | Place related themes or events near each other. |
| Size Variation | Use sashing (strips of fabric) if blocks are different sizes. |
| Personal Preference | Arrange until it feels right to YOU! |
Sewing the Quilt Top Together
Once you’re happy with the arrangement, it’s time to begin sewing. Work in rows. Sew the blocks in the first row together. Then sew the blocks in the second row, and so on. We found that using a 1/4-inch seam allowance is standard for quilting (National Center for Biotechnology Information).
Connecting Rows and Adding Sashing (Optional)
After you’ve sewn all your rows, you’ll connect the rows to each other. Pin them carefully, aligning the seams. Sashing is strips of plain fabric you can add between your T-shirt blocks or rows. This adds a nice frame and can help if your blocks are slightly different sizes. It can also give your eyes a rest between busy T-shirt designs. Adding sashing is entirely your choice.
Layering and Finishing Your Quilt
You’re almost there! Once your T-shirt quilt top is finished, you’ll need to add the backing and batting. Then, you’ll quilt it all together and add the binding. This turns your T-shirt collection into a cozy, usable blanket.
Creating the Quilt Sandwich
The “quilt sandwich” refers to layering your backing fabric, batting, and quilt top. This is a critical step for a comfortable quilt. Many experts say to tape your backing fabric to a clean floor, wrong side up, pulling it taut but not stretching it (Missouri Star Quilt Company).
Next, lay your batting evenly over the backing. The batting is the soft, fluffy middle layer. Finally, center your T-shirt quilt top, right side up, on top of the batting. Smooth out any wrinkles in all three layers.
Quilting the Layers Together
Now you need to “quilt” your layers. This means stitching through all three layers to hold them in place. You can do simple straight lines across your quilt. Or, you can use a more decorative pattern. Stitch around the T-shirt graphics for an easy approach. This secures the layers and adds texture.
Binding Your Quilt
The final step is to add the binding. This is a strip of fabric sewn around the outer edge of your quilt. It covers the raw edges and creates a neat, durable finish. There are many ways to make binding. We found that a double-fold binding is very durable. Sew one side to the front, then flip it to the back and hand-stitch or machine-stitch it down. Your T-shirt quilt is now complete and ready for snuggling!
Conclusion
You’ve seen how straightforward it can be to turn cherished T-shirts into a cozy, lasting quilt. From carefully selecting and preparing your shirts to the final binding stitch, each step builds toward a truly personal creation. This project is more than just sewing; it’s about preserving memories in a tangible way.
Remember that patience and attention to detail will lead to the best results. Don’t be afraid to experiment with your layout and put your own creative spin on it. Now, gather those special T-shirts, grab your supplies, and start stitching your story into a beautiful, functional heirloom. Your unique T-shirt quilt awaits!
Frequently Asked Questions
Can I machine wash my T-shirt quilt?
Yes, you can machine wash your T-shirt quilt! We recommend using a gentle cycle with cold water and a mild detergent. Tumble dry on a low setting or air dry flat to help maintain its shape and extend its life.
How many T-shirts do I need for a quilt?
The number of T-shirts you need depends on the desired quilt size and the size of your individual T-shirt blocks. For a typical throw-sized quilt (around 50×60 inches) using 12-inch blocks, you might need 25-30 T-shirts. A larger bed-sized quilt will, of course, require more.
What if my T-shirt graphics are different sizes?
This is a common situation! You can either cut all blocks to the same size, trimming around larger graphics or making smaller graphics the same size. Another option is to use sashing (strips of fabric) around smaller blocks to bring them up to size, or create an “irregular” style quilt where different sized blocks are simply arranged together.
Do I really need to use fusible interfacing?
While not strictly mandatory, we highly recommend using fusible interfacing. T-shirt fabric is stretchy, and the interfacing prevents distortion, making cutting and sewing much easier and more accurate. It greatly improves the overall stability and longevity of your quilt, especially for items that will see regular use and washing.
Can I hand sew a T-shirt quilt instead of using a machine?
Technically, you could hand sew a T-shirt quilt, but it would be a very time-consuming process. Machine sewing offers stronger, more consistent seams and is much faster for a project of this size. For the best results and a more enjoyable experience, we suggest using a sewing machine.
