
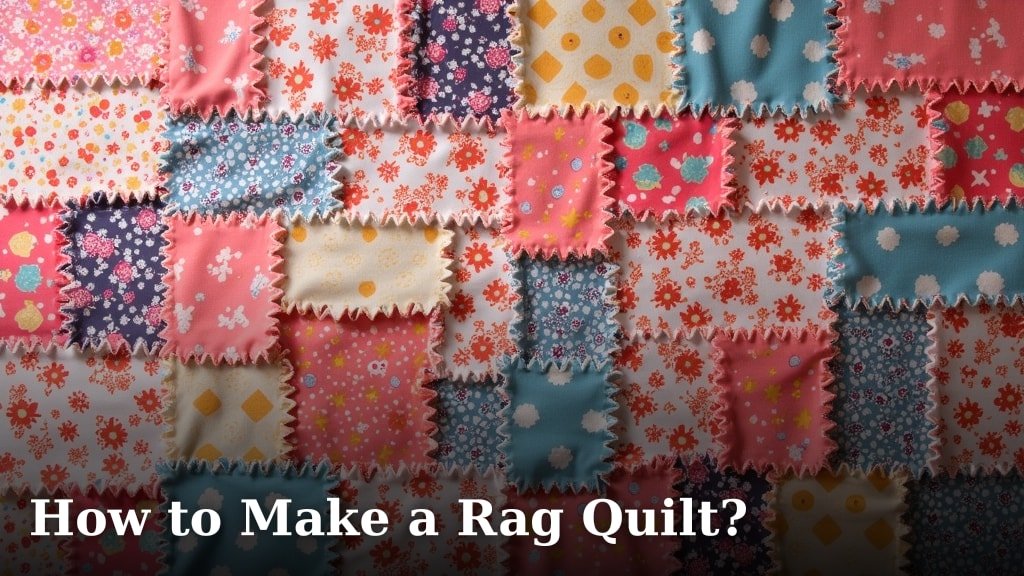
The easiest way to make a rag quilt is by cutting fabric squares, sewing them together with exposed seams, and then clipping those seams to create a frayed, fluffy edge. This simple method makes a cozy and unique blanket.
You can use old clothing, flannel, or almost any fabric you have on hand to create a one-of-a-kind rag quilt. It’s a wonderful project for both beginner and experienced crafters, offering a chance to be creative and make something truly special. Many people find it a very relaxing and satisfying hobby.
- Cut your fabric squares to size.
- Layer your fabric pieces.
- Sew the squares together with a larger seam allowance.
- Clip the seams to create the “rag” effect.
- Wash and dry to get that fluffy look.
Ready to get started on your own snuggly creation? We’ll walk you through everything you need to know to make a beautiful rag quilt.
Crafting Your Own Rag Quilt
Making a rag quilt is a rewarding experience. It’s like painting with fabric. You get to choose your colors and patterns. Let’s gather what we need and get started.
Gathering Your Supplies
Before you begin, it’s helpful to have everything ready. This saves time and frustration. Think of it like cooking; you wouldn’t start baking without all your ingredients.
Fabric Choices for Your Quilt
The type of fabric you choose really makes your quilt unique. Many crafters love using flannel. It frays beautifully and is super soft. You can also use denim, cotton, or even old T-shirts. Mix and match for a truly custom look.
- Flannel: Excellent for softness and frayed edges.
- Denim: Adds weight and a rustic feel.
- Cotton: Versatile and available in many patterns.
- Corduroy: Provides interesting texture.
- Minky: Super plush for the backing, but doesn’t fray.
We found that using a combination of fabrics can create a wonderful texture contrast. Just make sure your fabrics have similar washing care instructions (American Quilter’s Society).
Essential Tools You’ll Need
Having the right tools makes the process much smoother. You don’t need a fancy sewing machine. A basic one will do the trick.
- Sewing Machine: Any standard machine will work.
- Fabric Scissors or Rotary Cutter: A rotary cutter with a mat makes cutting squares much faster and more precise.
- Straight Pins or Clips: To hold fabric layers together.
- Fabric Marker: For marking cut lines or stitching guides.
- Seam Ripper: For those occasional “oops” moments.
- Good Quality Thread: Polyester thread is strong and durable.
- Fabric Clips or Rag Quilt Scissors: These are specialized for clipping seams and are a huge time-saver.
Many experienced quilters recommend investing in rag quilt scissors. They make the clipping phase much easier on your hands.
Preparing Your Fabric and Design
This is where your quilt starts to take shape! Planning is key for a beautiful outcome. Don’t rush this step.
Washing and Drying Your Fabric
Always wash and dry your fabrics before you start cutting. Why? Because fabrics can shrink. If you don’t pre-wash, your quilt might warp after its first wash. We found this step is often overlooked but so important (Crafter’s Companion).
Wash your fabrics just like you would wash the finished quilt. Use the same detergent and water temperature. This prepares the fabric for its future. It also removes any manufacturing chemicals.
Deciding on Your Quilt Size
What size quilt do you envision? A small lap blanket? A cozy throw for the couch? Or a large bedspread? The size will dictate how many fabric squares you need. Remember, more squares mean more sewing and clipping.
Here’s a general guide for common quilt sizes and the approximate number of 8-inch squares you might need:
| Quilt Size | Approx. Finished Size | Approx. 8-inch Squares Needed |
|---|---|---|
| Baby/Crib | 36″ x 48″ | ~30-40 |
| Lap/Throw | 50″ x 60″ | ~50-60 |
| Twin | 65″ x 88″ | ~90-100 |
| Queen | 84″ x 92″ | ~130-150 |
These are just estimates. The exact number depends on your seam allowance and desired square size.
Cutting Your Fabric Squares
First, decide on your square size. A common size is 6 to 8 inches. Remember, your seam allowance will make the finished square smaller. If you choose an 8-inch square, you’ll actually cut an 8-inch piece of fabric for each layer.
You’ll need three layers for each quilt block: a top fabric, a middle batting layer, and a bottom fabric. So, if you need 50 blocks, you’ll cut 50 top squares, 50 batting squares, and 50 bottom squares. That’s 150 squares total! No wonder this is called a rag quilt; there are many pieces.
A rotary cutter speeds this up considerably. Be sure to use a self-healing mat underneath. Measure carefully and cut straight lines. Precision here makes sewing much easier.
Assembling Your Quilt Blocks
Now for the fun part: putting it all together! This is where you see your design come to life.
Layering Your Fabric Squares
For each quilt block, you’ll create a “sandwich.” Place your bottom fabric square wrong side up. Then, place your batting square on top, centered. Finally, place your top fabric square right side up. So, the right sides of your top and bottom fabrics are facing out.
Pin all three layers together in the center with a single pin. This keeps them from shifting while you sew. Some people prefer to use clips.
Sewing Your Quilt Blocks
Using your sewing machine, sew an “X” from corner to corner across each layered block. This secures the three layers. Don’t worry if your stitches aren’t perfectly straight right now. The main goal is to hold everything in place.
This step also gives your quilt added durability. It prevents the batting from shifting when you wash it later (National Quilting Association).
Connecting Your Quilt into Rows and the Final Steps
You’re getting closer to a finished quilt! These next steps bring all your individual blocks together.
Sewing Blocks into Rows
Take two finished blocks. Place them together with the wrong sides facing each other. This is crucial for creating those exposed seams. You want the edges that will fray to be on the outside.
Sew them together using a 1/2 to 3/4-inch seam allowance. We found that a larger seam allowance, like 3/4 inch, creates a fluffier rag edge. Repeat this process until you have rows of blocks.
Press your seams open between each block as you go. This helps reduce bulk. Then, sew your rows together in the same manner, wrong sides facing, with that generously sized seam allowance. Keep those exposed seams consistent!
Clipping the Seams for the “Rag” Effect
This is the magical step where your quilt truly becomes a “rag” quilt. You’ll be clipping all those exposed seams. Cut small snips into the seam allowances, about every 1/4 to 1/2 inch. Be careful not to cut into your stitching!
Many quilters find this step strangely satisfying. It takes some time, but it’s worth it. When you’re done, your quilt will look a bit like a porcupine, but don’t worry, that’s normal!
The Final Wash and Dry
This is the moment of truth! After all your sewing and clipping, it’s time to wash your quilt. Toss it into the washing machine on a gentle cycle with a small amount of detergent. Use cold water. The agitation will help those clipped seams fray beautifully.
It’s important to clean out your washing machine filter afterwards, as there will be lots of loose fibers!
Then, tumble dry on low heat. Again, clean your dryer’s lint trap often. You’ll be amazed at how soft and fluffy your rag quilt becomes. It’s like magic!
Checklist for Your Rag Quilt Project
Here’s a quick overview of the main steps to keep you on track:
- Pre-wash and dry all your fabric.
- Cut all your fabric squares (top, batting, bottom layers).
- Layer three squares for each block and sew an “X” center stitch.
- Sew blocks together into rows with 1/2 to 3/4-inch seam allowance (wrong sides facing).
- Sew rows together to complete the quilt top.
- Clip all exposed seam allowances to create fringes.
- Wash and dry your quilt to activate the “rag” effect.
You’re now ready to enjoy your cozy, handmade rag quilt!
Conclusion
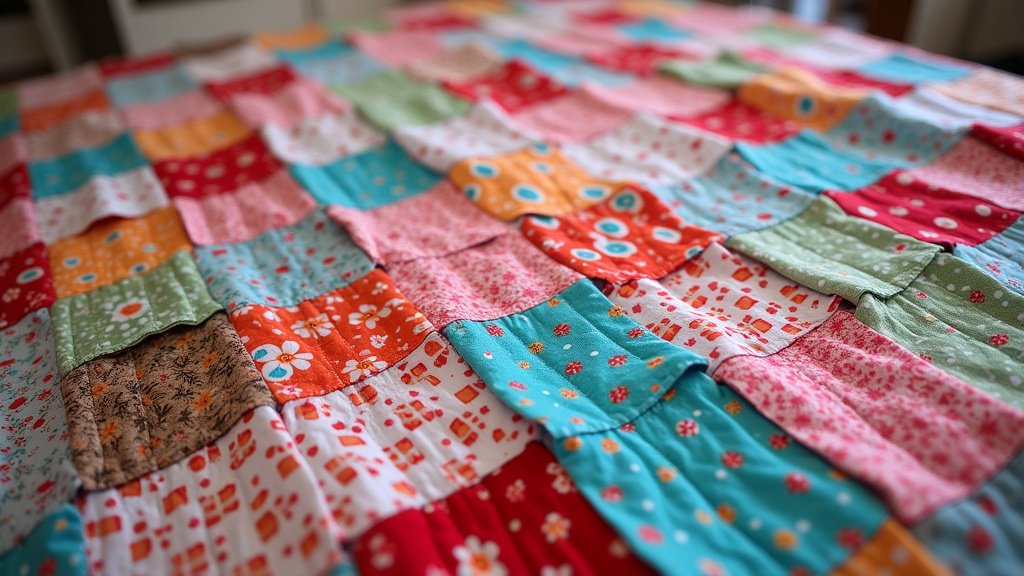
You’ve now got all the knowledge to create a beautiful, cozy rag quilt. From choosing your fabrics to clipping those satisfying seams, each step builds towards a unique textile art piece. Remember, don’t be afraid to experiment with different fabrics and colors to make it truly yours. The beauty of a rag quilt lies in its handmade charm and slight imperfections.
So, gather your supplies, pick out some favorite fabrics, and start stitching! Soon you’ll be snuggled under your own handmade creation, enjoying the warmth and satisfaction of a project well done. Happy quilting!
Frequently Asked Questions
What is the best type of fabric to use for a rag quilt?
Flannel is often considered the best choice because it frays beautifully and provides a soft, warm finished product. However, you can mix in denim, cotton, or corduroy for varied textures and appearances.
Do I need special scissors to make a rag quilt?
While regular fabric scissors can work, specialized rag quilt scissors (often spring-loaded) are highly recommended. They make the extensive clipping of seams much easier on your hands and speed up the process considerably.
How much fabric do I need for a rag quilt?
The amount of fabric depends on your desired quilt size and the size of your individual squares. For example, a throw size quilt made with 8-inch squares typically requires around 50-60 sets of three fabric layers (top, batting, backing).
Can I use old clothes to make a rag quilt?
Absolutely! Old jeans, flannel shirts, or even thick cotton t-shirts are excellent for rag quilts. Just make sure to pre-wash them and ensure they are made of similar fabric types to avoid uneven shrinkage.
Why do I need to pre-wash my fabric before cutting?
Pre-washing your fabric helps prevent frustrating shrinkage and warping after your quilt is finished. It also removes any manufacturing chemicals, ensuring your quilt retains its shape and softness for years to come.
