How to Keep Quilt Blocks Square?
On this page (7 sections)
The secret to keeping quilt blocks square is all about accurate cutting and precise piecing. You need to ensure your fabric pieces are cut to the exact dimensions required by your pattern. Then, aim for a consistent 1/4-inch seam allowance every time you stitch them together. This careful approach prevents those frustrating wonky shapes.
When your quilt blocks are square, your entire quilt will lay flat and look much more professional. This attention to detail helps avoid issues like points not matching up or borders that don’t fit correctly. Many experienced quilters stress the importance of precision from the start. It saves so much time and effort later in the process.
- Cut fabric accurately to pattern size.
- Use a consistent 1/4-inch seam allowance.
- Press seams carefully after each step. Using a straight stitch plate can also improve accuracy for piecing quilt blocks.
- Square up blocks if they drift slightly.
Ready to make sure your next quilt block is perfectly square? Let’s walk through the best techniques that quilters swear by.
Mastering Square Quilt Blocks: Your Guide to Precision
Achieving perfectly square quilt blocks is a cornerstone of successful quilting. It’s the foundation for a beautiful, flat quilt. We’ll guide you through the steps to ensure your blocks are true to size and shape, every time.
The Cutting Edge: Accuracy Starts Here
Precision in cutting is where the magic begins. If your pieces aren’t the right size from the start, your blocks will never be perfectly square. It’s like trying to build a house with uneven lumber. It’s just not going to stand up straight.
Choosing the Right Tools
Having the right tools makes all the difference. A good quality rotary cutter and a sharp blade are essential. A dull blade can make fabric shift, leading to inaccurate cuts. You also need a sturdy cutting mat that grips your fabric well.
The Ruler’s Role
A clear acrylic ruler with precise markings is your best friend. Look for rulers with clear lines for inches and fractions of inches. Many quilters prefer rulers with a non-slip backing to prevent fabric slippage. This is especially helpful when cutting smaller pieces or at an angle.
Marking Your Cuts
Some quilters find it helpful to mark their cutting lines directly on the fabric. A water-soluble marker or a chalk pencil works well. Just be sure to test it on a scrap piece first to ensure it disappears completely after washing or dries away.
Understanding Your Pattern’s Instructions
Always read your pattern carefully before you begin cutting. Patterns will specify the exact dimensions for each fabric piece. It’s common for pieces to be cut slightly larger than their finished size to account for seam allowances. For example, a piece that finishes at 4 inches might need to be cut at 4.5 inches.
Cutting for Speed and Accuracy
When cutting multiple pieces, stacking your fabric can save time. Ensure the fabric is aligned perfectly before cutting. A rotary cutter allows for swift, clean cuts through multiple layers. However, for very small or detailed pieces, it might be better to cut one layer at a time for maximum control.
Seam Allowances: The Unsung Hero of Squareness
The seam allowance is a small but mighty part of your quilting. For most quilt patterns, this is a 1/4-inch seam allowance. Consistency here is absolutely key to keeping your blocks square. Even a tiny variation can throw off your final dimensions.
Finding Your True 1/4-Inch Seam
Not all sewing machines have a perfect 1/4-inch foot built-in. You can test your machine’s seam allowance. Sew a straight line on a scrap piece of fabric. Measure the distance from the needle to the stitching line. If it’s not 1/4 inch, you might need to adjust your needle position or use an accessory foot.
The Magic of a Quarter-Inch Foot
Many sewing machines come with a specialized 1/4-inch foot. These feet have guides or a special needle plate that helps you keep your fabric edge exactly 1/4 inch from the needle. If you plan on doing a lot of quilting, investing in one is highly recommended. It’s a small change that makes a big impact on accuracy.
Using a Seam Guide
Another option is to use a seam guide. This is a small sticker or tape that you can place on your sewing machine bed. It acts as a visual cue for where to guide your fabric edge. You can also buy magnetic seam guides that attach easily to your machine.
Testing Your Seam Allowance
Before sewing your actual quilt blocks, it’s a good practice to test your seam allowance. Sew a few practice seams on scrap fabric. Measure the width of the sewn strip. Then, carefully press it open and measure the width of the fabric inside the seam. This will confirm if your 1/4-inch allowance is accurate.
Pressing Matters: The Power of a Good Press
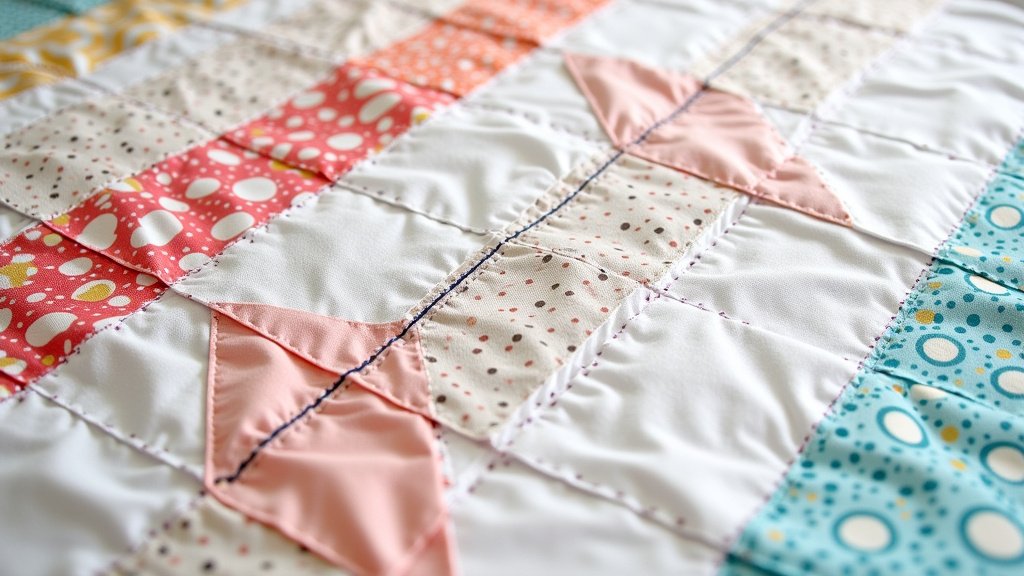
Pressing your seams correctly is as important as cutting and sewing them accurately. It helps to set the stitches and keep your fabric flat. Many quilters say you should press, not iron.
Why Press, Not Iron?
When you iron, you’re pulling and stretching the fabric. This can distort your pieces and make them less than square. Pressing involves lifting the iron and setting it down on the fabric. This motion gently sets the seam without distorting the shape of your block. Think of it as gently coaxing the fabric into place.
Pressing Seams Open vs. To One Side
Your pattern will usually tell you how to press your seams. Some patterns call for pressing seams open. This is often done to reduce bulk, especially in areas where many seams meet, like at the center of a block. Other patterns suggest pressing seams to one side. If you press seams to one side, try to press them in opposite directions for adjoining seams. This helps the seams nest together nicely when you join blocks.
Pressing Direction for Nested Seams
When you join two blocks or pieces, pressing seams in opposite directions allows them to ‘nest’ together. This means the raised seam allowance of one piece fits into the recessed seam allowance of the other. This creates a flatter seam and helps your points match up perfectly. For example, if the seam on the first block is pressed to the right, press the seam on the second block to the left.
Squaring Up Your Blocks: A Final Check
Even with the best intentions, sometimes a block can drift slightly out of square during sewing or pressing. This is where the technique of ‘squaring up’ comes in. It’s a final adjustment to ensure your block is perfect.
When to Square Up
Many quilters square up their blocks after they are sewn and pressed. This is your last chance to make sure the block is the correct finished size and perfectly square before you join it to other blocks or add borders.
How to Square Up Using a Ruler
To square up a block, you’ll need your clear acrylic ruler and a rotary cutter. Place the ruler over your block. Align the ruler’s diagonal lines with the seam lines of your block. Then, find the marking on the ruler that corresponds to the finished size of your block. For example, if your block is supposed to be 6.5 inches finished, find the 6.5-inch mark.
Aligning the Ruler Correctly
The key is to align the ruler so that the seam allowances are enclosed within the cut. You want the ruler’s corner mark to sit precisely at the corner of your block’s intended finished size. The diagonal lines on the ruler should run perfectly through the sewn seams. If your block is 6.5 inches, place the ruler so that the 6.5-inch mark aligns with the top and left edges of your block, and the diagonal line passes through the center.
Making the Cuts
Once the ruler is perfectly aligned, trim away any excess fabric from the two sides that are not yet aligned. Then, rotate your block and ruler. Realign the ruler with the trimmed edges and the correct measurements. Trim the remaining two sides. The result should be a perfectly square block.
A Quick Checklist for Square Blocks
Here’s a handy reminder of the key steps to keep your quilt blocks square:
- Cut fabric pieces precisely to the size listed in your pattern.
- Use a 1/4-inch seam allowance consistently with every stitch.
- Press seams carefully, lifting and setting the iron.
- Press adjoining seams in opposite directions to help them nest.
- Use a clear ruler to square up blocks if they are slightly off.
- Always test your sewing machine’s seam allowance.
Taking these small steps will make a huge difference in the final appearance of your quilt. It’s about building a strong foundation, piece by piece.
Conclusion
Keeping your quilt blocks square is truly achievable with careful attention to detail. You’ve learned that accurate cutting and a consistent 1/4-inch seam allowance are your best friends. Proper pressing techniques, using a rotary cutter and ruler wisely, and knowing when to square up your blocks all contribute to that professional finish. These practices build a strong foundation for any quilt you create. Start implementing these steps on your next project, and you’ll see a beautiful difference!
Frequently Asked Questions
What if my sewing machine doesn’t have a 1/4-inch foot?
Don’t worry! You can still achieve an accurate 1/4-inch seam allowance. Use painter’s tape or a small sticker on your machine bed to mark your seam guide. You can also adjust your needle position if your machine allows. A quick test on scrap fabric will confirm your measurement.
How do I know if my fabric is shifting while cutting?
If you notice your fabric feels like it’s moving under your ruler or cutter, your blade might be dull. A sharp rotary cutter blade is essential for clean cuts. Also, ensure your cutting mat has a good grip. Some quilters find a fine-grit sandpaper block can help refresh a slightly dull blade.
Should I press seams open or to the side for every block?
It depends on your pattern! Most patterns will specify. Pressing seams open can reduce bulk, especially in dense areas. Pressing to one side is often preferred when adjoining seams will be butted together, as it helps them ‘nest’ nicely. Always follow your pattern’s guidance.
My points aren’t matching up, what could be wrong?
This often comes back to seam allowance consistency and accurate cutting. If your seam allowances are slightly off, or if your pieces were cut too small or too large, your points will have trouble meeting perfectly. Double-check that you used a precise 1/4-inch seam and that your blocks were cut to the correct dimensions.
How often should I be squaring up my quilt blocks?
Many quilters square up blocks after sewing and pressing them, as a final check before joining them. If you’re finding your blocks are consistently off, you might need to re-evaluate your cutting and sewing techniques. Squaring up is a great finishing step, but ideally, your initial steps prevent major discrepancies.