
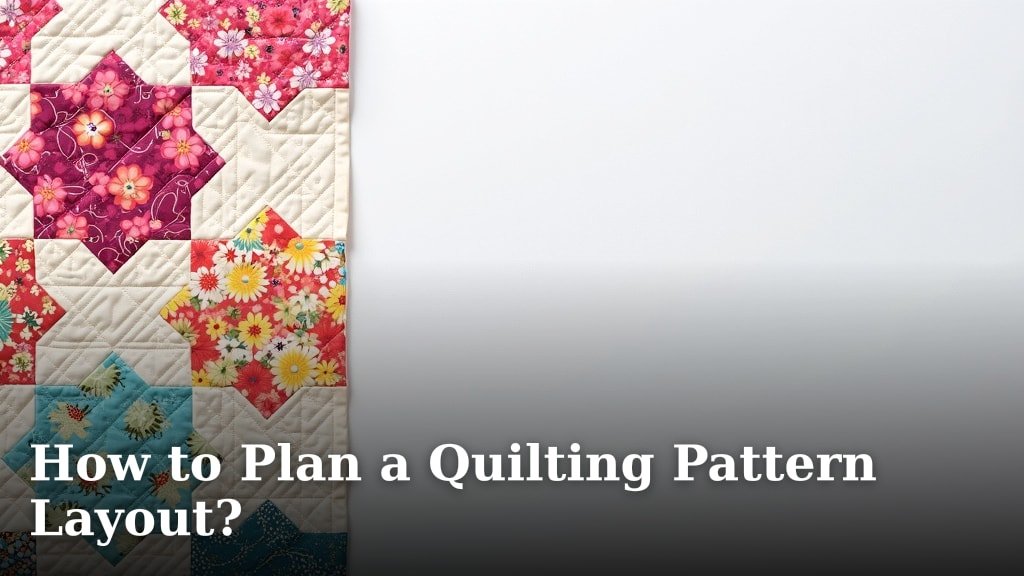
Planning your quilting pattern layout is key to a successful and beautiful finished quilt. The easiest way to plan a quilting pattern layout is to visualize it first, using tools like graph paper or quilt design software. This allows you to experiment with different stitch paths before you even touch your fabric, ensuring you’ll achieve the exact look you’re after.
Many quilters find that good planning saves them time and frustration. It helps you understand how your chosen quilting design will enhance or complement your piecing. Think of it as mapping out a route before a road trip; it prevents getting lost and ensures you arrive at your desired destination with ease. A well-planned layout also helps in deciding how much quilting is just right.
- Sketch your quilt design on paper or use software.
- Consider how quilting lines will interact with piecing.
- Think about the overall density and style of quilting.
- Visualize how the quilting will define your quilt’s features.
- Plan for practicalities like starting and ending points.
Ready to dive in? Let’s walk through exactly how to plan your next quilting pattern layout, step by step.
Mapping Out Your Quilting Design: A Step-by-Step Guide
Planning your quilting pattern layout is a fantastic way to ensure your quilt top truly shines. It’s where you decide how your stitches will dance across the fabric. Thinking about this early can save you so much time and potential frustration later on. Let’s walk through how to make this planning process smooth and enjoyable.
You might wonder, “Why plan so much?” Think of it like drawing a map before a road trip. You wouldn’t just start driving, hoping to end up at your destination, would you? Quilting is similar. A good plan helps you achieve the look you envision. It also helps you decide exactly how much quilting is “just right” for your project.
Visualizing Your Quilting Design
The first step is to get a clear picture in your mind. How will the quilting design interact with the piecing? Will it enhance the shapes you’ve sewn? Or will it add a completely new layer of texture and visual interest? Visualizing is key to answering these questions.
Sketching Your Ideas: Pen and Paper Power
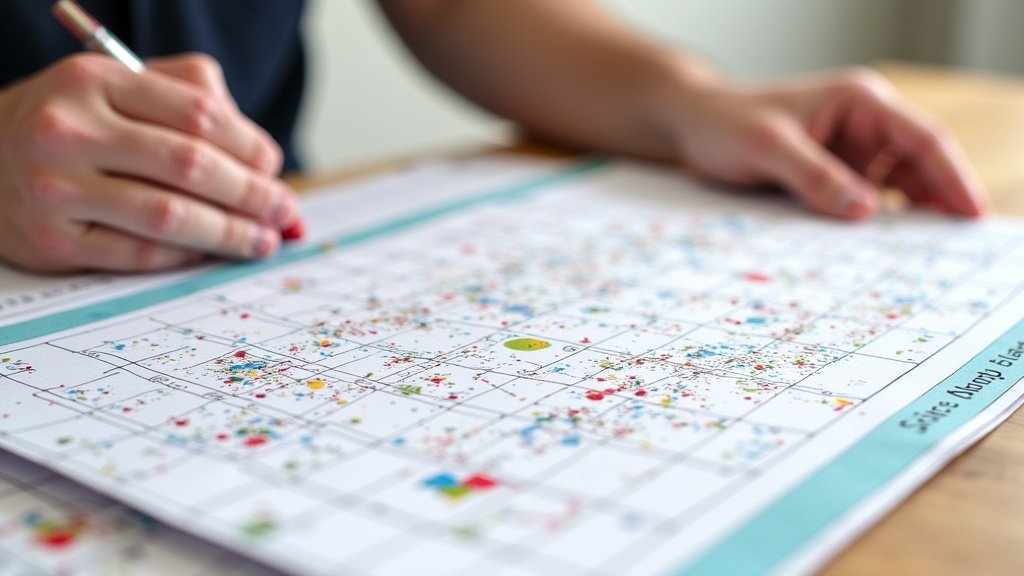
For many quilters, the most straightforward approach is to grab some graph paper and pencils. You can draw your quilt blocks and then sketch different quilting motifs over them. This allows for quick experimentation. Try drawing straight lines, curves, or even more complex patterns. See how they flow within your blocks and across the quilt.
Graph paper is wonderful because it provides a grid. This grid can help you keep your drawn quilting lines proportional to your actual quilt pieces. You can even use different colored pencils to represent different types of quilting stitches or stitch paths. This method is accessible and requires no special software.
Exploring Digital Design Tools
If you’re more comfortable with technology, there are excellent quilt design software programs available. These tools let you import or draw your quilt pattern. Then, you can layer various quilting designs directly onto the virtual quilt. This offers a high degree of flexibility. You can easily move, resize, and change designs.
Many of these programs allow you to see your design in 3D or from different angles. This can give you a better sense of the final effect. Some even simulate how the quilting will look with different thread colors. It’s like having a crystal ball for your quilt! These tools can be particularly helpful for complex or large-scale quilting plans.
Considering the Quilting’s Role
Once you have a visual idea, think about the purpose of your quilting. What do you want it to achieve for your quilt top? Its role can be varied.
Highlighting Piecing and Appliqué
Sometimes, your piecing is the star of the show. In this case, your quilting should be subtle. It should outline or define the pieced shapes without overpowering them. Think of it as adding a gentle frame. This allows the colors and patterns of your fabric to remain the main focus.
For appliqué, quilting can help secure the appliqué pieces. It can also add dimension and shadow. You might quilt around the edges of the appliqué.
Conclusion
Planning your quilting pattern layout is a rewarding process. You’ve learned how visualizing your design, whether through sketching or software, is essential. This early planning helps you make informed decisions about how your quilting stitches will interact with your piecing. It ensures your finished quilt looks exactly how you imagined. So, take that first step! Grab your graph paper or open your design software and start mapping out your next beautiful quilting project today.
Frequently Asked Questions
What’s the difference between quilting and piecing?
Piecing refers to sewing together fabric shapes to create the top layer of your quilt. Quilting is the stitching that goes through all three layers of the quilt sandwich: the top, batting, and backing. Quilting adds texture, depth, and visual interest to your quilt.
How do I decide on the right quilting density?
Density depends on your quilt’s purpose and fabric. For delicate heirlooms, lighter quilting might be best. For utility quilts needing durability, denser quilting is a good choice. Your planned layout helps you visualize how much stitching will cover the surface.
Can I quilt over appliquéd shapes?
Yes, you absolutely can quilt over appliquéd shapes! A common technique is to quilt around the edges of the appliqué to help secure it and give it a gentle raised effect. You can also quilt designs within the appliqué itself if it’s large enough.
What if my quilt has many different blocks?
If your quilt has many different blocks, you can plan for a consistent quilting design across all of them for a unified look. Or, you might choose to quilt each block differently to highlight its unique pattern. Visualizing these options on paper or software helps you choose.
How can I prevent my quilt from puckering during quilting?
Proper planning for your quilting layout can help minimize puckering. Ensure your quilt sandwich is well-basted. When planning your stitches, consider starting and ending your quilting lines in less visible areas. This reduces the chance of pulling threads on the front.
