How to Inset Organic Shapes in Quilts
To inset organic shapes in quilts, sew a curved fabric shape into an opening cut in the background, matching the seam line with small clips and steady stitching. This is curved piecing, not quilting lines sewn through a finished quilt.
On this page (9 sections)
- What does insetting organic shapes in quilts mean?
- What supplies help you sew a curved inset?
- How do you prepare the shape and background?
- How do you sew the inset without puckering?
- How do you press and check the inset seam?
- What mistakes make curved insets harder?
- How do you assemble a quilt top with inset shapes?
- How do you choose a first inset project?
- What is the simplest way to inset an organic quilt shape?
To inset organic shapes in quilts, sew a curved fabric shape into an opening cut in the background, matching the seam lines and easing the curves together as you stitch. This is curved inset piecing, not quilting lines sewn through a finished quilt.
An organic inset can look like a leaf, pebble, flower, or freeform patch. The key is to control the seam line: a paper template helps you mark it clearly, while small clips let the concave edge open enough to fit a convex curve.
What does insetting organic shapes in quilts mean?
Insetting organic shapes means joining a fabric shape inside a cutout in another fabric piece. The result is a single flat quilt top with a curved seam around the inserted shape.
This differs from appliqué, where the shape usually sits on top of a background and is stitched around its edge. It also differs from quilting, where stitches pass through the quilt top, batting, and backing; how to quilt organic lines covers those surface stitches.
For a T-shirt quilt, compare stitch choices for T-shirt quilts with the fabric and layers you plan to sew.
Use inset piecing when you want the shape's edge to meet the background edge in one plane. It takes more seam control than a simple straight patch, so start with a large, gentle shape before trying narrow points or tight curves.
What supplies help you sew a curved inset?
You need a stable template, sharp fabric scissors, pins or clips, a marking tool, and a sewing machine. A small practice sample helps you check the method before cutting a full quilt block.
Choose a marking tool that shows on your fabric and can be removed using its care instructions. Mark the stitching line as well as the cutting line when your seam allowance makes the two easy to confuse.
A curved ruler can help draw broad arcs, but an irregular outline is often easier to shape on paper first. For general machine choices, see best quilting machine for seniors, especially if easy-to-manage controls are a priority.
The June Tailor table runner pattern uses piece-by-number construction and printed cotton/poly batting, with fabric not included. It is designed for a 48 x 15 in runner, so it can suit someone who wants a guided small project alongside curved-piecing practice.
How do you prepare the shape and background?
Prepare matching seam lines on the shape and the background opening before sewing. The seam line, rather than the raw edge, determines whether the curves fit.
- Draw the organic outline on paper, keeping the first version broad and smooth.
- Add the seam allowance around the shape and the background opening.
- Cut paper templates, then label the top, bottom, and any reference points.
- Transfer the cutting and seam lines to the fabric.
- Mark matching points at the ends and at intervals around each curve.
For the opening, mark the seam line on the background piece, then cut inside it with enough allowance to clip and sew. For the inset shape, cut around its seam allowance, keeping the seam line visible.
Make a sample from scraps if the curve has a sharp turn or a narrow neck. You can adjust the templates before using the quilt fabric.
How do you make an organic shape template?
Make the template from a smooth outline with no abrupt dents or corners unless those details are part of the design. A gentle arc is simpler to sew and less likely to pucker than a tight curve.
Fold a paper draft in half if the shape should be symmetrical, draw one side, then open and refine the outline. For a deliberately uneven shape, draw the full outline and mark several points where you will match the pieces.
Check that the seam line on the shape matches the seam line around the background opening. If you change the curve on one template, update the other before cutting fabric.
How do you sew the inset without puckering?
Sew the inset slowly, matching the seam lines and easing only a short section at a time. Keep the fabric flat in front of the needle, and avoid stretching either edge.
- Clip the seam allowance on the concave edge, stopping just short of the seam line.
- Place the shape and background right sides together, aligning the ends and marked points.
- Pin or clip between those points, easing the fabric edges to meet without pulling.
- Sew with the clipped edge on top if that gives you better control.
- Stop with the needle down to adjust the fabric at each mark or curve change.
- Check the seam before trimming excess allowance or pressing.
Small clips let the concave allowance spread around the opposing curve. Keep each clip close enough to the seam line to release the fabric, but never cut into the stitches.
If the fabric starts to ripple, stop and unpick the problem section instead of pushing a fold under the presser foot. A longer stitch can make early adjustments easier, but use a secure stitch length for the finished seam.
Should you sew the curve with a machine or by hand?
A sewing machine works well for a stable, marked curve with enough room to guide the fabric. Hand sewing is another option for a very small inset or a curve that is difficult to rotate under the presser foot.
Keep the needle down when pausing to reposition the pieces. If the seam allowance is bulky, reduce the speed and use short, even stitches around the curve.
The RECYCO channel box stitch velvet quilt sets are finished bedding, not inset-piecing supplies. Their channel stitching is a surface construction detail, so they can inspire a geometric or channel-line look but won't teach how to join an organic inset.
The set includes a 108 x 96 in quilt and 2 pillow shams measuring 20 x 36 in. It may suit someone comparing a ready-made bedroom quilt while planning a handmade project.
This set also includes a 108 x 96 in quilt and 2 pillow shams measuring 20 x 36 in. Both RECYCO sets are bedding options rather than tools for sewing inset shapes.
How do you press and check the inset seam?
Press the seam without dragging the iron across the curved edge, which can stretch the bias area. Follow your fabric's care guidance, and use a pressing cloth if needed.
First press the seam as sewn to set the stitches. Then press the seam allowance toward the background or the inset, depending on the fabric bulk and how the quilt top will lie.
Lay the block on a flat surface and check for tucks, puckers, and distortion. If the seam ripples, unpick a short section, redistribute the ease, and resew it before adding more blocks.
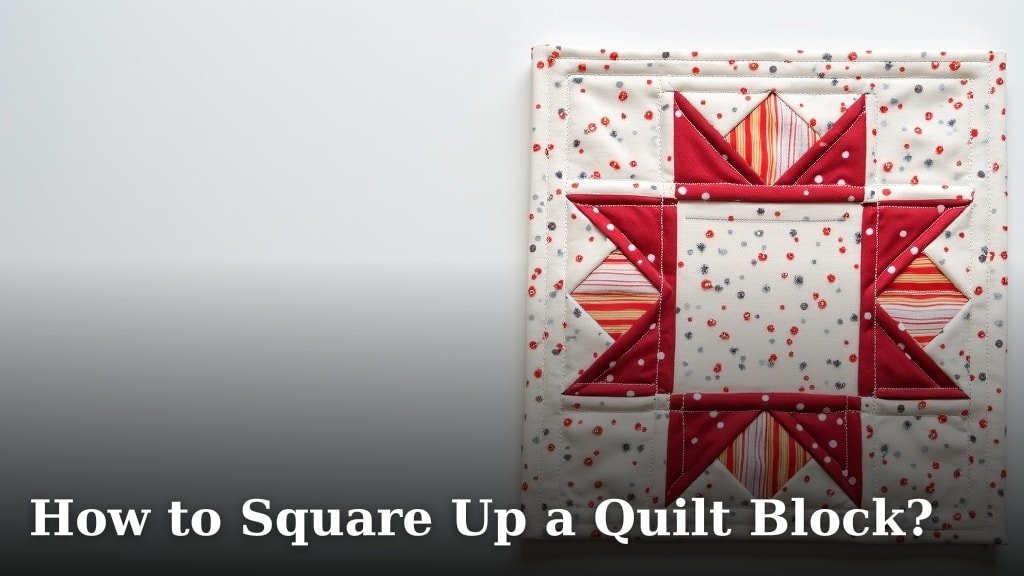
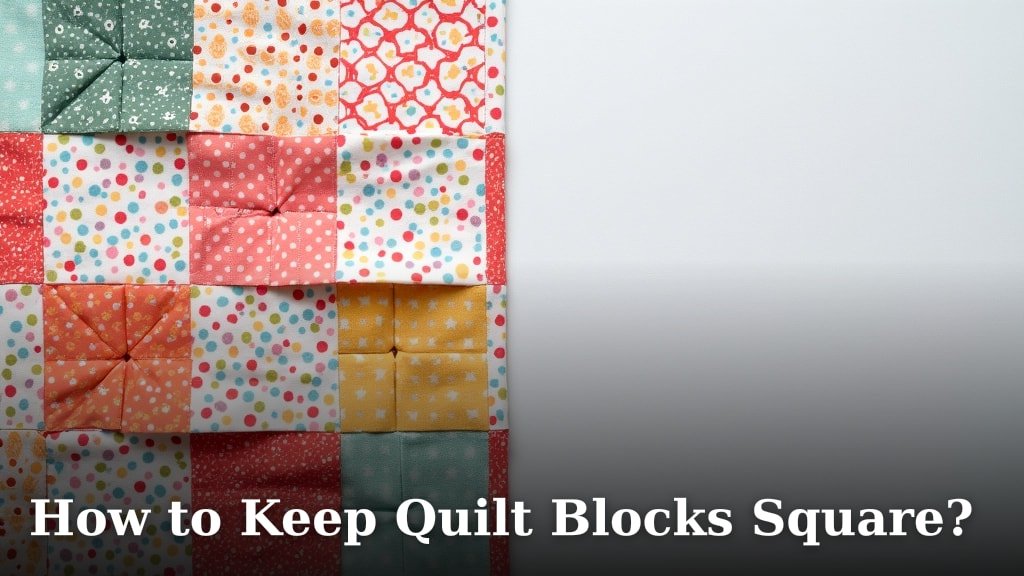
If the inset sits in a pieced block, check the block's edges after pressing. Guides to how to square up a quilt block and how to keep quilt blocks square can help you preserve the block dimensions as you assemble the top.
What mistakes make curved insets harder?
The most common problems are cutting before the templates match, stretching the fabric, and clipping too far. Each can leave a puckered seam or a visible mismatch.
- Mismatched curves: Compare both seam lines and reference marks before sewing.
- Too few clips: Add clips along the concave allowance so it can spread.
- Clips through the seam line: Stop short of the line to keep the seam strong.
- Pulling the fabric: Guide the edges together without stretching them.
- Forcing a sharp turn: Redraw a smoother shape or sew in short sections.
- Pressing with a dragging motion: Lift and place the iron to avoid distortion.
Do not trim the seam allowance close until you have checked that the inset lies flat. A little extra allowance gives you room to correct the seam.
How do you assemble a quilt top with inset shapes?
Assemble the inset block first, then join it to neighboring blocks after its seam lies flat and its edges are stable. This keeps later seams from hiding a problem that is harder to reach.
Use the same careful matching approach when you join blocks into rows. Our guide to how to piece a quilt top explains how to keep the layout and seams aligned.
Once the top is assembled, measure it and check its edges before basting. The guide to squaring a quilt top can help you correct the perimeter without distorting the inset blocks.
How do you choose a first inset project?
Choose a large, gently curved shape with a simple background for your first attempt. A leaf, oval, or broad wave is easier to mark and sew than a tiny shape with tight turns.
Practice on scraps from the same fabric types you plan to use. If the sample lies flat after pressing, transfer the method to a block; if it puckers, adjust the curve or add more clips before cutting the quilt pieces.
Pick a guided project if you want numbered construction steps and a defined finished size. Choose the June Tailor runner pattern for that structure, and use the RECYCO sets only as ready-made bedding or visual references for channel stitching.
What is the simplest way to inset an organic quilt shape?
For a clean inset, match the seam lines, clip the concave allowance, and sew in short controlled sections. Smooth templates and accurate reference marks prevent most curve problems before they reach the machine.
Start with one large shape, press it gently, and inspect the block before joining it to the rest of the quilt. If the shape is flat, continue the top assembly; if it puckers, unpick and correct the curve while the seam is easy to reach.
Frequently asked questions
What is an inset shape in quilting?
An inset shape is a piece of fabric sewn into an opening in a larger piece, often to add a curved or irregular patch. The seam joins the shape to the surrounding background, so accurate templates, matching marks, and careful easing matter more than quilting stitches through layers.
How do you sew curves when insetting quilt shapes?
Mark both seam lines, match the ends and key points, then sew slowly with the pieces right sides together. Clip the seam allowance on the concave edge without cutting the stitching, and ease small sections as you go so the curve can spread around the opposing edge.
Do you cut the quilt background before sewing an inset?
Usually, yes. Draw the opening on the background, sew the inset shape to that marked line, and trim the excess layers after checking the seam.
Some methods use a slit or partial opening, so follow the template or construction method you chose.