
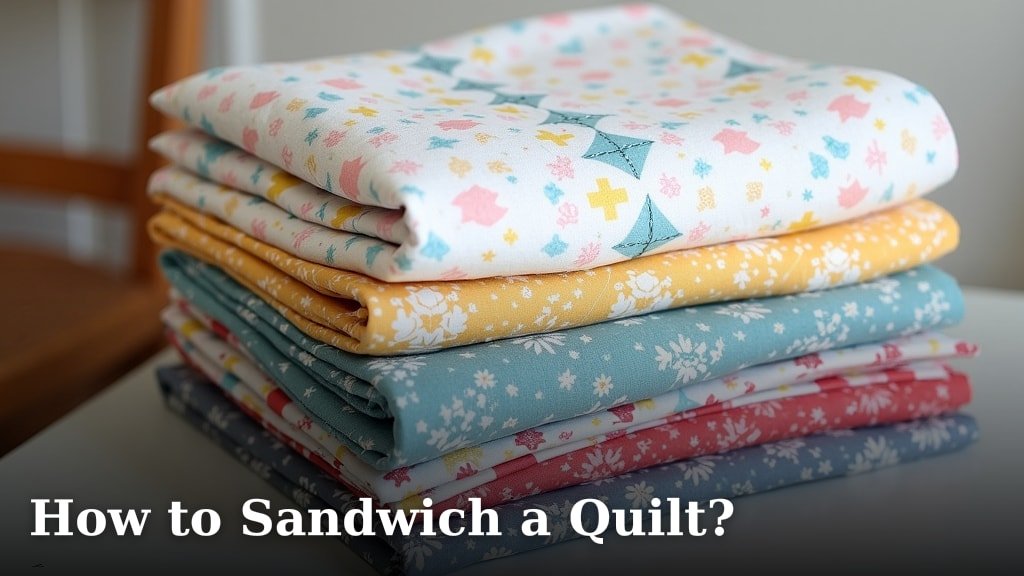
To sandwich a quilt, you first need to prepare your backing fabric, batting, and quilt top. Then, you carefully layer these three components together, ensuring they are smooth and wrinkle-free, ready for quilting. This crucial step creates the foundation for your finished quilt.
Creating a good quilt sandwich is essential for a beautiful and long-lasting quilt. It prevents lumps and shifting, making your quilting process much easier. We found that a well-prepared sandwich makes all the difference in the final product.
- Prepare your quilt layers: backing, batting, and quilt top.
- Ensure all layers are smooth and free of wrinkles.
- Layer them correctly for successful quilting.
- Discover methods like basting spray or pins for securing.
Ready to make your next quilting project a breeze? Let’s walk through exactly how to sandwich a quilt, step by step.
Setting Up for Quilt Sandwich Success
Preparing your workspace and materials properly makes a big difference. Think of it like a chef prepping ingredients before cooking. Getting everything ready beforehand helps you avoid frustrations later.
Gathering Your Essential Supplies
What do you need for a perfect quilt sandwich? You’ll want your quilt top, backing fabric, and batting, of course. But don’t forget the tools to put them together. We found that having everything within reach streamlines the process.
The Right Batting for Your Project
Batting is the cozy middle layer of your quilt. It comes in different fibers like cotton, wool, or polyester. Each type has a unique feel and drape. Consider your quilt’s purpose when choosing batting. A bed quilt might need something thick and warm, while a wall hanging could use a thinner option. Check the batting’s care instructions, too. Some batting needs different washing methods than others (The National Quilting Association). Knowing this upfront saves you trouble later.
Choosing Your Backing Fabric
The backing fabric should be larger than your quilt top. We recommend at least four to six inches bigger on all sides. This extra fabric gives you room to maneuver and helps prevent accidental stitching through the edge of your quilt top. You can use a single piece of fabric or piece several together. If piecing, use a generous seam allowance and press seams open. This helps keep the backing flat and smooth. Many quilters enjoy choosing a backing that complements the quilt top design. It’s like a secret bonus detail for your quilt.
Preparing Your Workspace
You’ll need a large, clean, and flat surface. A kitchen table or even a clean floor works well. Make sure there’s enough space to spread out all your layers. Clear away any clutter that could snag your fabric or cause bumps. A little pre-cleaning goes a long way here. We found that a well-lit area is also super helpful for seeing any wrinkles or puckers. Good lighting makes sure you don’t miss anything important.
Layering Your Quilt Sandwich
Now for the main event: layering! This is where your quilt sandwich truly comes together. The goal is to get all three layers perfectly flat and aligned. This prevents shifting during the quilting process. Think of it as building a gentle, fabric skyscraper.
Starting with the Backing
Lay your backing fabric face down on your clean surface. Smooth it out completely. Use painter’s tape to secure the edges to your floor or table. Pull it taut, but don’t stretch it so much that it distorts. You want it firm but relaxed. We found that taping all four sides ensures the backing stays put. This is your foundation, so make it solid.
Adding the Batting Layer
Next, carefully place your batting on top of the backing fabric. Center it as best you can. Gently smooth out the batting from the center outwards. Work slowly to avoid creating any lumps or creases. Batting can be a bit clingy, so take your time. You don’t want any trapped air bubbles or wrinkles here. This layer gives your quilt its fluff and warmth, so make it happy and flat.
Placing the Quilt Top
Finally, lay your quilt top face up on top of the batting. Again, center it nicely. Smooth it out meticulously from the center towards the edges. This is your masterpiece, so treat it with care. Pay close attention to seams and corners. Make sure everything lies flat. You’re creating a cohesive unit, and a smooth quilt top is key.
Securing Your Quilt Layers: Basting Techniques
Once your layers are perfectly aligned, you need to hold them together. This step is called basting. Basting prevents shifting while you quilt. It’s like temporarily gluing your layers together so they don’t move. There are a few popular methods for basting, each with its own pros and cons. We found that personal preference often guides this choice.
Pin Basting Your Quilt
Pin basting is a traditional and reliable method. You’ll need safety pins designed for quilting. These pins have a slight curve, making them easier to open and close through multiple layers. Many experts recommend using plenty of pins. Space them about every four to six inches across your quilt. Start from the center and work your way out. Insert the pin from the top, through all layers, and then back up. Make sure to catch all three layers in each pin. This method is great for larger quilts. It also allows for repositioning if needed.
Pin Basting Checklist
- Use curved safety pins.
- Place pins 4-6 inches apart.
- Start pinning from the center.
- Ensure each pin goes through all layers.
- Check for puckers as you go.
- Smooth any bumps before pinning.
Spray Basting Your Quilt
Spray basting uses a temporary adhesive spray to hold your layers together. This method is often quicker than pin basting. It can also result in a flatter, less bulky surface for quilting. When using spray basting, work in sections. Fold back a portion of your quilt top and batting. Spray the exposed batting with a light, even coat of adhesive. Then, smooth the quilt top back down, working out any wrinkles. Repeat this process across the entire quilt. Make sure to work in a well-ventilated area. This method is fantastic for intricate designs or smaller projects where pins might get in the way.
Comparing Basting Methods
Choosing between pins and spray often comes down to your project and preference. We’ve compiled a quick comparison to help you decide.
| Feature | Pin Basting | Spray Basting |
|---|---|---|
| Setup Time | Longer | Faster |
| Final Result Smoothness | Very good, but pins can create slight bumps | Excellent, very flat |
| Cost | Initial purchase of pins (reusable) | Ongoing cost of spray cans |
| Ease of Repositioning | Easy to unpin and adjust | Difficult once spray has set |
| Best For | Larger quilts, beginners, those sensitive to chemicals | Smaller projects, detailed quilting, quick projects |
Final Checks Before Quilting
Before you dive into the actual quilting, take one last look. This final check is crucial for catching any issues. It’s much easier to fix things now than after you’ve started stitching. We always recommend stepping back and looking at your work from a distance. Sometimes, flaws are more apparent from afar.
Inspecting for Wrinkles and Lumps
Walk around your quilt sandwich. Feel for any bumps or wrinkles in the batting or backing. Gently lift and smooth any areas that aren’t perfectly flat. If you used pins, make sure none of them are poking out on the wrong side. If you used spray, check for areas that might have missed the adhesive. A well-prepared sandwich means smooth quilting. We found that a thorough check prevents many quilting headaches.
Checking for Even Tension
Gently tug on your quilt sandwich from different directions. Does it feel firm but not overly stretched? Is there any sag or looseness? You want a consistent tension across the entire surface. If one area feels too loose, you might need to add more pins or reapply spray. This even tension helps prevent puckering and shifting as you quilt. Many professional quilters emphasize the importance of even tension for a beautiful finish (Quilters Guild of America).
Troubleshooting Common Sandwiching Issues
Even with the best intentions, sometimes things go a little sideways. Don’t worry, these issues are often fixable! It’s all part of the learning process. We’ve all encountered these little bumps in the road.
Dealing with Persistent Wrinkles
If you have a stubborn wrinkle that just won’t smooth out, don’t force it. Carefully unpin or lift the affected area. Then, re-smooth the layers from the center outwards. Sometimes, a gentle press with your hand is all it takes. If the wrinkle is in the backing, try re-taping that section. Patience is your best friend here. Forcing a wrinkle can lead to a permanent crease in your finished quilt.
What if the Layers Shift?
Layer shifting usually happens during basting. If you notice your layers are no longer aligned, carefully unpin or lift the top layers. Re-center them, smooth everything out again, and then re-baste. This might mean adding a few more pins or more spray adhesive. A slight shift is okay, but a major one needs correction. Remember, a stable sandwich leads to beautiful quilting. We’ve learned that taking the time to fix a shift now saves a lot of frustration during the actual quilting.
Conclusion
You’ve now mastered the art of creating a strong quilt sandwich. This foundational step truly impacts your entire quilting experience. By carefully preparing your layers and choosing the right basting method, you set yourself up for success. Remember, a little extra time spent now saves a lot of frustration later. We learned that patience and attention to detail pay off in a beautifully finished quilt.
So, gather your supplies, find your perfect workspace, and confidently sandwich your next project. Your sewing machine (and your future self!) will thank you for it. Now go forth and quilt with confidence!
Frequently Asked Questions
How long can a quilt sandwich stay basted before quilting?
Generally, you should aim to quilt your basted project within a few weeks. If you used spray basting, the adhesive can lose its stickiness over time. Pin-basted quilts can last longer, but storing them flat is best to prevent shifting or bending pins.
Can I reuse batting from an old quilt for a new sandwich?
While technically possible, it’s usually not recommended. Used batting might be thinner, lumpy, or have needle holes that affect its integrity. For the best results and a smooth finish, we suggest using fresh batting for each new project.
What if my quilt backing isn’t perfectly square?
Don’t worry too much about a slightly off-square backing. The important thing is that it’s larger than your quilt top on all sides. You can always trim the excess backing and batting even with your quilt top after quilting is complete.
Is it okay to use regular office safety pins instead of curved quilting pins?
We highly recommend using curved quilting safety pins. Regular office pins are harder to insert through multiple layers and can snag your fabric. Curved pins are designed to glide through fabric, making the basting process much smoother and preventing damage.
My quilt sandwich feels too stiff after basting. Did I do something wrong?
A little stiffness is normal, especially with spray basting, as the adhesive sets. It shouldn’t feel rock-hard, though. If it feels excessively stiff, you might have used too much spray or your batting is very dense. It will soften up once quilted and washed.
