How to Load a Hand Quilting Frame
To load a hand quilting frame, attach the backing first, then the batting, then the quilt top, smoothing each layer and advancing the rails as you go. Keep the layers centered and evenly tense so you can stitch in straight sections without shifting.
On this page (9 sections)
- What Is a Hand Quilting Frame and What Does Loading Mean?
- What Do You Need Before You Load a Hand Quilting Frame?
- How Do You Load the Backing on a Hand Quilting Frame?
- How Do You Add Batting and the Quilt Top After the Backing?
- How Tight Should Layers Be for Hand Stitching?
- How Do You Advance the Frame as You Quilt?
- How Is Loading a Hand Frame Different From a Longarm Frame?
- Which Patterns and Books Help Once the Frame Is Loaded?
- How Do You Know the Frame Is Loaded Correctly?
To load a hand quilting frame, attach the backing first, then the batting, then the quilt top, smoothing each layer and advancing the rails as you go. Keep the layers centered and evenly tense so you can stitch in straight sections without shifting.
This guide explains how to load a hand quilting frame in that order. It also covers tools, tension, and the checks that keep hand stitching even.
What Is a Hand Quilting Frame and What Does Loading Mean?
Loading means mounting the three quilt layers on the frame so they stay flat while you stitch. A frame holds the backing, batting, and top as one sandwich under light tension.
If you are new to frame work, start with What Is a Quilting Frame?. That overview explains parts such as side rails and end bars before you attach fabric.
Hand frames differ from longarm frames. They do not move under a machine head, so you stitch by hand and even tension matters more than speed.
The frame keeps the quilt open in front of you instead of bunched in your lap. That layout lets you reach across a section and place stitches at a steady size.
What Do You Need Before You Load a Hand Quilting Frame?
You need the backing, batting, and top cut to size, plus clips, pins, or staples for your frame type. Have scissors, a ruler, and a marker or chalk ready.
Measure each layer and trim stray threads. Press the top and backing so folds do not become permanent lines under tension.
Set the frame on a stable surface. Check that rails turn freely and that clamps or canvas strips hold without tearing the cloth.
How Do You Fit the Layers to Your Frame?
Lay each layer on a clean table and check its length against the frame opening. The backing needs enough extra length to wrap or attach at both ends.
The batting needs enough width to reach the side rails without being pulled thin.
Mark the center of each side with a small chalk tick. Those marks help you center the top later, when the design lines must stay straight.
Gather clips, pins, or staples for the method your frame uses. Put them in a small tray within reach, so you do not need to lift the quilt to find them.
How Do You Load the Backing on a Hand Quilting Frame?
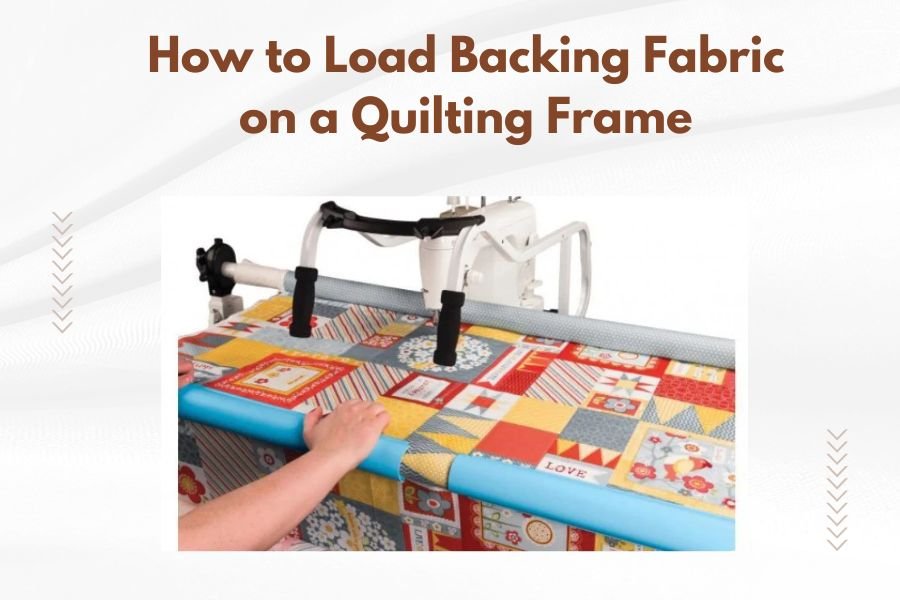
Start with the backing and make it the smooth base for the other layers. Center it on the frame, attach it to the end bars, and roll or advance it until the working area is flat.
Our guide to How to Load Backing Fabric on a Quilting Frame walks through that first step in more detail. Use it if your frame uses canvas, clips, or staples.
Smooth from the center toward the edges. Pull gently to remove wrinkles, but do not stretch the backing into a curve.
The backing carries the load for the whole sandwich. If it is skewed, the batting and top will follow that skew.
Take time to line up its edges before you tighten anything fully.
Work from the middle outward in small strokes with flat palms. Check the surface from a low angle, as that view makes shallow wrinkles easier to spot.
How Do You Add Batting and the Quilt Top After the Backing?
Lay the batting over the backing, then center the top last. Smooth each layer with flat hands and secure the edges before advancing the rails.
Batting should cover the top area without bunching at the sides. Trim excess after the top is placed, not before, so you can see the edges.
Center the top by matching its edges to the backing. Pin or clip it lightly, stitch a few inches, then check that the design has not drifted.
Batting is thicker than fabric. Spread it with slow, even strokes and look for thick spots where it has folded over.
A thin, even layer gives you a steady stitching feel across the whole block.
The top sets the visible design for the quilt. Place it last so you can see its seams, borders, and pattern lines in full.
Align its center mark with the center of the backing, then check each side before you secure it.
How Do You Keep the Top Centered?
Pin or clip the top lightly at the center first, then at the corners. That small set of holds keeps the design in place while you check the edges.
Compare the top edges with the backing edges on all four sides. The margins should look consistent, not wide on one side and narrow on the other.
If one side drifts, lift the top, smooth it again, and reset it from the center.
Stitch a short test run in one corner after the top is secured. Lift the corner slightly and look under the edge for folds in the batting.
How Tight Should Layers Be for Hand Stitching?
Tight enough to stay flat, loose enough to reach the center. You should be able to slide a hand under the quilting area without lifting the whole sandwich.
Too loose, and the batting rolls under your needle. Too tight, and the edges pull in and the cloth strains at the rails.
Check tension from the side and from the ends. A gentle tap should give a soft, even response, not a drum-tight sound.
Tension shows up first at the texture of the surface. A smooth, level surface lets your needle pass without dragging a fold ahead of it.
Wrinkles or a slight sag in the middle point to a tension problem.
Adjust the rails in small moves and recheck the surface after each move. Tighten one end a little, smooth the cloth, then check the other end.
How Do You Advance the Frame as You Quilt?
Advance in small sections and recheck alignment after each move. Roll the finished part onto the back rail and bring fresh work into reach.
Keep a straight edge or chalk line as a guide. If the pattern drifts after advancing, stop and smooth the top before you stitch more.
Plan your sections before you roll the quilt forward. Decide how many rows fit comfortably within your reach from your seat.
Stopping at a clear seam line makes the next start easier to line up. After each advance, smooth the new area from the center out and check that the top still lines up with the backing edges.
How Is Loading a Hand Frame Different From a Longarm Frame?
A hand frame holds layers for hand stitching; a longarm frame holds layers for machine stitching. The setup shares ideas, but tools and tension differ.
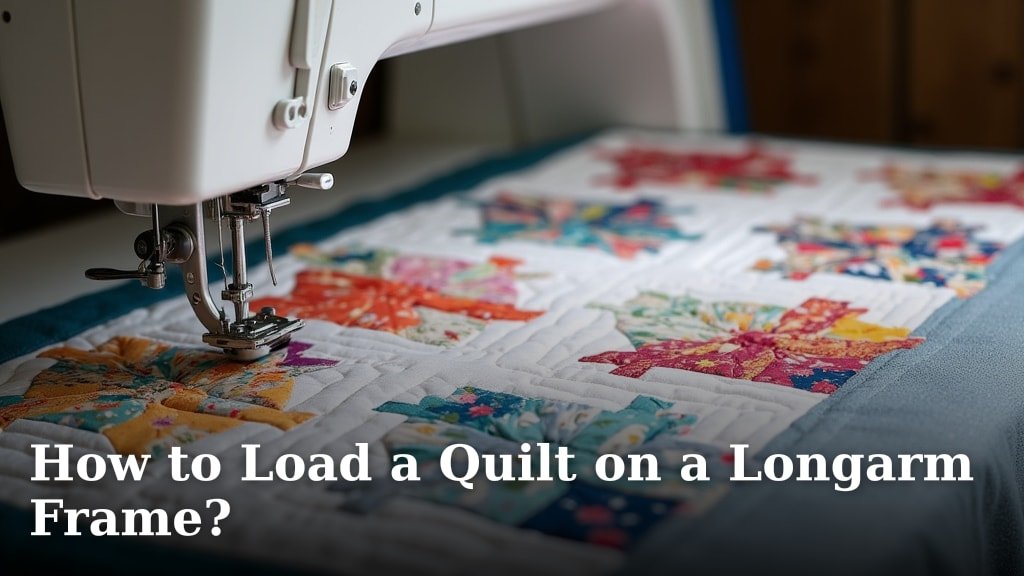
For machine work, see How to Load a Quilt on a Longarm Frame? and position of rails on longarm quilting frame. Those guides cover leaders, clamps, and rail position for a moving head.
Do not copy longarm tension onto a hand frame. Hand work needs access from above, not a suspended surface for a carriage.
Reach also matters differently. On a longarm, the head travels to the quilt, so the surface can be firmer.
On a hand frame, your arms travel to the quilt, so the surface must give a little under your hands.
Which Patterns and Books Help Once the Frame Is Loaded?
Patterns help you plan stitching lines before you start. Choose a design with clear spacing that fits the sections you can reach.
A loaded frame does not decide your stitching design for you. You still need clear lines to follow across each section.
A pattern with defined blocks or rows fits frame work well, since you can finish one section, advance the frame, and start the next.
Match the scale of the design to your reach. Large, open shapes suit big sections, while smaller motifs suit narrow rows.
Planning that scale before you load helps you set section sizes that match the pattern.
If you use computerized tools on a machine, How to Load Computerized Quilting Patterns covers that separate workflow.
For machine setup in general, How to Set Up a Longarm Quilting Machine? is the next read. It helps you see why hand and machine loading are not interchangeable.
How Do You Plan Sections Around a Pattern?
Break the quilt into rows or blocks that fit the pattern lines. Mark those breaks with light chalk before you load the top.
That plan tells you where to stop, advance the frame, and begin again.
Keep the section size steady across the quilt. A consistent size makes it easier to compare progress and spot drift.
How Do You Know the Frame Is Loaded Correctly?
The layers lie flat, the top is centered, and you can stitch a test area without shifting. Check the corners, edges, and center before you commit to full rows.
Look for wrinkles that show through the top and smooth them now, because stitching will hold them in place. Test with a few stitches in a corner.
If the batting moves, add clips or pins. If the top pulls, ease the tension and recenter it.
Walk around the frame and view the quilt from each side. The top view shows alignment, while the side view shows sag and rail strain.
Sit in your stitching position and reach across the work area. Your hands should reach the center without leaning over the rails, so move your seat closer if you must stretch.
Frequently asked questions
How tight should a hand quilting frame be?
Tight enough to remove wrinkles and keep layers from shifting, but not so tight that you cannot reach the center or that the fabric puckers at the edges. Smooth each layer by hand, check from the side, and loosen slightly if the cloth pulls in at the rails.
What order do you load a hand quilting frame?
Load backing first, then batting, then the quilt top. This order lets you tension the backing as the base, lay the batting flat on it, and place the top last so its design stays visible and centered for stitching.
Can you load a hand quilting frame by yourself?
Many people can, but a second pair of hands helps keep the quilt centered. Work from the center out, advance small sections, and check alignment often.
If the top drifts, stop and smooth it before continuing.