Read Sewing Machine Needle Plate Ruler Markings
The sewing machine needle plate ruler pattern puts inch or metric lines around the needle hole so fabric can align to a set distance from the needle. Read the line that matches your seam width, then keep the fabric edge on that line as it feeds.
On this page (11 sections)
- What is the ruler pattern on a sewing machine needle plate?
- Where are the markings placed around the needle hole?
- How do you read the inch markings for seam widths?
- How do you read metric markings on the plate?
- What happens when you move the needle left or right?
- How do you use the markings for a quarter inch seam?
- Which books help you practice reading the needle plate?
- How do you keep the fabric on the line while you sew?
- How do you check that your seam width is correct?
- What common mistakes throw off the seam width?
- How do you use the sewing machine needle plate ruler pattern with confidence?
The sewing machine needle plate ruler pattern lets you place fabric by distance from the needle, so you can hold a seam width without drawing a line on every piece. Use the printed line for your target width, keep the edge aligned with it, and confirm the result on a test strip.
Most plates use inches, and some also add metric marks. The numbers usually count from the needle hole, which means they only read true when the needle is in the center position.
What is the ruler pattern on a sewing machine needle plate?
The ruler pattern is a set of lines and numbers printed around the needle hole. It shows fixed distances from the needle, most often in 1/8 inch steps.
You place the fabric edge on a line, and the needle forms stitches that distance from that edge. That suits straight seams, topstitching, and repeated piecing where pieces must match.
Machines print the scale in different places, sometimes on both sides or with inches on one side and metric on the other. For plate shapes and uses, see Quilting Machine Plates: Types and Best Uses.
Where are the markings placed around the needle hole?
Markings sit in front of and behind the needle hole, and often to the left and right as well. Front and back lines suit a left needle position, while side lines help most for center needle work.
Start at the needle hole for the closest numbers, since they give the shortest distances. Larger numbers sit farther out toward the plate edge.
Many plates mark 1/8, 1/4, 3/8, and 1/2 inch on each side. Others add 5/8, 3/4, and 1 inch, plus wider lines for topstitching.
Clean the plate before you read it, as lint can hide a faint line.
How do you read the inch markings for seam widths?
Inch markings show the distance from the needle to a line, not the cut seam allowance. With a center needle and the edge on the 1/4 inch line, the stitch line should sit 1/4 inch from the edge.
Set a straight stitch and center needle, then sew a short test seam with a scrap edge on the 1/4 inch line. Measure from the cut edge to the center of the stitch line and adjust by any error.
Use 1/8 inch for narrow hems and wider lines for allowances and decorative rows. Our guide to Best Stitch Length for Quilting: Pro Guide pairs well with this skill.
How do you read metric markings on the plate?
Metric markings use millimeters, with lines at 5, 10, 15, and 20 mm from the needle. Ten mm equals about 3/8 inch, and 20 mm equals about 13/16 inch.
Find the metric side of the plate first. Numbers may read 1, 1.5, 2, or 10, 15, 20 depending on the maker, so check the unit mark near them.
If a pattern calls for a 6 mm seam, close to 1/4 inch, use the nearest 6 mm line or the 1/4 inch line if both exist. Test on scrap fabric, measure the result, and do not mix the two scales on a combined plate.
What happens when you move the needle left or right?
Moving the needle changes the distance between the stitch line and every printed line. Plate numbers assume a center needle, so they shift in value once you move it.
Move the needle left and it sits closer to left lines and farther from right lines. An edge on a left line then gives a narrower seam, while an edge on a right line gives a wider seam.
The shift is often 1/16 to 1/8 inch, but repeated across many seams it can change block size. Learn How to Adjust Needle Position for Perfect Piecing before relying on shifted settings, and always sew a test strip after a needle change.
How do you use the markings for a quarter inch seam?
A quarter inch seam needs the fabric edge on the 1/4 inch line with the needle in center position. That gives the standard piecing seam used in most quilt patterns.
Place two pieces right sides together and align the raw edges with the 1/4 inch line. Lower the presser foot and sew while keeping the edges on the line.
At the start, check the needle entry point. Adjust the fabric a fraction if the first stitches look off.
Chain piecing works well here, as the line guides each pair in turn. If seams run narrow, the edge likely sits inside the line.
If they run wide, it likely sits outside the line.
Which books help you practice reading the needle plate?
Books help when you want step by step photos and projects that use straight seams. They show hand position, seam order, and how to check your work as you go.
Alison Smith The Sewing Book is a 352 page guide, published February 4, 2025 by DK. It covers more than 300 techniques with illustrated step by step sequences, including seams, hems, darts, gathers, and collars.
Use this book if you are new to machine sewing and want clear photos for seam construction. The projects give you a reason to sew repeated straight seams, which builds control of the needle plate lines.
All-Star Quilts of Valor is a 128 page book with 25 patriotic patterns from well known designers, published October 28, 2022 by Schiffer Craft. It suits quilters who want finished quilt patterns that rely on accurate pieced seams.
Use this book if you already know basic piecing and want patterns to apply your quarter inch seam skill. The patterns give you a clear target size for each block, so a test seam matters before you cut fabric.
Encyclopedia of Classic Quilt Patterns by Patricia Wilens is a 367 page guide with more than 100 projects, published October 1, 2001 by Oxmoor House. It covers quick piecing, rotary cutting, and practical quilting tips.
Use this book if you like variety in block construction. The range of patterns lets you test the same seam width across different shapes and sizes.
How do you keep the fabric on the line while you sew?
Fabric stays on the line when you guide with both hands and watch the edge, not the needle. The needle moves fast, so track the fabric edge against the printed mark.
Sit straight and let your hands rest lightly on the fabric. Keep slight tension for an even feed, and do not pull or push hard since that bends the seam.
Widen your view to take in the edge and the line together. Staring only at the needle lets the edge drift off the mark unnoticed.
Slow down at the start of each seam. The first stitches set the path, and a steady start makes the rest easier to hold.
How do you guide fabric with a walking foot?
A walking foot feeds fabric from the top and bottom at once. That helps with layers that tend to shift, such as a quilt top with batting and backing.
Set your length for stitch length for walking foot quilting before you start. Then use the needle plate line as your guide in the same way.
Keep your hands in the same light position. The foot does more of the feeding work, so your job is mainly to hold the edge on the line.
Test on layered scraps first. Layers can shift the edge at the start, and a short test shows how much correction you need.
Can you use the markings with cotton batting?
Cotton batting adds thickness that can change how fabric feeds. The plate lines still work, but you may need to guide more firmly to hold the edge in place.
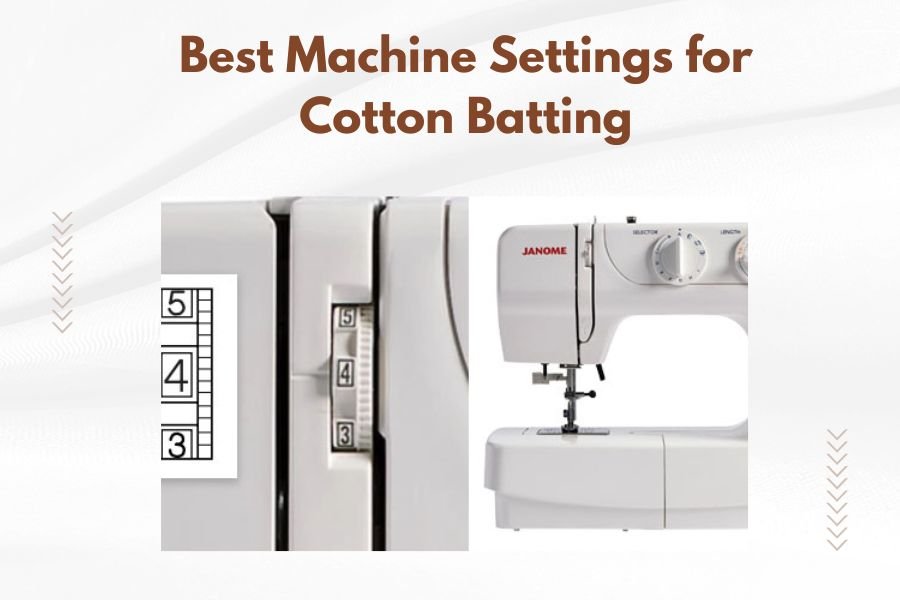
Check Best Machine Settings for Cotton Batting for presser foot pressure and stitch settings for thick layers. A stable feed keeps the edge on the line.
Start with a test sandwich of fabric, batting, and backing. Measure the seam width after sewing and adjust your hand position if the layers shift the edge.
For marking fabric before you sew, Best Markings for Machine Quilting: Expert Tips covers tools that work with the plate lines.
How do you check that your seam width is correct?
Check with a ruler on a test strip, measured from the cut edge to the center of the stitch line. This test takes less than a minute and saves hours of fixing.
Cut two scraps of the same fabric you plan to use and mark a line at your target width with a fine pencil. Sew with the edge on the plate line.
Measure from the edge to the stitch line and compare it with your pencil mark. The stitch line should sit on or very near the mark.
Repeat the test after you change the needle, the foot, or the fabric, and note the settings for next time.
What common mistakes throw off the seam width?
The most common mistake is using a moved needle while reading center needle numbers. That single error shifts every seam by the same small amount.
Another mistake is watching the needle instead of the fabric edge. The needle moves too fast to guide your hands, while the edge and line give a steady view.
A third mistake is starting with the fabric crooked, which the first stitches lock in. A fourth is sewing with a bent or dull needle, which can push fabric or skip stitches.
A fifth is failing to clean the plate, as lint can lift one edge and change the feed.
How do you use the sewing machine needle plate ruler pattern with confidence?
Use the sewing machine needle plate ruler pattern by setting the needle to center, placing the edge on the line for your target width, and checking a test strip first. That routine works for piecing, hems, and topstitching.
Start each session with a clean plate and a center needle. Read the numbers on the side you plan to use, then sew a test strip and measure it before your real pieces.
Keep your eyes on the edge and the line. Guide with both hands and a light touch, and slow down at the start of each seam to set a straight path.
Pick a book that fits your goal, from Alison Smith The Sewing Book for technique practice to All-Star Quilts of Valor and Encyclopedia of Classic Quilt Patterns for patterns. Once the test strip reads correct, sew with trust in the lines.
Frequently asked questions
What does the ruler on a sewing machine needle plate mean?
It shows how far the fabric edge or a marking sits from the needle at center or a shifted needle position. You line up the edge with the number you want, feed the fabric straight, and the needle should form stitches at that distance.
Which needle plate line should I use for a quarter inch seam?
Use the quarter inch line when the needle is in the center position, which is the usual piecing setup. Keep the raw edge on that line and check that the needle still enters the fabric at the same spot as you begin each seam.
Can I use the needle plate markings with the needle moved left or right?
Yes, but the numbers change meaning when you shift the needle. The plate is cut for a center needle, so a moved needle will sit closer to one side and farther from the other.
Measure the actual stitch line before you trust the printed numbers.
The numbers on my plate are worn. How do I measure seam width?
Mark your fabric, sew a test strip, and measure from the fabric edge to the center of the stitch line with a ruler. Repeat that check after any needle position change.
A piece of painter tape with your own mark can help you find the same line again.