Brother Dream Stitch Regulator Setup Guide
A dream machine stitch regulator setup works best when you match the regulator to your Brother Dream model and frame, mount the encoders correctly, calibrate on a test quilt, and check stitch length before quilting a real top. Most problems come from a loose frame, poor encoder contact, or skipped calibration.
On this page (9 sections)
- What is a computerized stitch regulator for a Brother Dream machine?
- Which Brother Dream models and frames work with stitch regulation?
- How do you prepare the room and frame before you mount the machine?
- How do you mount a Brother Dream machine on the frame carriage?
- How do you connect the regulator encoders and cables?
- How do you calibrate stitch regulation on a test quilt?
- What mistakes cause uneven stitches after setup?
- Which books help you learn quilting while you set up regulation?
- How do you finish the first quilt and keep the setup accurate?
A dream machine stitch regulator setup works best when you match the regulator to your Brother Dream model and frame, mount the encoders correctly, calibrate on a test quilt, and check stitch length before quilting a real top. Most problems come from a loose frame, poor encoder contact, or skipped calibration.
This guide follows a plain order. You check compatibility, assemble and level the frame, mount the machine, connect the regulator, then calibrate and test.
Keep manuals open beside you, as menus, cable names, and mounting parts vary by model.
Our score weighs specs, features, and buyer feedback. The products below are books for technique and pattern study while you learn the setup.
What is a computerized stitch regulator for a Brother Dream machine?
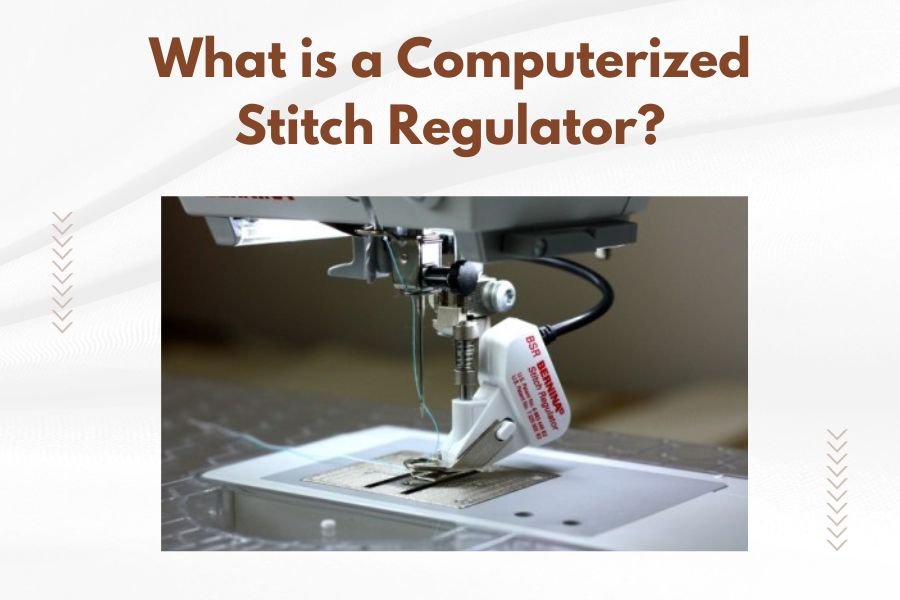
A computerized stitch regulator adjusts needle speed as you move the machine, so stitch length stays even when you speed up, slow down, or turn corners. It reads motion through encoders on the frame carriage and sends that signal to the motor control.
Our guide to What is a Computerized Stitch Regulator? explains encoders, cruise mode, and variable mode in more detail. Read it before you buy, because regulator type affects how the machine responds.
In cruise mode, the regulator holds a set stitch length by changing speed. In variable mode, the setting sets a limit and your hand speed controls more of the stitch length.
The regulator does not move the machine for you. You still guide it by hand.
Which Brother Dream models and frames work with stitch regulation?
Check the exact model number against the regulator kit, not just the Dream name. Compatibility can change with production year and frame carriage design.
Confirm the regulator maker lists your full model number. Confirm the frame maker lists that regulator and carriage as a supported pair, and that the throat space fits your largest quilt.
The carriage must hold the machine level, encoders must track without slipping, and the cable must reach the port without pulling. A regulator that fits the machine but not the carriage will not set up correctly.
If you are still deciding between machines, read Quilting Machine Set Up: A Beginner's Guide first. It covers table height, light, seating, and workspace before you add a frame.
How do you prepare the room and frame before you mount the machine?
Set up a level frame on a firm floor with clear travel space on all sides before you mount the machine. A frame that rocks or twists will change encoder readings and make calibration drift.
Clear the full area the carriage will travel, not just the area under the quilt. You need room to walk the length of the frame, reach the back rail, load a quilt, and step back to see the whole design.
Assemble the frame by the manual, tighten each joint in order, and check for racking by pressing each corner. Level side to side and front to back, then lock the feet and recheck after loading the machine.
How do you mount a Brother Dream machine on the frame carriage?
Mount the machine level, centered, and firmly clamped to the carriage so it cannot shift while you quilt. A loose machine causes vibration and false encoder readings.
Follow the carriage manual for plate position, bolt order, and torque. Tighten bolts in a cross pattern where directed.
Position the needle over the frame centerline and confirm the head clears the frame ends at full travel. Thread the machine at mid-travel.
For basic care, How to Setup a Domestic Machine for Quilting covers needle choice, foot pressure, and feed dog settings.
How do you connect the regulator encoders and cables?
Connect encoders, power, and machine cables in the order the regulator manual lists, with power off until every plug is seated. Wrong order can cause the system to miss a sensor on startup.
Mount each encoder so its wheel contacts the rail cleanly, without wobble or side pressure. It must turn freely through all carriage travel, including near frame ends.
Route cables away from joints and loading rails. Leave slack for full movement without loops that catch on bolts.
If the motion to speed idea is new, How Stitch Regulation Works: Quilt Like a Pro explains why encoder drag makes stitches long on fast passes and short on slow ones.
How do you check encoder contact before first power-on?
Move the carriage slowly end to end and watch each encoder turn smoothly. Listen for scraping, feel for flat spots, and check for gaps where the wheel lifts off the rail.
Clean the track with a dry cloth before testing. Lint, batting fuzz, and frame dust can make a wheel slip for a few inches, and that slip shows up as a stitch length error on the quilt.
Mark any point where the carriage binds. Do not calibrate over a bind, because calibration will learn that spot as normal and then misreport speed elsewhere.
How do you calibrate stitch regulation on a test quilt?
Calibrate on a practice sandwich at several speeds, then inspect stitch length on both sides. Never calibrate on a finished quilt top.
Load a test sandwich with the batting and backing you plan to use. Set your preferred stitch length, then make slow, medium, and fast passes in straight lines and curves.
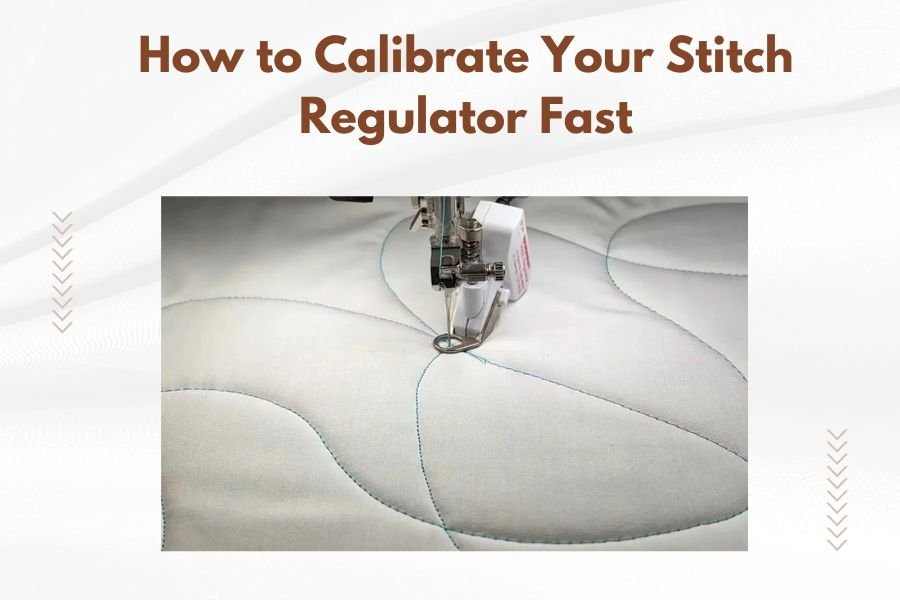
Our post on How to Calibrate Your Stitch Regulator Fast covers menu steps and common error prompts. Use it beside your manual and note each setting you change.
Measure over 10 stitches on front and back. Adjust one setting at a time and retest.
Repeat calibration after any move, new encoder, machine service, or software update.
What should you check on the first test passes?
Check stitch length, tension, needle penetration, and corner turns on the test quilt. Look for long stitches on fast curves, short stitches on slow starts, and skipped stitches at high speed.
Note the speed where stitch length starts to drift. That speed is your practical limit for that design, even if the regulator allows a faster setting.
Check tension by stitch type. Straight lines need balanced tension, and freehand curves can hide small tension issues, so test both before you load a real top.
Store your test sandwich with notes on thread, needle, batting, and settings. That record helps you repeat a good result and spot a change when a new thread behaves differently.
What mistakes cause uneven stitches after setup?
Uneven stitches usually trace back to frame level, encoder slip, loose carriage parts, or wrong needle and thread for the batting. Fix those basics before changing regulator settings again.
A frame high on one side makes the machine climb or drag. A loose carriage bolt changes machine angle, and a dusty encoder wheel slips on quick turns.
Change the needle first when you see skipped stitches, then retest tension. A needle too large for fine thread or too small for thick batting can skip or fray.
Thread path problems cause similar symptoms. Check thread stand position, rubbing guides, and uneven cone unwind.
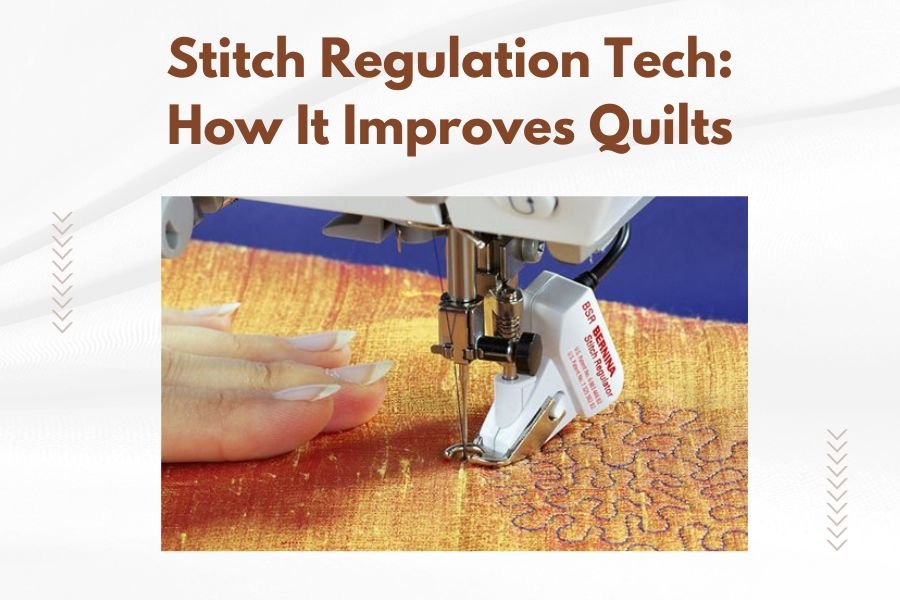
Learn more in Stitch Regulation Tech: How It Improves Quilts.
Which books help you learn quilting while you set up regulation?
The Sewing Book helps you build machine skills that make frame quilting easier, even though it focuses on clothing and soft furnishings. It covers more than 300 techniques with step-by-step sequences, seams, hems, darts, gathers, and collars.
The book measures 9.31 x 1.13 x 11.19 inches and weighs 3.82 pounds, so it sits well on a cutting table for reference. It was published on February 4, 2025, by DK, in English, with 10 homeware and clothing projects.
Use it for machine basics, not for regulator menus. Tension, seam control, and comfort at the machine all transfer to frame work, and those skills reduce the time you spend fighting setup issues.
All-Star Quilts of Valor suits a different need. It offers 25 patriotic patterns from named designers, with a foreword by Kimberly Einmo, for quilters who want a clear project to practice their new setup.
This book measures 8.5 x 0.5 x 11 inches and weighs 2.31 pounds. It was published on October 28, 2022, by Schiffer Craft, in English.
Patterns include V Is for Victory, Shine On, and Stars and Stripes.
Pick this book if you want a practice quilt with a strong design repeat. Large star blocks and bold repeats show stitch length errors fast, which makes them good test quilts after a calibration change.
Encyclopedia of Classic Quilt Patterns suits pattern study over a longer period. It covers more than 101 projects, with guidance from quick piecing through rotary cutting, in 367 pages.
This book measures 8.25 x 0.75 x 10.75 inches and weighs 2.65 pounds. It was published on October 1, 2001, by Oxmoor House, in English.
Pick this reference if you want many small quilts to test speed, turns, and fills. Smaller projects let you finish a test top, check the back, and adjust calibration without loading a full bed quilt.
How do you finish the first quilt and keep the setup accurate?
Finish your first quilt by checking the back after each row, not only at the end. Small stitch drifts are easy to correct in row one and hard to fix after the whole quilt is done.
Keep a setup log with date, thread, needle size, batting, stitch length, speed setting, and calibration changes. Note frame moves, encoder cleaning, and machine service dates too.
Clean encoders and tracks before each large quilt. Wipe rails, check carriage bolts, and confirm the machine is level.
Before a new batting or thread weight, recheck How to Calibrate Your Stitch Regulator Fast.
Frequently asked questions
What do I need before starting a dream machine stitch regulator setup?
You need a compatible Brother Dream model, a compatible frame and regulator kit, a test quilt sandwich, and the manuals for each part. Confirm model compatibility before you order, then check frame level, encoder placement, and thread path before you power the regulator on.
How long does calibration take?
Calibration often takes 20 to 40 minutes for a first setup, including test passes at several speeds. Repeat a shorter check after you change a frame, move the machine, replace encoders, or notice uneven stitch length on a finished quilt.
Can I set up stitch regulation without a frame?
Some regulator systems can run in a sit-down mode, but Brother Dream stitch regulation is normally paired with a frame for full quilting. Check your exact kit manual, because frame mounting, encoder travel, and carriage fit differ by model and frame size.