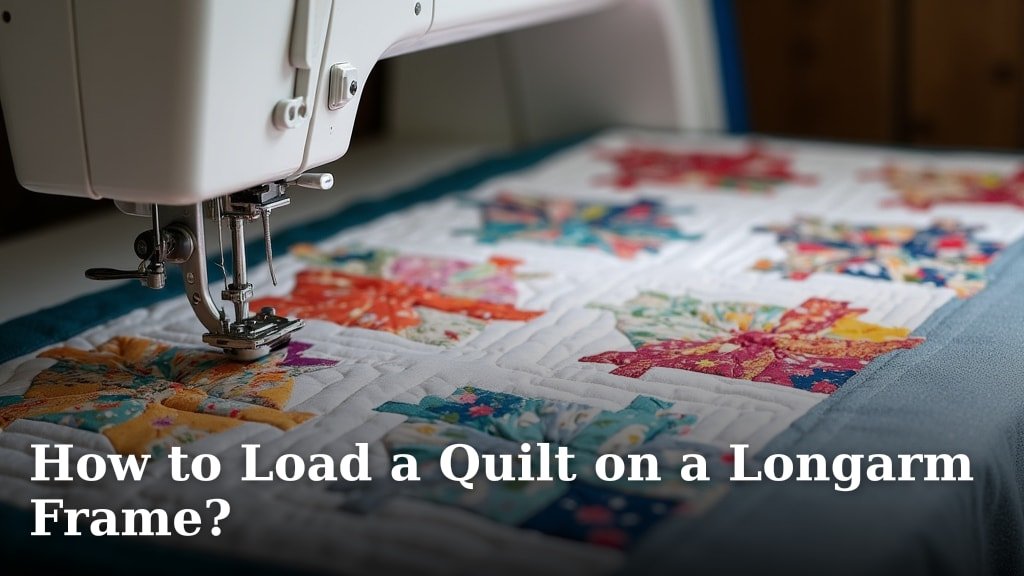
To load a quilt on a longarm frame, you first prepare your backing fabric, then attach it to the frame’s leaders, ensuring it’s centered and taut. Next, you layer your batting and quilt top, smoothing them out for a wrinkle-free finish. Finally, you secure all layers evenly, ready for quilting. We found this method helps create a smooth, pucker-free quilt every time.
Getting your quilt properly loaded on a longarm machine can feel a little daunting to start, but it’s a vital step for beautiful results. It sets the stage for even stitching and consistent tension, preventing those annoying puckers or fabric distortions. We found that a good load makes all the difference in your quilting journey.
TL;DR:
- Prepare your backing fabric.
- Attach backing to leaders.
- Add batting smoothly.
- Layer your quilt top.
- Secure everything evenly.
Ready to get started? Let’s walk through exactly how to load a quilt on a longarm frame, step by step, so you can quilt with confidence.
Setting Up Your Quilt on a Longarm Frame
Properly loading your quilt on a longarm frame is the secret sauce for beautiful results. It ensures your fabric lays flat and smooth, making your quilting journey much more enjoyable. Let’s prepare everything before you even think about attaching it to the frame.
Gathering Your Supplies and Prepping Fabric
Before you get started, we found that having all your tools and prepared fabrics close by saves a lot of time and frustration. Think of it like cooking: you wouldn’t start baking without all your ingredients measured out, right?
Essential Tools You’ll Need
You don’t need a massive toolbox, just a few key items. These will help you achieve that perfectly loaded quilt.
- Loading clips or Red Snappers: These are amazing for securing your fabric.
- Painter’s tape or masking tape: Handy for temporary holds or marking.
- Fabric clips or clamps: Extra hands to keep things steady.
- Measuring tape: Accuracy is your friend here.
- Fabric markers or chalk: For any necessary alignment marks.
- Safety pins or basting spray (optional): For an extra layer of security.
Preparing Your Backing Fabric
Your backing fabric is the foundation; it needs to be just right. We recommend pressing it thoroughly to remove any wrinkles or creases. A smooth start means a smooth finish.
Make sure your backing fabric is at least 8-10 inches wider and longer than your quilt top. This extra wiggle room is crucial. It gives you space to attach it to the frame and allows for selvage removal later. We’ve all run into the problem of backing that’s too small, and it’s no fun!
Preparing Your Quilt Top and Batting
Just like your backing, your quilt top needs a good press. We found this prevents unwanted puckers when quilting. Trim any loose threads that might get caught in your stitches later. This simple step can save you headaches down the line.
For your batting, trim it to be roughly the same size as your backing fabric. Don’t worry about being super precise here; the main goal is to ensure it will cover your entire quilt top with a little extra around the edges. Many quilters prefer to let the batting extend slightly beyond the backing to allow for shrinkage (National Quilt Museum).
Attaching the Backing to the Longarm Frame
This is where your quilt officially starts its journey onto the longarm. Getting the backing attached correctly is the most critical step for success. It will dictate how smoothly the rest of the process goes.
Understanding Your Frame’s Leaders
Your longarm frame has three main leaders: the **take-up leader**, the **belly bar leader**, and the **quilt top leader**. Each one plays a specific role in holding your quilt layers.
| Leader Name | Purpose | Fabric Attached |
|---|---|---|
| Take-Up Leader | Winds up the finished quilt section. | Bottom edge of backing fabric. |
| Belly Bar Leader | Holds the front of the backing fabric. | Top edge of backing fabric. |
| Quilt Top Leader | Holds the quilt top and batting. | Top edge of quilt top & batting. |
Loading Your Backing Fabric
You’ll start with the backing fabric because it’s the layer closest to the frame. We found that taking your time here really pays off.
Attaching to the Take-Up and Belly Bar Leaders
Lay your backing fabric out, wrong side up. Locate the top and bottom edges. There’s usually a “right way” to orient fabric, especially if it has a directional print. You wouldn’t want upside-down flowers on your finished quilt!
Begin by attaching the bottom edge of your backing fabric to the take-up leader. You’ll typically use Velcro, Red Snappers, or loading clips for this. Make sure it’s centered and secured evenly across the entire width.
Next, bring the top edge of your backing fabric to the belly bar leader. Attach it the same way, centering it carefully. Once both edges are attached, roll the take-up bar until the backing is taut, but not stretched. It should feel firm to the touch, like a drum, with no sagging in the middle.
Layering Batting and Quilt Top
With your backing securely in place, it’s time to introduce the other two layers: your batting and quilt top. This is where your quilt starts to truly take shape.
Adding the Batting
Lay your prepared batting directly over the backing fabric. We like to smooth it out from the center to the edges. This helps push out any air bubbles or wrinkles. Your goal is a perfectly flat surface.
Ensure the batting extends slightly beyond your backing fabric on all sides. This extra overhang is a safety net. It ensures you don’t run out of batting if there’s any shifting during quilting. Think of it like painting: you always want to tape off a little more than you need.
Positioning and Securing the Quilt Top
Now, the star of the show! Lay your quilt top over the batting, face up. Again, smooth it out carefully from the center outwards, just as you did with the batting. Make sure all edges are aligned with the batting underneath.
Attach the top edge of your quilt top to the quilt top leader. Center it precisely. This is where symmetry matters! We’ve seen many quilters use pins or temporary spray adhesive here for extra security. Some longarm systems have a dedicated bar just for the quilt top, while others might have you attach it directly to the batting and backing with additional pins or clips (The Missouri Star Quilt Company often demonstrates this technique).
Once you’ve attached the quilt top to its leader, gently roll the take-up bar to create tension. Check to ensure all three layers are smooth and free of wrinkles. We are aiming for a beautiful, even surface, ready for the magic of quilting.
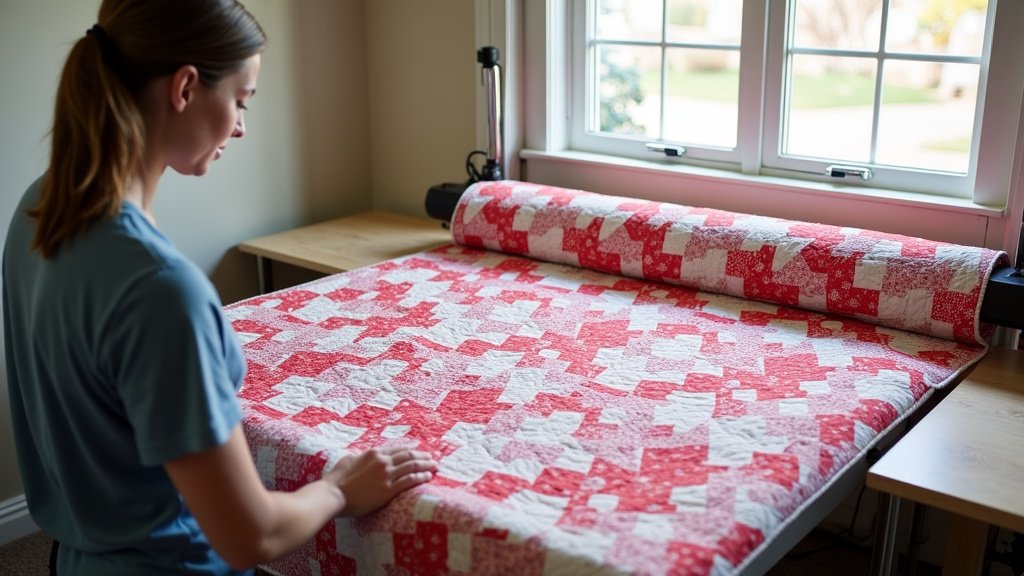
Final Tensioning and Alignment Checklist
You’re almost there! Before you start quilting, a quick final check can prevent many common headaches. This ensures everything is aligned and has the right amount of tension.
Checking for Even Tension
With all three layers loaded, gently tap the surface of your quilt. It should feel firm but not overly stretched. Too much tension can distort your quilt; too little can cause puckering and messy stitches. It’s a delicate balance, like tuning a guitar string.
We found that checking the tension in various spots across the quilt helps. Are there any loose areas? Any spots that feel overly tight? Adjust your leaders slightly until it feels consistent across the entire surface.
Your Pre-Quilting Checklist
Before you press that start button, give your loaded quilt one last once-over. This brief checklist helps catch anything you might have missed.
- Is the backing fabric centered and taut on the take-up and belly bar leaders?
- Is the batting smooth, with no wrinkles or folds underneath?
- Is the quilt top centered and aligned with the batting below it?
- Are there any loose threads on the quilt top that could get caught?
- Have you ensured even tension across all three layers?
- Are all loading clips or Red Snappers securely fastened?
Going through these steps helps ensure a smooth, enjoyable quilting experience right from the start. You’ve prepared your canvas; now go create your masterpiece!
Conclusion
You’ve seen that loading your quilt on a longarm frame isn’t just a chore; it’s a foundational step for stunning results. By carefully preparing your fabrics and precisely attaching them to the leaders, you create the perfect canvas. We know that taking the time to ensure even tension and proper alignment prevents frustration later on. This meticulous preparation truly makes a difference in your final quilted masterpiece. Now, go confidently load your next quilt and enjoy the creative process!
Frequently Asked Questions
How can I prevent shifting or puckering when loading my quilt?
To really prevent shifting and puckering, focus on even tension across all leaders. We’ve found that using plenty of Red Snappers or clips, and consistently smoothing out each layer from the center, makes a huge difference. A slightly drum-tight feel without overstretching is your goal.
What if my backing fabric isn’t perfectly square? Can I still load it?
Yes, you can still load it, but it might require a bit more effort. We recommend trying to square up your backing as much as possible before loading. If it’s slightly off, you can often compensate by carefully centering it on the leaders, ensuring the tautness is even despite the shape. The extra fabric allowance helps.
My quilt top has bulky seams. How should I handle these when loading?
Bulky seams can create lumps. We suggest pressing them open or to one side very flat before loading. When you smooth your quilt top, pay extra attention to these areas. You can also strategically place pins around them for extra hold during the initial passes of quilting.
Is it better to load the quilt top or backing first?
We always recommend loading your backing fabric first. It’s the foundation for everything else. Attaching the backing to the take-up and belly bar leaders establishes your primary tension. Then, you can overlay the batting and quilt top, ensuring all layers are aligned and smooth over that secure base.
How do I know if my quilt is loaded with enough tension but not too much?
Gently tap the surface of your loaded quilt. It should feel firm, like a banjo drum, but not stiff or stretched. If it sags or feels loose, add a bit more take-up tension. If the fabric feels pulled thin or distorted, release tension slightly. Practice will help you find the sweet spot.