How to Cut Fabric Strips for Quilting?
On this page (8 sections)
Cutting fabric strips for quilting is made easier with a rotary cutter, a self-healing mat, and a quilting ruler. These tools ensure straight, accurate cuts every time. Many quilters find this method saves time and results in a much neater final project. You’ll be cutting perfect strips for your next quilt in no time.
Having a good understanding of how to cut fabric strips correctly is key to successful quilting. It affects how your pieces fit together. Proper cutting prevents wavy seams and ensures your quilt blocks are the intended size. We’ll show you the best techniques so your quilt top lies flat and looks professional.
- Use a rotary cutter, mat, and ruler for accuracy.
- Ensure your fabric is pressed and smooth.
- Cut along the grain for stable strips.
- Measure twice, cut once for best results.
- Accurate strips make piecing much easier.
Let’s walk through exactly how to get those perfect fabric strips for your quilting projects.
Cutting Your Fabric Strips Like a Pro
Cutting fabric strips is a fundamental skill for any quilter. Getting these strips right makes a huge difference in your final quilt. You want them to be the exact same width. This ensures your quilt blocks will fit together perfectly. It’s like building with LEGOs; if your blocks aren’t uniform, your whole structure can be wobbly.
We’re going to guide you through the process step-by-step. You’ll learn the best way to achieve precise, straight cuts every single time. This method is widely recommended by quilting experts for its efficiency and accuracy.
Gathering Your Essential Quilting Tools
Before you even touch your fabric, make sure you have the right tools. Having these on hand will make your cutting experience much smoother. Think of them as your trusty sidekicks in the cutting adventure!
The Holy Trinity of Fabric Cutting
Many quilters agree that three tools are absolutely essential for cutting fabric strips accurately. These are:
- Rotary Cutter: This tool looks like a sharp pizza cutter. It allows for quick, clean cuts. Make sure your blade is sharp for the best results. A dull blade can snag fabric and make your cuts uneven.
- Self-Healing Cutting Mat: This mat protects your table and your rotary cutter blade. It has grid lines that help with accurate measuring. When you cut into it, the mat magically “heals” itself, making it last for years.
- Quilting Ruler: A clear acrylic ruler with prominent markings is your best friend. Look for one with both inch and half-inch marks. Quilting rulers often have a non-slip backing to keep them from sliding around while you cut.
Other Helpful Notions
While the above three are non-negotiable, a few other items can enhance your cutting process:
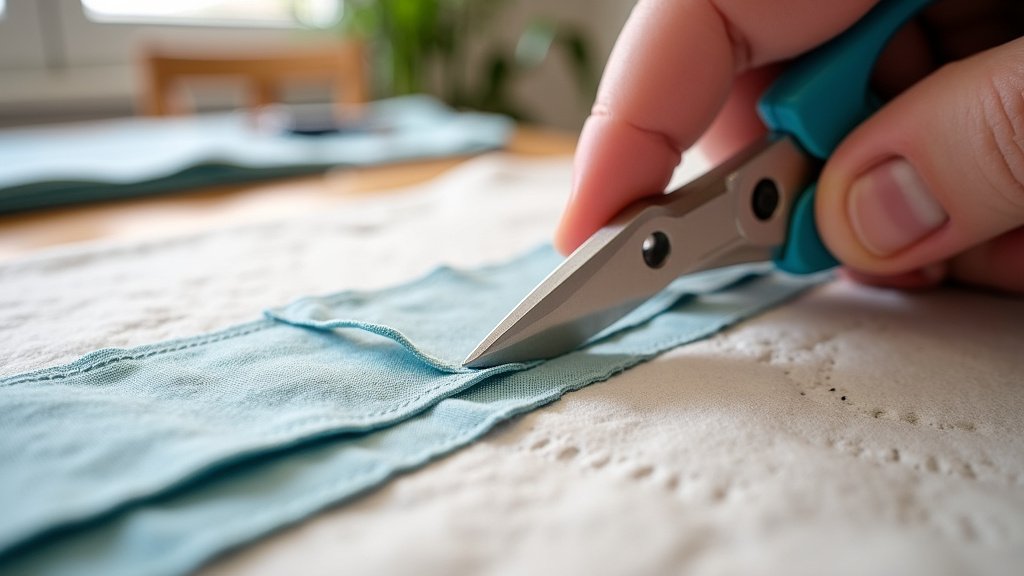
- Fabric Scissors: For trimming stray threads or cutting salvage edges.
- Iron and Ironing Board: Essential for pressing your fabric before cutting.
- Design Wall or Flat Surface: A large, clear area to spread out your fabric.
Preparing Your Fabric for Cutting
You can’t just grab your fabric and start cutting. Proper preparation is key to success. This step ensures your strips are as accurate as possible.
The Importance of a Good Press
Always start by washing and pressing your fabric. Washing removes any sizing agents left from the factory. These can cause your fabric to shrink unevenly later. Pressing removes all wrinkles and creases. Smooth fabric lies flat, which is vital for accurate cutting. Many quilters find that a good steam press makes all the difference.
Some quilters prefer to starch their fabric lightly before pressing. This gives it a bit more body, making it easier to handle and cut. Research and found that starch can help prevent fraying as well (National Quilting Association).
Understanding Fabric Grain
Fabric has a grain, which refers to the direction of the threads woven into it. There’s the grainline (usually parallel to the selvage edge) and the cross-grain (perpendicular to the selvage). Cutting strips along the grainline provides the most stable fabric. These strips won’t stretch out of shape easily.
Cutting on the bias (at a 45-degree angle to the grain) results in stretchy strips. This is useful for some specific quilting techniques, like binding or curves. But for standard quilt strips, you’ll want to stick to the grainline. This is a common recommendation from sewing instructors.
The Step-by-Step Cutting Process
Now that your fabric is prepped and your tools are ready, let’s get cutting! We’ll walk through each step to ensure you get perfect strips.
Aligning Your Fabric
Lay your pressed fabric flat on your self-healing mat. Smooth out any remaining wrinkles with your hands. If you’re cutting a larger piece, ensure it’s spread out evenly. For long strips, you might need to fold the fabric. Fold it lengthwise, aligning the selvages. This will give you a double layer of fabric to cut through.
Make sure the selvages (the finished edges of the fabric) are either trimmed off or perfectly aligned. Some quilters like to trim the selvages first. This is because they can sometimes be a bit stiffer than the rest of the fabric. Many quilting blogs suggest trimming them to ensure uniform thickness.
Making the First Cut: The Foundation Strip
Place your quilting ruler on the fabric. Align its edge with the grainline of the fabric. If you trimmed the selvages, use a marked line on your ruler that is parallel to the edge. If you haven’t trimmed the selvages and they are perfectly aligned, you can use the selvage edge as your guide. However, we often find it best to trim them off.
Position the ruler so that the edge you want to cut along is clear of the rotary cutter’s path. Ensure the ruler is firmly in place. Now, take your rotary cutter and place it against the edge of the ruler. Apply firm, even pressure. Roll the cutter along the ruler’s edge, making a single, clean cut. This first cut creates a perfectly straight edge to work from.
Measuring and Cutting Your Strips
Now that you have a straight edge, it’s time to measure for your strips. Decide on the width you need for your project. Common strip widths are 2.5 inches (for half-square triangles and binding) or 1.5 inches. Most quilting patterns will specify the needed strip width.
Place your ruler on the fabric, aligning the desired width mark with the straight cut edge you just made. For example, if you need 2.5-inch strips, align the 2.5-inch mark on your ruler with the cut edge. Ensure the ruler is pressed firmly against the fabric. Your other hand should be holding the ruler down securely.
With your rotary cutter, make another clean cut along the opposite edge of the ruler. You have now successfully cut your first fabric strip! Keep the first strip aside as a guide if needed.
Cutting Multiple Strips Efficiently
To cut more strips, simply reposition your ruler. Place the ruler again so that the desired width mark (e.g., 2.5 inches) is aligned with the most recently cut edge. Make your cut. Continue this process across the width of your fabric.
If you are cutting strips from a folded piece of fabric, you will cut through two layers at once. This is much more efficient. Just be sure your rotary cutter is sharp enough. A sharp blade can handle cutting through multiple layers cleanly. Many experts suggest changing your rotary cutter blade after every 10-15 large cutting projects.
A Table for Common Strip Sizes
Here’s a quick reference for some common strip sizes and their uses:
| Strip Width (Finished) | Strip Width (Cut) | Common Uses |
|---|---|---|
| 1 inch | 1.5 inches | Small quilt blocks, appliqué details |
| 1.5 inches | 2 inches | Sashing, small patchwork, miniature quilts |
| 2 inches | 2.5 inches | Binding, half-square triangles, Jelly Rolls® |
| 3 inches | 3.5 inches | Larger quilt blocks, borders |
Note: Finished size is the size after it has been sewn into a seam. Cut size is the size you need to cut your fabric to achieve that finished size, accounting for a 1/4-inch seam allowance on each side.
Troubleshooting Common Cutting Issues
Even with the best tools, you might run into a few snags. Here are some common problems and how to fix them.
Wavy or Jagged Cuts
If your cuts are not straight and clean, it’s usually due to a few things. First, check your rotary cutter blade. Is it dull? A dull blade will drag the fabric instead of cutting it cleanly. If it feels like you’re sawing rather than cutting, it’s time for a new blade.
Second, ensure your ruler isn’t slipping. Use a ruler with a non-slip backing. Press down firmly on the ruler with your non-cutting hand. Keep your fingers away from the blade path. You want a solid, stable platform for the cutter to follow.
Strips That Aren’t Uniform
If your strips are slightly different widths, double-check your measurements. Are you consistently aligning the ruler’s markings with the cut edge? Sometimes, it’s easy to misread the lines, especially if they are faint. Make sure your ruler is perpendicular to the fabric edge you are cutting from.
Also, ensure your fabric is lying flat and is not bunched up under the ruler. A little bump can throw off your measurements. This is why a good pressing and a large, flat cutting surface are so important.
Your Fabric Strip Cutting Checklist
Ready to put your skills to the test? Here’s a quick checklist to keep you on track:
- Gather your rotary cutter, mat, and ruler.
- Wash and thoroughly press your fabric.
- Lay fabric flat on your mat, smooth out wrinkles.
- Trim selvages or ensure they are perfectly aligned.
- Measure carefully and cut along the grainline.
- Press your ruler down firmly before cutting.
Conclusion
You’ve learned the essential steps to cutting perfect fabric strips for your quilting projects. Mastering this skill with your trusty rotary cutter, mat, and ruler ensures accuracy and makes piecing a dream. Remember to always prepare your fabric with a good press and understand the fabric grain for the most stable results. With these techniques, your quilt blocks will come together beautifully. Your next step? Pick out a fun fabric and practice cutting a few strips for a small project. You’ll be amazed at the difference precision makes in your finished quilts!
Frequently Asked Questions
How do I know if my rotary cutter blade is dull?
If you feel like you’re sawing the fabric rather than cutting it cleanly, your blade is likely dull. A sharp blade glides through the fabric effortlessly. You might also notice fabric fraying or jagged edges on your cuts when the blade is worn out.
Can I cut fabric strips without a rotary cutter?
While a rotary cutter, mat, and ruler are the ideal tools for accuracy and speed, you can cut strips with fabric scissors and a metal ruler. However, it’s much more challenging to achieve perfectly straight, uniform strips this way. Be sure to use a long, heavy ruler and take your time with each cut.
Why is it important to cut fabric strips along the grainline?
Cutting along the grainline (parallel to the selvage) gives you the most stable fabric strips. These strips are less likely to stretch out of shape as you handle them or sew them into your quilt. Cutting on the bias can result in stretchy strips, which are useful for binding or curves but not typically for standard quilt piecing.
How often should I change my rotary cutter blade?
The lifespan of a rotary cutter blade depends on the type of fabric you cut and how frequently you use it. For general quilting cotton, many quilters find they need to replace the blade after cutting through about 10-15 large fabric pieces or projects. Listen to your blade; if it’s not cutting cleanly, it’s time for a fresh one.
What’s the difference between finished size and cut size for fabric strips?
The finished size is the measurement of a strip after it has been sewn into a quilt block or seam, accounting for seam allowances. The cut size is the measurement you need to cut your fabric to achieve that desired finished size. For example, a 2.5-inch cut strip typically finishes at 2 inches once a 1/4-inch seam allowance is added on each side.