Why Is Your Sewing Machine Leaving Loops on Top?
Your sewing machine is leaving loops on top most often because upper tension is too loose, the needle is wrong or dull, or the thread is not seated in the tension and take-up lever correctly. Rethread both sides, reseat the bobbin, change the needle, and test tension on scrap fabric before you adjust the machine further.
On this page (9 sections)
- Why does a sewing machine leave loops on top fabric?
- How do you check upper tension without making it worse?
- Why does threading order matter for loops on top?
- How do you check the needle, thread, and fabric match?
- How do you check the bobbin area for loops on top?
- When do loops on top mean a different machine problem?
- How do you prevent loops on top on the next project?
- Which books help you learn tension and stitch control?
- What is the fastest order to fix loops on top?
Your sewing machine is leaving loops on top most often because upper tension is too loose, the needle is wrong or dull, or the thread is not seated in the tension and take-up lever correctly. Rethread both sides, reseat the bobbin, change the needle, and test tension on scrap fabric before you adjust the machine further.
Loops on the top surface usually point to the upper thread path. The bobbin thread may be fine even when the top looks messy.
Why does a sewing machine leave loops on top fabric?
Loops on top mean the upper thread is not pulling tight at the right moment. Upper tension that is too loose is the first cause to check.
When the tension discs do not grip firmly, extra thread sits on the surface instead of locking into the fabric.
Thread that misses a guide causes the same result. Thread can slip out of the take-up lever when you thread with the presser foot down.
The needle also matters. A bent point, a dull tip, or the wrong type can make the machine skip the moment when the loop should form.
A mismatch between light fabric and heavy thread can also distort the stitch. Test on the same fabric and thread you plan to sew.
How do you check upper tension without making it worse?
Check upper tension with small changes and test seams, never with large turns and hope.
Set a normal straight stitch, use two layers of plain fabric, and sew a short line at a middle setting. Look for even stitches with no loops on either side.
If loops sit on top, tighten the upper tension by one quarter turn. Sew again on fresh scrap.
Repeat in small steps until the top looks flat and both sides look balanced.
Write down each setting. A note like standard setting plus one quarter turn is easy to undo.
Keep other variables fixed. Keep the needle, thread, fabric, presser foot pressure, and bobbin the same, and change only the tension dial.
What should a correct test stitch look like?
A correct test stitch shows small, even stitches with no loops on the top or the bottom.
On plain fabric, the lock point should sit inside the fabric, not on either surface. You should not see long threads lying across the top or loose loops under the seam.
Hold the test piece up to the light. Gaps can mean the needle is too large or the stitch length is too long.
Tight, crowded stitches can mean the opposite.
Try the same test on a folded corner of your project fabric. A setting that works on muslin may not work on a thick quilt layer.
Why does threading order matter for loops on top?
Threading order matters because each guide sets how much thread feeds for the next stitch.
The spool pin, guides, tension discs, take-up lever, and needle must hold thread in sequence. A missed guide changes the path before thread reaches the needle.
Thread with the presser foot up and the needle at its highest position, if your manual states that position. Lowering the foot closes the tension discs and can leave thread loose.
Pull thread gently after threading. It should show light, steady resistance, so rethread slowly if it slides freely.
Knots near the take-up lever can cause loops and skipped stitches, so read our guide on take up lever on sewing machine knots if thread tangles at the top.
How do you check the needle, thread, and fabric match?
Check needle, thread, and fabric match because a mismatch can create loops even when tension looks correct.
A needle too large for light fabric can push fabric down and skip the loop. A needle too small for thick thread can shred thread and distort stitches.
Start with a fresh needle and check type and size in your manual. Quilters often use a quilting needle for layered cotton, a universal needle for general sewing, and a stretch needle for knits.
Match thread weight to needle size, moving up if thread looks crowded in the eye.
Lightweight fabric can flutter under the presser foot, so use a stabilizer, a walking foot, or slower speed.
How do you check the bobbin area for loops on top?
Check the bobbin area because a poorly seated bobbin can disturb stitch balance and make the top thread look wrong.
Remove the bobbin case and bobbin, clean lint from the case slot, and reseat the bobbin so it turns in the correct direction. Pull the tail and feel for light, even resistance.
If the bobbin spins freely or unwinds the wrong way, clean and reseat it before you touch tension again, using a small brush and lint cloth.
Skip compressed air unless your manual allows it, since air can push lint deeper.
Thread bunching under fabric often starts here, even when loops show on top. For a fuller check of tangled thread under the seam, see [Stop Thread Bunching!
Easy Troubleshooting Tips](/stop-thread-bunching/).
When do loops on top mean a different machine problem?
Loops on top mean a different problem when they continue after rethreading, a new needle, a clean bobbin area, and small tension tests.
At that point, timing, a worn hook, a damaged tension spring, or a bent needle bar may need a technician.
Look for clues beyond normal adjustment. Repeated thread shredding, loud clicking, regular skipped stitches, or a needle that hits the plate can point to internal wear.
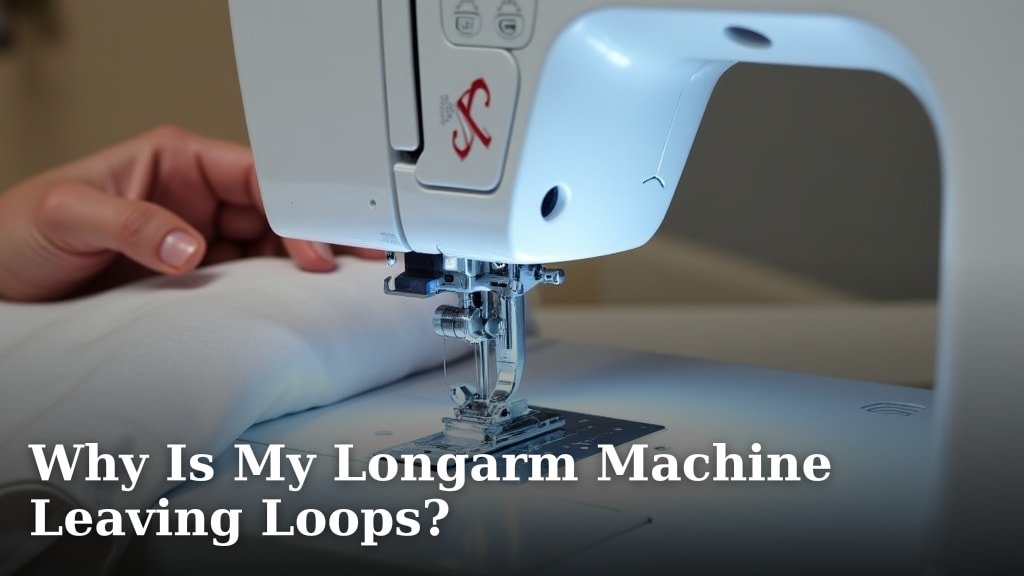
Home machines and longarm machines fail in different ways, so longarm users should read Why Is My Longarm Machine Leaving Loops?.
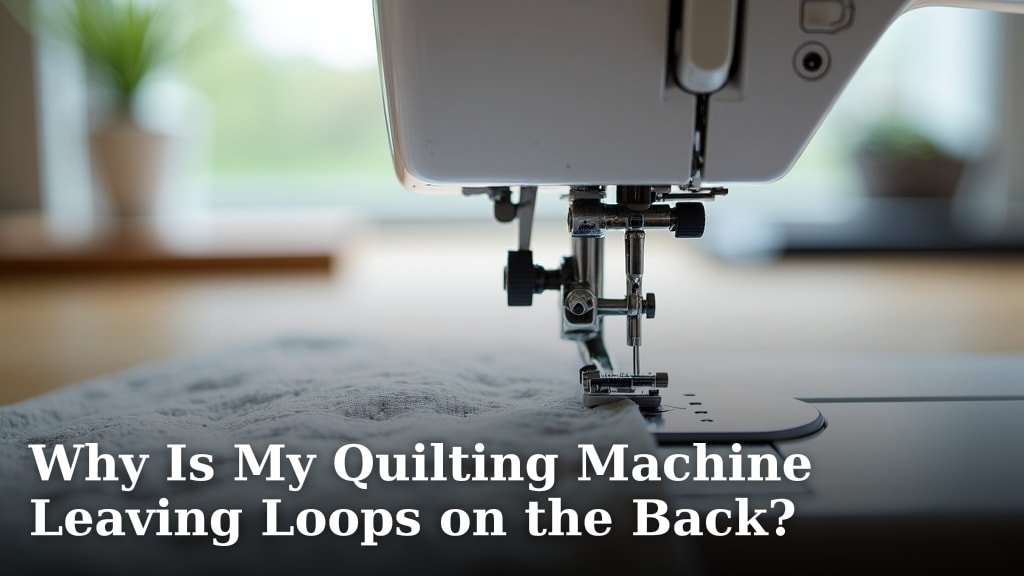
Quilting machines can also show loops on the back while the top looks acceptable. If the back is your main issue, compare it with Why Is My Quilting Machine Leaving Loops on the Back?.
How do you prevent loops on top on the next project?
Prevent loops on top by threading in order, using a fresh needle, and testing on your actual fabric before the first seam.
A short test seam at the start takes less time than unpicking loops across a quilt top.
Keep spare needles in your common sizes, a seam ripper, a small brush, and a notebook for tension notes near the machine.
Rethread whenever you change thread weight, fabric type, or needle size, since thread that worked for denim may not suit a fine cotton quilt top.
Store thread away from dust and direct light, and replace thread that feels rough or breaks easily. Our guide to Master Quilting Loops on Your Sewing Machine can help you tell a tension loop from a planned decorative loop.
Which books help you learn tension and stitch control?
Books help when you want step-by-step stitch practice and pattern reading, not just quick fixes. The three books below suit different readers, from beginners who need machine basics to quilters who want pattern depth.
Alison Smith The Sewing Book for machine basics
The Sewing Book by Alison Smith suits beginners who want over 300 illustrated techniques for seams, hems, darts, gathers, and collars. DK published it on February 4, 2025, with 352 pages in English.
It measures 9.31 x 1.13 x 11.19 inches and weighs 3.82 pounds.
DK says the book covers reading a pattern, adapting designs to measurements, tools, materials, and fabrics. It also includes ten homeware and clothing projects.
That mix suits readers who want to connect tension control with real sewing projects.
Use it as a practice companion, not as a repair manual for a specific machine model. It can help you build stitch standards on scrap fabric, then test those standards on your own machine.
All-Star Quilts of Valor for pattern practice
All-Star Quilts of Valor suits quilters who want 25 patriotic patterns from named designers for practice and gifting. Schiffer Craft published it on October 28, 2022, with 128 pages in English.
It measures 8.5 x 0.5 x 11 inches and weighs 2.31 pounds.
The book includes patterns such as V Is for Victory by Georgia Bonesteel and Stars and Stripes by Mark Lipinski. Patterns and pattern names vary by designer, so the book suits readers who like changing color and fabric combinations.
Use a simple pattern block as a tension test. Sew a few straight seams, press them, and check both sides before you build a full quilt.
If loops appear on top, fix threading and needle choice first.
Patricia Wilens Encyclopedia of Classic Quilt Patterns for reference depth
Encyclopedia of Classic Quilt Patterns by Patricia Wilens suits quilters who want more than 101 projects with piecing and rotary cutting guidance. Oxmoor House published it on October 1, 2001, with 367 pages in English.
It measures 8.25 x 0.75 x 10.75 inches and weighs 2.65 pounds.
Leisure Arts lists a best sellers rank of #18 in Quilting Patterns for this title. The book works as a long-term reference for block shapes, seam planning, and cutting methods.
That depth suits readers who keep pattern libraries and return to them often.
Use it to plan practice pieces that expose stitch problems early. A small pieced block can reveal loops, skipped stitches, or holes before you commit to a large quilt.
If holes appear in fabric during tests, compare your results with Why Is My Quilting Machine Leaving Holes in Fabric?.
What is the fastest order to fix loops on top?
The fastest order is thread, needle, bobbin, tension, then fabric test.
That order checks simple causes first and avoids a large tension change that may not be needed.
Start by removing thread from both the top and bobbin. Clean the bobbin area, insert a fresh needle, and rethread the top with the presser foot up.
Reseat the bobbin and pull a short tail through the needle plate. Sew a test line on two layers of the same fabric.
If loops remain, tighten upper tension by one quarter turn and test again. If the back now shows loops or puckers, loosen slightly and try a different needle size.
Change one variable at a time and keep a simple log with date, fabric, needle, thread, and tension setting.
Frequently asked questions
Why is my sewing machine leaving loops on top?
Loose upper tension, incorrect threading, a bent or wrong size needle, and a poorly seated bobbin are the most common causes. Rethread with the presser foot up, check that thread sits in the take-up lever, and test on two layers of scrap fabric before changing settings.
Should I tighten the upper tension first?
Try a small change, such as one quarter turn, rather than a large jump. Make one change at a time and write the setting down.
If loops stay on top and the back gets tighter too, look at threading and the needle before you keep tightening.
Can a dull needle cause loops on top?
Yes, a dull, bent, or wrong type needle can skip stitches and leave loops. Replace it with a fresh needle of the correct type and size for your fabric and thread.
Keep spare needles in the size you use most so a swap is quick.
When should I stop and call for repair?
Call for repair if loops continue after rethreading, a new needle, a clean bobbin area, and small tension tests. Also stop if you hear grinding, see damaged timing, or thread shreds repeatedly.
A technician can check timing and internal tension parts safely.