How to Replace a Rotary Machine Tension Spring
For a standard rotary sewing machine tension spring replacement, remove the face plate, release thread tension, lift out the old spring, and seat the new spring in the same orientation. Reset the discs, rethread, and test on scrap fabric before you sew a project.
On this page (11 sections)
- What does the tension spring actually do on a Standard Rotary?
- How do you tell a worn spring from a dirty tension assembly?
- Before you open the face plate, what should you prepare?
- How do you remove the old tension spring without bending it?
- How do you install the replacement spring?
- How do you rethread and test the new spring?
- Which supplies help you check the repair?
- What mistakes make a spring replacement fail?
- When should you stop and let a shop handle it?
- How do you care for the new spring after the repair?
- Final check for a standard rotary sewing machine tension spring replacement
For a standard rotary sewing machine tension spring replacement, take off the face plate, note the spring direction, swap in the new spring, and rebuild the tension assembly in the same order. The job is small, but order matters more than force.
A weak spring is a common cause of Why is My Thread Tension Inconsistent? Fixes.
It may not respond to the dial as it should, and stitches can drift on curves or seams. This guide covers the checks, the swap, and the test stitch that tells you if the work held.
What does the tension spring actually do on a Standard Rotary?
The spring keeps light, even pressure on the tension discs. That pressure helps thread feed at a steady rate through the needle eye.
On many vintage Standard Rotary machines, the spring sits behind the discs against the tension stud. Turning the dial changes how hard the discs squeeze the thread, and the spring helps them return to position.
If the spring weakens, discs may not close evenly. You may see loose loops on top or tight pulls on the back, and cleaning alone will not fix a bent or tired spring.
How do you tell a worn spring from a dirty tension assembly?
Clean first, then judge the spring by shape and return. A clean assembly that still gives uneven stitches points more to the spring or the stud.
Turn the tension dial to zero and look for grit between the discs. Run a clean cloth or dental floss between them with the presser foot up and thread removed, to lift lint without scratching the faces.
Check the spring itself. It should sit flat and push back with light force, while a stretched or tilted spring has lost its shape.
A rattling spring may point to thread tension spring noise repair, so take a photo before removal.
Before you open the face plate, what should you prepare?
You need the right spring, a screwdriver that fits, tweezers, and a clean work area. Length and coil width control pressure, so match the old spring closely.
Unplug the machine and remove the needle, thread, and bobbin. Keep screws in a small dish, and lay parts on a clean cloth in order so nothing rolls off.
Compare coil diameter, length, and leg direction. A spring that looks close but is longer can push too hard or fail to seat.
How do you remove the old tension spring without bending it?
Remove the face plate, release the tension, and lift parts off in order. The discs have a front and a back, so order matters most.
Remove the face plate screws and set the plate aside. On many Standard Rotary models, the assembly sits under that plate near the upper left, so do not force it if a screw still holds it.
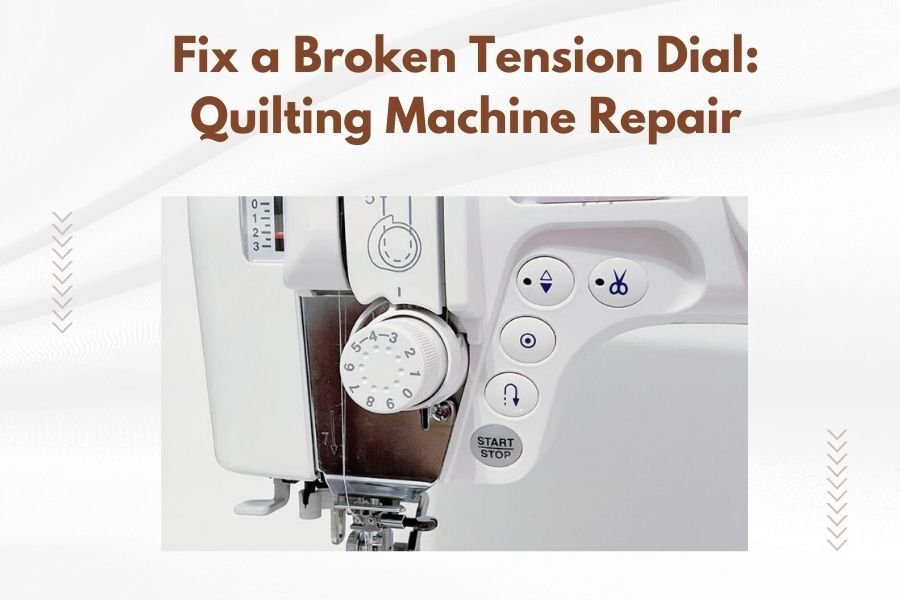
Set the dial to zero to relax the discs. If the dial is stiff, do not force it, since that may point to a Fix a Broken Tension Dial: Quilting Machine Repair issue.
Use tweezers to lift the spring off and note the leg direction.
How do you keep the discs in the right order?
Lay the discs, washers, and spring in a row that matches removal. Label the row on paper if parts are hard to tell apart.
Many discs look the same, but the face that touches thread should be smooth and clean.
Do not stack parts back on the stud until you have checked the new spring. Rebuilding twice wastes time and can bend a fresh spring leg.
The photo you took earlier helps you confirm the order.
How do you install the replacement spring?
Seat the new spring flat on the stud, with its legs pointing the same way as the old spring. Then rebuild the discs in the order you removed them.
Place the spring on the stud and press it down lightly with tweezers. It should sit level, not tilted, since a spring that rocks will not give even pressure.
Add the discs and washers in the saved order, keeping each part centered. Turn the dial to a middle setting and feel for smooth movement.
If the spring will not sit flat, lift it off and compare it with the old spring.
What if the new spring will not sit flat?
Do not force it. A spring that will not sit flat may be the wrong size, seated backwards, or resting on a washer out of order.
Lift it off and compare it again with the old spring. Check leg direction and coil width.
Try the other direction only if the old spring photo supports that orientation. Check the stud for a burr or bent tip, which may need a shop repair.
How do you rethread and test the new spring?
Rethread with the presser foot up, then sew two straight test lines on scrap fabric. The test tells you more than the dial number.
Thread the top and bobbin with the same thread you plan to use. Seat the top thread between the discs and in the take-up lever eye.
Use a fresh needle, since a dull point can make tension look wrong. Start at a middle setting on two layers of cotton scrap and check for even stitches with no loops on either side.
Change one setting at a time by a half step, then test a curve and a seam crossing as well.
Which supplies help you check the repair?
A fresh needle, clean thread, and scrap fabric give you the clearest test. Those items remove needle, thread, and fabric as variables while you judge the spring.
The SCHMETZ Microtex Sharp Sewing Machine Needles are size 80/12 with a slim acute point. SCHMETZ says the point suits microfibers, polyester, silk, foils, artificial leather, coated materials, cotton, batik, and woven fabrics.
That mix makes them useful for test seams on cotton and for detail work after the repair.
A fresh needle matters because a bent or dull point can mimic a tension fault. Replace the needle before you judge the new spring, and keep the test needle for the first project if stitches look clean.
For thread, use one consistent thread for testing. Changing thread weight or fiber at the same time as the spring can hide whether the spring helped.
The Coats & Clark All Purpose Sewing Thread is 100% polyester, medium weight 35wt, in a 6-pack of white spools at 400 yards each. Coats & Clark describes a polyester covered polyester core for strength, and a single thread keeps stitch checks fair.
How do you use a needle threader for hand checks?
A threader helps when you need to thread a hand needle for basting or mending after the machine test. It is not part of the spring swap, but it can speed up hand work around the repair.
The Bohin 81980 Super Automatic Needle Threader is a compact plastic tool for needle sizes 1 through 11. Bohin says it helps pass thread through the eye and reduce eye strain.
It has an orange finish and a magnetic needle picker for small hand-quilting needles.
Use it only for hand needles. The machine needle still goes through the machine threading path, and the threader will not set tension for you.
What mistakes make a spring replacement fail?
Most failures come from order, orientation, and thread path, not from the spring itself. Keeping those three in mind prevents repeat work.
Rebuilding discs in the wrong order is a common error. A washer on the wrong side changes how thread is squeezed, so use your photo and cloth row to rebuild correctly.
Seating the spring backwards also causes uneven pressure. Compare the new spring with the old one before you tighten the face plate.
Testing with a dull needle or mixed thread adds another fault. Change one variable at a time.
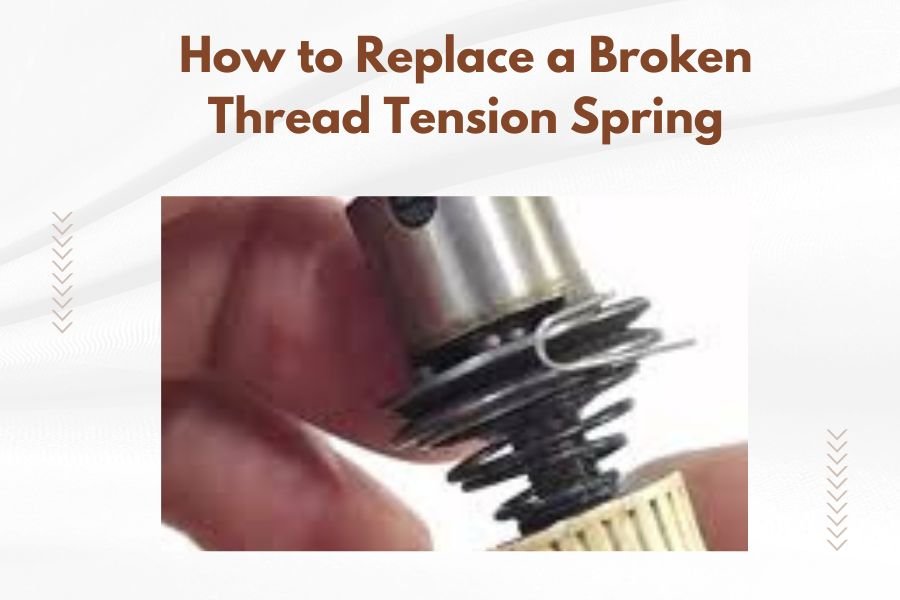
For a broader swap, see How to Replace a Broken Thread Tension Spring.
When should you stop and let a shop handle it?
Stop if the stud is bent, screws are stripped, or the spring will not seat. Those signs point past a simple spring swap.
A bent stud keeps every part off center. A stripped screw keeps the face plate loose and lets the assembly shift, and either fault can make a new spring look bad.
Also stop if the dial will not turn smoothly after a clean rebuild. Forcing it can bend the stud or crack the housing.
Take the machine to a shop with both springs and a note about what you tried. A shop can also check the bobbin area, since How to Replace a Broken Bobbin Case Spring faults can change stitch balance.
How do you care for the new spring after the repair?
Keep the discs clean, use a fresh needle, and check tension after thread changes. Those habits protect the new spring from repeat wear.
Brush lint from the tension area each time you change thread or work on a heavy project. Lint builds up fast with fleece, batting, and synthetic fabrics.
Store the machine as the manual advises, often with the presser foot down and needle up. Keep the old spring in a labeled bag so a tech can compare size and shape if a new fault appears.
For belt wear, see How to Replace a Worn Quilting Machine Belt. A worn belt can cause speed changes that look like tension faults.
Final check for a standard rotary sewing machine tension spring replacement
A good result is a spring that sits flat, discs that rebuild in order, and test stitches that stay even on the top and back. Work through cleaning, orientation, thread path, and test seams in that order.
Use a fresh needle, one test thread, and scrap fabric for checks. Change the dial in small steps and sew after each change.
If stitches stay uneven after a clean rebuild, inspect the discs and stud before you try another spring.
Get the order right, keep the parts clean, and let the test seam make the final call.
Frequently asked questions
How do you know the tension spring needs replacement?
Replace it when stitches stay uneven after cleaning, the spring looks bent or weak, or it clicks, rattles, or does not push the discs back into contact. A spring that lost its shape cannot hold steady pressure, so tension changes from stitch to stitch.
What tools do you need for this repair?
You need the correct replacement spring, a small screwdriver that fits the face plate screws, tweezers, and a clean cloth. Keep the old spring for comparison, and take a photo before you remove anything so you can match the orientation on reassembly.
Why do stitches look uneven after a spring change?
Uneven stitches often come from a spring seated backwards, discs reassembled out of order, or thread not seated between the discs. Rethread with the presser foot up, confirm the thread sits in the take-up lever, and test on two layers of scrap fabric.
When should you get help instead of replacing the spring?
Get help if the tension stud is bent, the dial will not turn, screws are stripped, or the spring will not seat flat. Those problems can be a dial or stud repair rather than a spring problem, and forcing parts can damage a vintage machine.