How to Fix a Noisy Thread Tension Spring
Most thread tension spring noise can be fixed by cleaning lint and dust from the tension discs, checking for a bent or dry spring, and rethreading with fresh thread. Only replace the spring if it is cracked, stretched, or still squeaks after cleaning and careful lubrication of moving contacts.
On this page (10 sections)
- How can you tell if the noise comes from the tension spring?
- What should you check before you take anything apart?
- How do you clean the tension discs without bending the spring?
- When does a dry or rough spring need a tiny amount of oil?
- How do you check the spring shape and the tension dial?
- Can a dull needle or wrong thread cause tension spring noise?
- How do you sew a test piece to check the repair?
- When should you replace the spring instead of cleaning it?
- What other noises can sound like a tension spring?
- How can you stop the noise from coming back?
Most thread tension spring noise can be fixed by cleaning lint and dust from the tension discs, checking for a bent or dry spring, and rethreading with fresh thread. Start with cleaning and inspection before you buy parts, because many squeaks come from friction instead of a broken spring.
A noisy spring often sounds like a light tick, squeak, or rubbing during each stitch. That sound can change when you turn the tension dial, raise the presser foot, or change thread.
Those clues help you find the source before you open the machine.
How can you tell if the noise comes from the tension spring?
Listen for noise that follows the tension dial or thread path. If the sound changes when you turn the dial, the spring and discs are likely involved.
If it stays the same at every setting, check the needle, bobbin area, and feed dogs first.
Sew a few stitches with the presser foot up and down. The tension discs should relax when the foot is up, so a click or scrape that slows or stops may point to the spring.
Remove the needle and thread, then turn the handwheel slowly by hand. Note where the sound starts and stops.
A sharp tick near the top front of the machine fits the tension area better than a low rumble near the bobbin.
If tension looks uneven along with the noise, read Why is My Thread Tension Inconsistent? Fixes before you adjust anything else.
That guide helps you separate a spring problem from thread, needle, and bobbin issues.
What should you check before you take anything apart?
Unplug the machine, remove the needle, and open the thread path fully. This keeps your fingers safe and lets you see the discs, spring, and thread guides without thread pulling them out of place.
Use good light and a magnifier if you have one. Look for lint packed between the tension discs, a bent spring leg, rust spots, or a dial that feels gritty.
Do not force the dial to clean it, because that can bend the spring.
Take a photo of the thread path before you remove anything. Note how the thread passes through the take-up lever, guides, and tension discs.
A fresh needle and fresh thread remove two common false causes. A dull needle can make stitches skip and pull thread sideways, which can make the tension area sound rough.
Fresh thread also rules out old, fuzzy thread that sheds lint into the discs.
How do you clean the tension discs without bending the spring?
Brush the discs gently with a soft brush or clean plain fabric. Work from the outside edge toward the center.
Then lift the presser foot lever so the discs open slightly and pick out lint with tweezers.
Do not use compressed air at close range. It can drive lint deeper into the spring area.
Clean the thread guide holes and the area around the spring with the same brush. Check that the spring moves freely as you turn the dial slowly.
If the discs feel rough, run a strip of plain woven fabric between them to polish the contact surface. Turn the dial through its range while you do this, but stop if you feel strong resistance.
The Coats & Clark thread suits test stitching because it is a medium weight 35wt polyester thread made for sewing machines. Use it to check whether noise and stitch balance improve with clean, fresh thread.
When does a dry or rough spring need a tiny amount of oil?
Use one small drop of sewing machine oil only on the spring contact point. Dry metal can squeak there, and a tiny amount can quiet it without soaking the thread path.
Put oil on a pin or cotton swab tip, not straight from the bottle. Touch the rubbing spot, turn the dial slowly to spread it, and wipe away extra oil before rethreading.
Never flood the tension discs. Extra oil can stain fabric, make thread slip, and attract lint.
Test on a scrap first.
If your manual says not to oil this area, follow it. Some machines have plated parts or felt pads that need no oil.
How do you check the spring shape and the tension dial?
Look for a spring that sits evenly and returns to shape after you turn the dial. A bent leg, a stretched coil, or one touching the side wall points to damage.
Turn the dial low to high and back while watching the spring. It should move in a small, steady range.
If it sticks or scrapes at one spot, note it and check for lint or a bent coil.
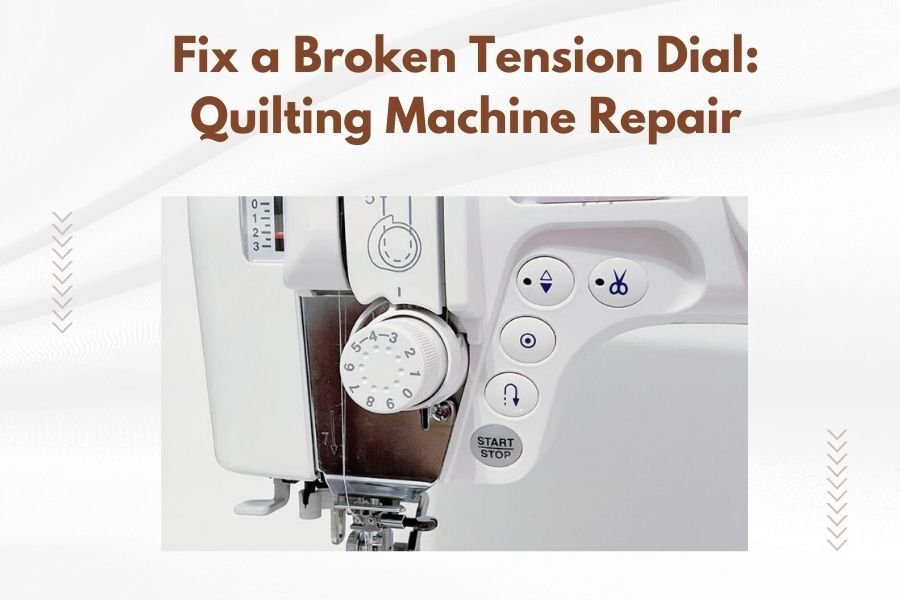
Check the dial for cracks or a loose fit. Our guide to Fix a Broken Tension Dial: Quilting Machine Repair explains when a dial swap beats a spring swap.
Do not straighten a bent spring unless you know its exact shape. Mark the noisiest dial setting to compare results after cleaning.
Can a dull needle or wrong thread cause tension spring noise?
Yes, a rough needle or fuzzy thread can make the tension area work harder. A dull point deflects thread, a burr can catch thread fibers, and old thread can shed lint into the discs.
Those faults can sound like a spring problem even when the spring is fine.
Change to a fresh needle that suits your fabric before you judge the spring. For quilting cotton and tight piecing, a sharp needle gives cleaner penetration and less thread drag.
The SCHMETZ Microtex needle above has a slim acute point made for precise stitches. It suits cotton, batik, microfibers, polyester, silk, and other woven fabrics listed for this needle.
A size 80/12 point is a useful test needle for many quilting fabrics.
Thread choice matters too. Fresh, smooth thread sheds less lint than old thread that has grown fuzzy in storage.
Re-thread the whole path after any needle change, because a new needle can change how thread sits in the guides.
If you use hand sewing after machine work, a threader can speed rethreading. The Bohin threader above works with needle sizes 1 through 11 and has a compact plastic body.
How do you sew a test piece to check the repair?
Sew two layers of cotton with straight stitches at a mid tension setting. Use a fresh needle, fresh thread, and an evenly wound bobbin.
Check both sides for loops, puckers, and skipped stitches.
Sew a short line, then change tension by small steps and sew a new line for each step. Write each setting beside its line.
Loops on top often mean low top tension. Loops on the bobbin side often mean high top tension.
Make small changes, not full turns.
Listen at a steady speed. A repaired spring should sound smooth with no repeating tick.
If noise returns only at high tension, the spring may be stretched. Keep the test piece as a baseline.
When should you replace the spring instead of cleaning it?
Replace the spring when it is cracked, rusted, bent, stretched, or still noisy after cleaning. A spring that cannot hold even pressure will keep causing uneven stitches.
Cleaning cannot restore metal that has lost its shape.
Take the old spring to a dealer or parts shop so you can match its size and leg shape. A close match matters more than the brand name on the package.
Do not force a longer spring into a space made for a shorter one.
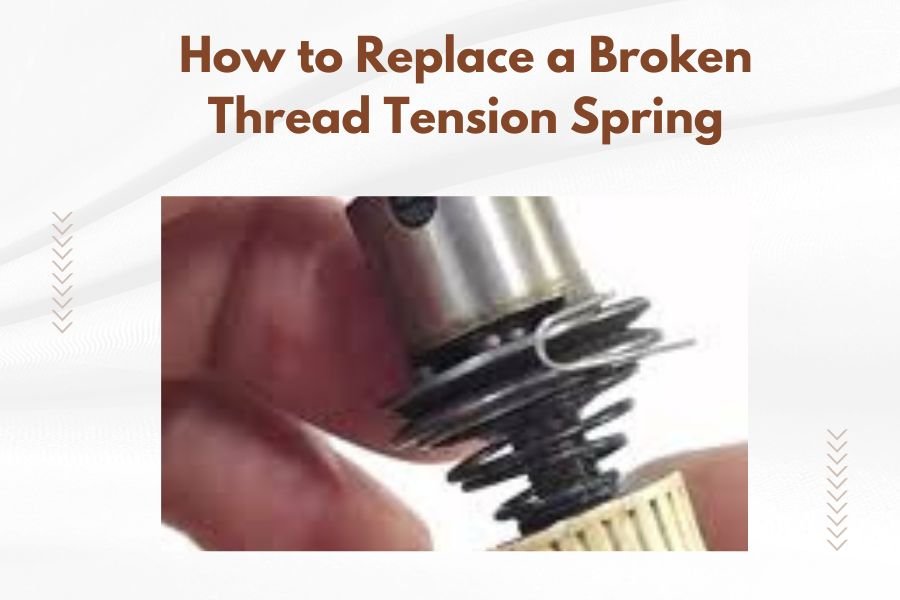
Our guide to How to Replace a Broken Thread Tension Spring walks through the swap steps. If your machine uses a standard rotary hook setup, standard rotary sewing machine tension spring replacement may match your model better.
Replace the spring only after checking the dial and stem. A new spring cannot fix a cracked dial or a worn stem, so check those parts before you order.
What other noises can sound like a tension spring?
Grinding from the hook area, bobbin, or feed dogs can sound similar. A tension spring noise usually changes with the dial or thread path.
A hook noise often follows the stitch cycle and gets worse with speed.
If you hear deep grinding, stop and check Fix Grinding Noises in Your Quilting Machine. That guide covers hook timing, bobbin case fit, and lint around the feed dogs.
Thread stand trouble can also pull thread sideways and make the tension area work unevenly. If thread feeds in jerks, check How to Repair a Broken Thread Stand: Easy Fix before you blame the spring.
Do not keep sewing through a loud grinding sound. It can wear the hook, bend a needle, or pull the spring out of shape.
A short pause for checks costs less than a larger repair later.
How can you stop the noise from coming back?
Keep the tension discs clean, use fresh thread, and change needles on schedule. Lint builds faster with fuzzy thread, fleece, and dense quilting.
A quick brush after a heavy project prevents most repeat squeaks.
Store thread away from dust and direct sun. Old thread sheds more fibers and can make a clean machine noisy again.
Brush the bobbin area and feed dogs every few hours of sewing. Lint travels through the machine, so clean tension discs alone may not stop all noise.
Log needle size, thread type, dial setting, and fabric. That record speeds the next repair and shows if noise returns with a certain fabric.
Replace only a damaged spring.
Frequently asked questions
Why does my tension spring squeak?
A squeak usually comes from friction, lint, or a dry contact point rather than a failed spring. Cleaning the tension discs and checking the spring for bends often stops the noise.
Replace the spring only if it looks cracked, stretched, or does not return to shape.
Can I oil a tension spring?
Use only a tiny amount of sewing machine oil on the moving contact points if your manual allows it. Avoid soaking the discs, because excess oil can stain fabric and attract more lint.
Wipe away any extra oil before you sew a test piece.
When should I replace a tension spring?
Replace it when the spring is bent, cracked, rusted, or cannot hold steady pressure after cleaning. Also replace it if the noise returns quickly or stitch tension stays uneven.
A spring swap is simpler than forcing a damaged part to work.