How to Quilt Large-Scale Stippling
To quilt stippling large scale, use wider spacing, larger curves, and a steady pace so the motif fills space without crowding. Keep the curve sizes even, turn the quilt instead of forcing sharp corners, and plan each pass before you sew it.
On this page (14 sections)
- What makes quilt stippling large scale different from regular stippling?
- How wide should you space the rows in large scale stippling?
- How do you keep the curves consistent in quilt stippling large scale?
- What stitch length and thread suit large scale stippling?
- How do you plan a large scale stipple path across a quilt?
- How do you handle corners, borders, and appliqué edges?
- What mistakes make large scale stippling look uneven?
- How do you quilt large scale stippling on a small machine?
- Which products help you practice and finish large scale stippling?
- How do you choose the right scale for your quilt top?
- When should you switch to circles or bubbles instead of stippling?
- How do you manage a big quilt on a home machine?
- How do you care for finished large scale stippling?
- What is the fastest way to improve your large scale stippling?
To quilt stippling large scale, use wider spacing, larger curves, and a steady pace so the motif fills space without crowding. Turn the quilt instead of forcing sharp corners.
If you are new to free motion work, a short refresher like How to Free Motion Quilt for Beginners? helps build hand control. Small wobbles show less at this scale, but uneven spacing shows more.
What makes quilt stippling large scale different from regular stippling?
Large scale stippling uses wider rows, bigger loops, and fewer passes per inch than regular stippling. Regular work often uses rows 1 inch apart, while large scale work may use rows 2 to 3 inches apart.
Bigger curves suit wide borders, large appliqué shapes, and open center blocks. Test on a scrap by marking rows at 1.5, 2, and 3 inches and comparing how the texture reads.
How wide should you space the rows in large scale stippling?
Space the rows about 2 to 3 inches apart, then adjust that gap to match the motif. A 2 inch row suits medium blocks, and a 3 inch row suits wide open areas.
Keep spacing consistent within one section. Drifting from 2 inches to 1 inch makes the quilt look busy in spots and bare in others.
Leave a small gap where rows meet. Curves should nearly touch the next row, but not cross it.
Crossing reads as a tangle, not as texture.
How do you keep the curves consistent in quilt stippling large scale?
Consistent curves come from repeating one size loop at a steady speed. Pick a comfort width, often near 2 inches, and make every loop close to that width.
Look a few inches ahead of the needle. Your eye should land where the next curve will turn, not on the spot you already sewed.
Turn the quilt rather than twisting your wrist into an awkward angle. For a sharp change, pause, shift the quilt, and start a fresh curve.
Twisting often puckers the top.
What stitch length and thread suit large scale stippling?
Use a stitch length near 2.5 to 3 mm for visible texture. A longer stitch reads clearly from a distance and keeps quilting from looking too heavy around big motifs.
A medium weight thread shows the pattern without overwhelming it. Fine thread can make wide curves vanish, and heavy thread can make every wobble stand out.
Test on a scrap with the same batting and backing you will use. Large curves pull differently than dense fills, so the test shows whether fabric ripples or lies flat.
How do you plan a large scale stipple path across a quilt?
Plan the path block by block so each section starts and ends at a clear point. Work one motif at a time, finish it, then move on without crossing finished quilting.
Start at a corner or edge and meander toward the far side. Turn back in the next row and travel in the opposite direction.
This rhythm is easy to repeat.
Avoid quilting yourself into a corner. For a central section, plan an exit route before you start.
That plan prevents a long jump over finished stitches.
How do you handle corners, borders, and appliqué edges?
Handle corners and borders by turning before the edge, not on it. Stop the curve about half an inch short of a border line, turn, and come back in a new row.
For appliqué, keep curves outside the shape and keep the shape itself clean. For a quilt design built around gathered circles, see yo-yo quilt layout.
Wide borders suit the widest spacing, while narrow borders need a tighter row.
What mistakes make large scale stippling look uneven?
The main mistakes are rows that drift, loops that change size, and speed that changes mid row. Each is easy to spot on a test piece.
Drifting rows happen when you eyeball the gap. Mark guide lines until your eye learns the spacing.
Loops change size when you rush familiar sections and slow at hard ones.
Finish each row with a full size curve, then turn and start the next row the same way. Row ends set the look of the whole section.
How do you quilt large scale stippling on a small machine?
Quilt on a small machine by rolling and folding the quilt so only the active section stays flat. Wide curves help, since you steer bigger shapes with less hand travel.
Support the quilt weight on the table beside the machine. Unsupported fabric drags, and drag makes big curves lopsided.
Section quilting can save your shoulders on heavy quilts.
A rectangular stipple quilting approach helps in long, straight blocks. Clear edges give rows a start and finish, so spacing stays true.
How do you practice large scale stippling loops before the quilt?
Practice until you can repeat the same curve width without watching the needle. Aim for five curves in a row that look alike.
Use chalk circles as guides for the first round. Sew around each circle, then repeat the width with no guide.
Guided work teaches shape, and unguided work teaches control.
How do you check your large scale stippling work as you go?
Check the work every two or three rows from standing height. Step back and view the section as a whole, since texture should read from across the room.
Look for patches that look dense or sparse. Dense patches mean spacing shrank, and sparse patches mean it grew.
Fix the next row before moving on.
How do you finish the last row of a stipple section?
Finish by planning the exit before you start the last row. Sew the final curve, then travel to the edge along a seam line or under a border.
Tie off or backstitch as your machine allows, then trim tails on the back. Big curves leave longer tails, so check each start and stop point.
Which products help you practice and finish large scale stippling?
A practice project helps you learn spacing without risking a full quilt. The June Tailor pattern below gives a printed pattern on batting, so you can focus on path and curves.
June Tailor says the pattern makes a 48 by 15 inch table runner in 30 seams, with 80 percent cotton and 20 percent polyester batting. Fabric is not included.
Its small size lets you finish the project and judge spacing.
Finished quilts also show large scale texture in use. The cream white velvet set below has channel stitching at a wide scale, close in spirit to wide stippling rows.
RECYCO says this king size set includes 1 velvet quilt at 108 by 96 inches and 2 pillow shams at 20 by 36 inches. Its wide, even lines show how spacing reads across a big surface.
The mocha brown version below shows the same stitching in a darker tone. Dark fabric hides some texture, so it shows why thread choice matters.
RECYCO says this king size set includes 1 velvet quilt at 108 by 96 inches and 2 pillow shams, in mocha brown. Compare it with the cream version when choosing thread, since light thread on dark fabric shows every curve.
How do you choose the right scale for your quilt top?
Choose scale to match the biggest open shape on your quilt top. Wide blocks want wide rows, and narrow strips want a tighter pattern or another fill.
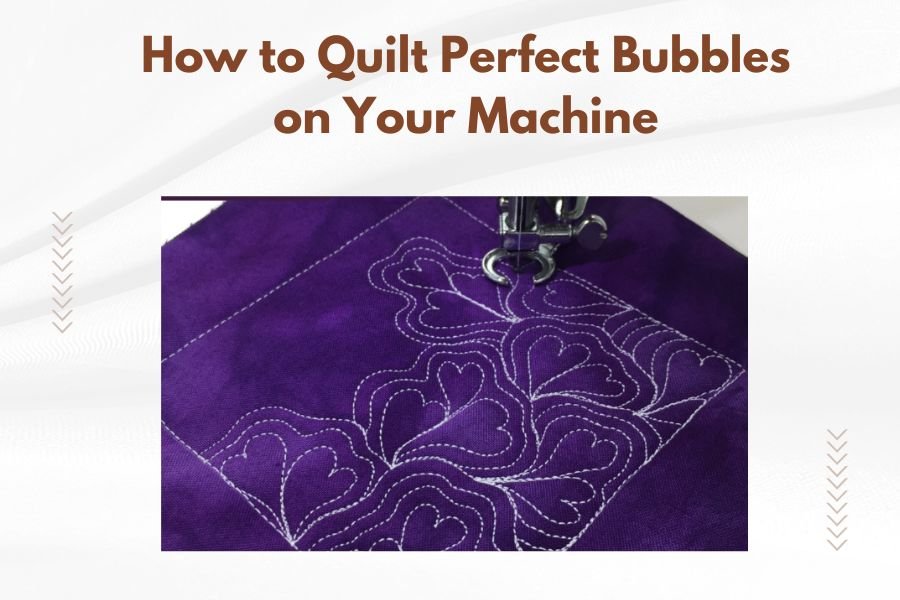
Test rows on paper at the sizes you plan to use and step back to judge them in place. For a related motif with more curve, How to Quilt Perfect Bubbles on Your Machine shows another way to fill open space.
When should you switch to circles or bubbles instead of stippling?
Switch to circles or bubbles when the motif calls for round shapes rather than meandering rows. Stippling fills space, while circles create a pattern within that space.
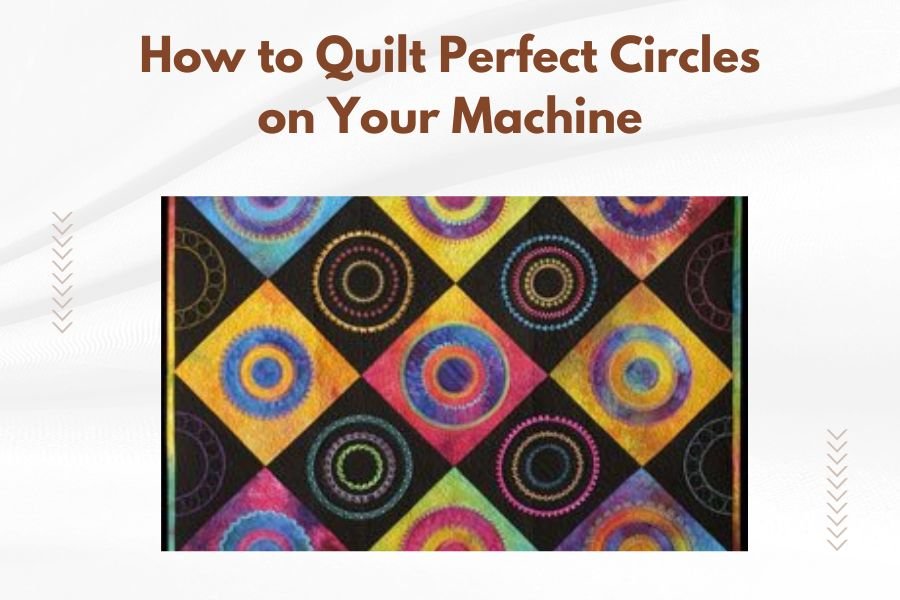
A guide to How to Quilt Perfect Circles on Your Machine helps if blocks have round appliqué or prints. Circles need even spacing too, so stippling habits transfer directly.
You can mix both in one quilt. Stipple the background and add circles or bubbles in accent blocks.
That contrast keeps a large quilt from looking flat.
How do you manage a big quilt on a home machine?
Manage a big quilt by quilting in sections and supporting weight on the table. Large scale stippling helps, since wide curves need less hand travel than a dense fill.
For more on space, Quilt a Large Quilt on a Small Machine: Tips covers rolling, folding, and section work in detail. If you wonder whether a compact machine can handle the job, Can You Use a Mini Quilting Machine for Large Quilts? lays out the limits.
How do you care for finished large scale stippling?
Care for finished quilting by following fabric and batting instructions, not the quilting pattern. Large scale stippling does not change how you wash or dry the quilt.
RECYCO says its velvet quilt sets can be machine washed and dried, and get softer after each wash. Your quilt may need a gentler cycle, so check labels on your fabric and batting first.
Inspect quilting after the first wash. Wide curves sometimes relax and look softer, which is normal.
Puckering usually started with uneven spacing or tension before the wash.
What is the fastest way to improve your large scale stippling?
The fastest way is to sew one practice block, step back, and adjust one thing at a time. Change spacing, check the look, then change curve size and check again.
Keep a small log of each test, noting row spacing, curve width, and stitch length. After three or four tests, a pattern will show what suits your hands and the second quilt will move quickly.
Frequently asked questions
What is large-scale stippling in quilting?
Large-scale stippling means a meandering stipple pattern with wider spacing and bigger curves than standard stippling. The loops might measure 2 to 4 inches across instead of under 1 inch, so the design reads as a bold background texture rather than a dense fill.
How wide should the spacing be for large scale stippling?
Start with rows spaced about 2 to 3 inches apart and curves about 2 inches wide, then adjust for your motif. Wider spacing suits big blocks and open areas, while tighter spacing keeps narrow borders from looking empty or loose.
Can I do large scale stippling on a home machine?
Yes, a home machine handles large scale stippling well because the bigger curves are easier to steer than tiny loops. A walking foot or free motion foot both work, so choose whichever gives you steadier control in the area you are quilting.
How do I keep large stippling curves even?
Keep your hands in one position, move the quilt at a slow and steady speed, and look ahead to the next curve instead of at the needle. Even spacing comes from repeating the same size loop, not from sewing faster through tight sections.