
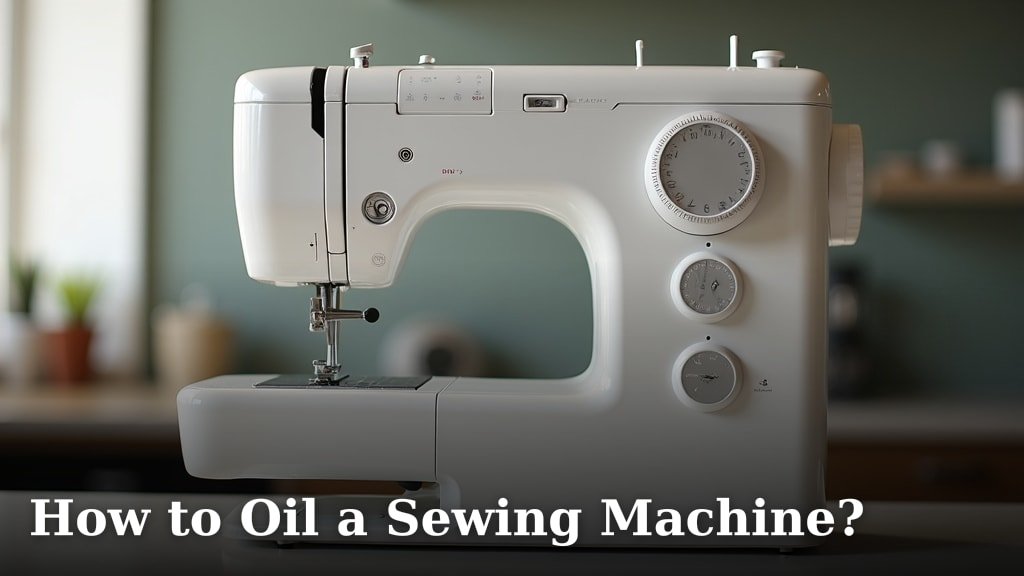
To oil a sewing machine, you’ll need to turn off and unplug your machine, then clean away any lint and old oil. Next, apply a small drop of fresh sewing machine oil to the designated oiling points, usually found in the hook race, needle bar, and presser bar areas. Following these steps ensures your machine runs smoothly.
Most sewing machine manuals show you exactly where these oiling points are, but we’ve found that a good general rule is to oil any parts that move against each other. Regular oiling prevents wear and tear and keeps your machine humming along happily, just like a well-oiled machine should!
TL;DR
- Unplug your sewing machine.
- Clean out lint and old gunk.
- Locate the oiling points.
- Apply a tiny drop of sewing machine oil.
- Run the machine to spread the oil.
You might be asking yourself, “How often should I oil my machine?” or “Which oil should I even use?” Don’t worry, we’re here to guide you. Let’s walk through how to oil your sewing machine step by step, making sure you get it right every time.
Preparing Your Sewing Machine for Oiling
Before you even think about applying oil, a little prep work goes a long way. Think of it like cooking: you wouldn’t start a recipe without gathering your ingredients and cleaning your workspace, right? The same applies here. A clean machine is a happy machine, ready to be oiled.
Safety First: Unplugging Your Machine
This might seem obvious, but it’s the most critical step you can take. Always, always unplug your sewing machine before you do anything. You’ll be moving parts, opening covers, and rummaging around. This one simple act prevents accidental starts and potential injury. You don’t want any surprises when your hands are inside the machine!
Gathering Your Oiling Essentials
What do you need for this important task? Not much, thankfully! You’ll want a few key items readily available. Having everything at hand makes the process smoother and quicker. Preparedness makes perfect.
- Sewing machine oil: Only use oil designed specifically for sewing machines. We’ll talk more about this below.
- Small brush: A lint brush or a small paintbrush is great for cleaning.
- Tweezers: Handy for grabbing stubborn lint.
- Soft cloths: Old t-shirts or microfiber cloths work well for wiping away gunk.
- Your machine’s manual: This is your best friend during this process.
Cleaning Out the Lint and Dust
Sewing machines are lint magnets. Every stitch produces tiny fibers, and over time, these build up. This lint can mix with old oil, creating a sticky, gunky mess. This gunk can slow your machine down and even cause damage. Cleaning it out is essential before applying new oil. You’re effectively giving your machine a fresh start. Don’t skip this step!
- Remove the needle plate: Use your screwdriver to take off the needle plate.
- Take out the bobbin case and bobbin: Set these aside carefully.
- Brush away lint: Use your small brush to sweep out all the lint you can find. Pay extra attention to the feed dogs and the bobbin area.
- Use tweezers for stubborn bits: Sometimes lint gets really packed in there. Gently pull it out.
- Wipe down surfaces: Use a soft cloth to clean any visible dirt or old oil residue.
Choosing the Right Oil for Your Sewing Machine
Not all oils are created equal, especially when it comes to sewing machines. You can’t just grab any oil from your garage. Using the wrong type of oil can do more harm than good. It might gum up your machine, stain your fabric, or even void your warranty. Picking the correct oil is crucial.
The Importance of Specific Sewing Machine Oil
Why is special oil necessary? Sewing machine oil is a lightweight, non-detergent mineral oil. It’s designed to lubricate moving parts without leaving behind sticky residues or attracting more lint. Household oils like WD-40, cooking oil, or general-purpose machine oil are too thick, can gum up, or contain additives that corrode delicate parts. You really want to avoid those. Your machine deserves the best!
Where to Find Sewing Machine Oil
You might wonder, “Where do I even get this special oil?” Good news: it’s pretty easy to find. Most sewing machine stores, fabric shops, and even large craft stores carry it. You can also find it online. A small bottle lasts a long time, so it’s a good investment. Always keep a bottle handy.
Locating and Oiling Your Sewing Machine’s Key Points
Now for the main event: applying the oil. This isn’t about drenching your machine in oil; it’s about applying a very small amount to specific spots. Think of it like a surgeon, precise and targeted. Many experts say that less is often more when oiling.
Consulting Your Machine’s Manual for Oiling Points
Your sewing machine manual is your ultimate guide here. Seriously, don’t ignore it! It contains custom diagrams and instructions for your specific model. Every machine is a little different, and the manual will show you exactly where to put those precious drops of oil. If you don’t have your physical manual, check the manufacturer’s website; most have digital versions available. Your manual is gold.
Common Oiling Points to Look For
While your manual is king, there are some common areas that almost always need attention. We’ve found that these areas experience a lot of friction and benefit most from lubrication. Focusing on these high-wear spots will give you the most bang for your buck.
The Hook Race Area
This is probably the most commonly oiled spot. The hook race is where your bobbin case sits and spins. It’s a busy place with metal-on-metal action. It’s often exposed once you remove the needle plate and bobbin case. You’ll typically see some metal parts that rub against each other. A single drop here makes a big difference.
The Needle Bar and Presser Bar Areas
These are the shafts that move up and down. The needle bar holds your needle, and the presser bar holds your presser foot. You’ll usually find small holes or friction points where these bars move. Sometimes you need to peek under covers or tilt your machine. Look for spots where metal meets metal and rubs.
Other Moving Parts
Take a moment to carefully turn the handwheel of your sewing machine slowly. Watch for any other parts that move and rub together. These might be gears, linkages, or other internal mechanisms. If you see a tiny access hole or a visible pivot point, it might be an oiling spot. When in doubt, refer back to your manual. Trust your manual first.
Applying the Oil: A Delicate Touch
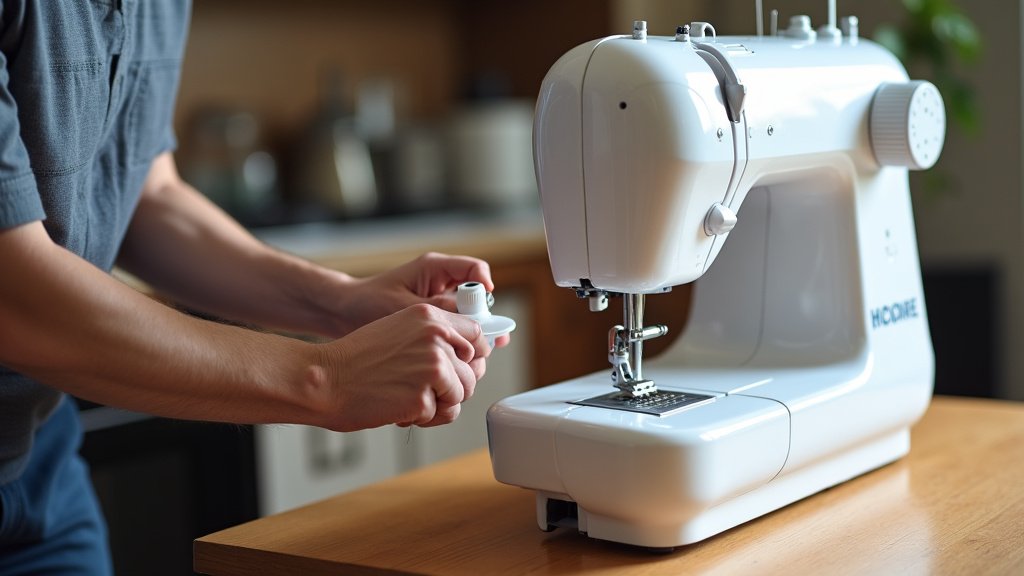
Once you’ve identified your spots, it’s time to apply the oil. We can’t stress this enough: use only one drop per point. Seriously, one tiny drop is all it takes. More oil doesn’t mean better lubrication; it just means a bigger mess and a higher chance of staining your fabric. You’re not trying to drown the machine, just give it a little sip.
- Place the tip of the oil bottle’s spout directly on the oiling point.
- Gently squeeze for just one small drop.
- Wipe away any excess immediately with a soft cloth. You don’t want oil dripping into unwanted areas.
After-Oiling Care and Testing
You’ve oiled your machine. What now? You’re almost done! A couple more steps will ensure the oil distributes properly and that you don’t accidentally stain your next sewing project. This is about making sure all your hard work pays off.
Running the Machine to Distribute the Oil
After oiling, you need to spread that oil around. Without thread or fabric, turn your machine on and run it at a medium speed for about a minute. You can pump the foot pedal, or if your machine has a start/stop button, use that. This helps the oil work its way into all the moving parts. Let it run for a bit.
Performing a Test Stitch
This is a super important step. Before you start on your next project, do a test stitch! Get a scrap piece of fabric, ideally a light-colored one, and stitch a few lines. Why? Because sometimes, even after wiping, a little excess oil can still make its way out. You want to make sure any lingering oil stains this scrap, not your precious project fabric. Better safe than sorry.
- Thread your machine with some scrap thread.
- Use a light-colored scrap fabric.
- Stitch a few straight lines and zig-zags.
- Check the fabric for any oil spots. If you see any, run another scrap through until it’s clean.
Regular Oiling Schedule
How often should you do this? It really depends on how much you sew. If you’re a casual sewer, maybe every 30-50 hours of use or every few months. If you sew daily, you might need to oil more frequently – perhaps every 15-20 hours of use. We found that a good rule of thumb is to oil your machine when it starts sounding a little sluggish or noisy. Listen to your machine; it will tell you.
| Usage Level | Oiling Frequency | Signs to Look For |
|---|---|---|
| Light (2-3 times/month) | Every 3-6 months | Slightly stiff movement, minor hum change |
| Moderate (weekly) | Every 1-2 months | Noticeable noise increase, drag during sewing |
| Heavy (daily/commercial) | Every 2-4 weeks | Significant noise, sluggishness, frequent bobbin issues |
Conclusion
You now have all the tools and knowledge to confidently oil your sewing machine. By consistently cleaning away lint and applying just a single drop of the correct oil to the right spots, you ensure your machine’s longevity and smooth operation. This simple maintenance routine prevents costly repairs and frustration. Take pride in knowing you’re extending the life of your creative companion. Make regular oiling a habit, and your sewing machine will thank you with years of happy stitching. Keep your machine purring!
Frequently Asked Questions
How can I tell if my sewing machine needs oiling?
Your machine will often tell you! Listen for increased noise, like clunking or a louder hum. You might also notice it running a bit slower or feeling sluggish, even on simple fabrics. These are usually clear signs it’s time for some lubrication.
What happens if I use the wrong type of oil on my sewing machine?
Using the wrong oil can cause several problems. Thicker oils, like WD-40 or cooking oil, can gum up internal mechanisms, attract more lint, and even corrode delicate parts. This can lead to costly repairs, inconsistent performance, and even void your machine’s warranty.
Can I over-oil my sewing machine? What are the risks?
Yes, you can definitely over-oil your machine. Applying too much oil can lead to oil leaking onto your fabric, causing stains on your projects. It can also attract and trap more lint and dust, leading to a sticky buildup that hinders movement and requires more frequent cleaning.
Where can I find my sewing machine’s manual if I’ve lost it?
Don’t worry, lost manuals are common! Most sewing machine manufacturers provide digital copies on their official websites. Simply search for your machine’s make and model number, and you should be able to download a PDF version. Online sewing forums can also sometimes help you locate old manuals.
Besides oiling, what’s another critical maintenance step for my sewing machine?
Regular and thorough cleaning is absolutely vital, perhaps even more so than oiling. Lint and dust buildup are the primary enemies of a healthy sewing machine. Make sure to regularly remove the needle plate and bobbin case to brush out all debris, especially from around the feed dogs and hook area. This prevents gunk from forming.
