Can You Use a Mid-arm Machine for Edge to Edge Quilting?
On this page (6 sections)
Yes, you absolutely can use a mid-arm machine for edge-to-edge quilting, and it’s often a fantastic choice! While not as large as a longarm, a mid-arm offers a great balance of control and workspace for completing a whole quilt top smoothly.
Many quilters find their mid-arm machine to be the perfect tool for stitching continuous patterns across their quilts. It can help you achieve professional-looking results without needing the extensive space a full-sized longarm demands.
- You can definitely quilt edge-to-edge on a mid-arm machine.
- It provides a good amount of room for your quilt.
- It’s a more manageable option than a full-size longarm for many.
- Expect great results with practice!
Let’s walk through what you need to know to make edge-to-edge quilting work beautifully on your mid-arm.
Making Edge-to-Edge Quilting Work on Your Mid-Arm Machine
You’re probably wondering if your trusty mid-arm sewing machine can handle that beautiful edge-to-edge quilting design you have in mind. The short answer is a resounding yes! Many quilters find their mid-arm machine to be the perfect sweet spot for this type of quilting. It offers more space and control than a domestic machine but is often less intimidating and requires less dedicated space than a full-sized longarm. Let’s dive into how you can make it happen.
Understanding Your Mid-Arm Machine’s Capabilities
A mid-arm quilting machine typically offers a throat space of 16 to 18 inches. This is quite a bit more room than the standard 6-9 inches found on most domestic machines. This extra space is key for moving a larger quilt sandwich around. You’ll find it much easier to maneuver your quilt when stitching continuous patterns. It allows for smoother, more even stitch lines across the entire quilt top. Many quilters find this workspace sufficient for most quilt sizes, from baby quilts to queen-sized quilts.
Workspace Considerations
When you’re quilting edge-to-edge, you’re essentially stitching a single, continuous pattern across the entire quilt. This means your quilt needs to be loaded onto a frame or quilting system attached to your mid-arm. The frame is what supports the quilt and allows it to glide smoothly under the needle. The size of your frame and the way your machine is mounted will directly impact how easily you can manage your quilt.
Frame Types for Mid-Arms
Most mid-arm machines are set up on a dedicated quilting frame. These frames come in various sizes and configurations. Some are stationary, while others offer some movement. You’ll want a frame that can comfortably hold your largest anticipated quilt. Think about the total quilt size you want to quilt, not just the throat space of your machine. The frame will dictate how much of the quilt is engaged at any one time.
Hoop vs. Frame Quilting
While some quilters use large hoops on domestic machines for small projects, edge-to-edge on a mid-arm almost always involves a frame. This is because the frame provides the necessary support and allows for the continuous movement required for an all-over pattern. Hoops can restrict movement and lead to puckering. A frame is the standard setup for efficient edge-to-edge quilting on a mid-arm machine.
Essential Accessories for Edge-to-Edge Quilting
To successfully quilt edge-to-edge on your mid-arm, you’ll need a few key accessories. These aren’t just nice-to-haves; they are essential for a smooth and enjoyable quilting experience. Having the right tools can make all the difference between frustration and fun. Let’s look at what you’ll need.
The Right Machine Setup
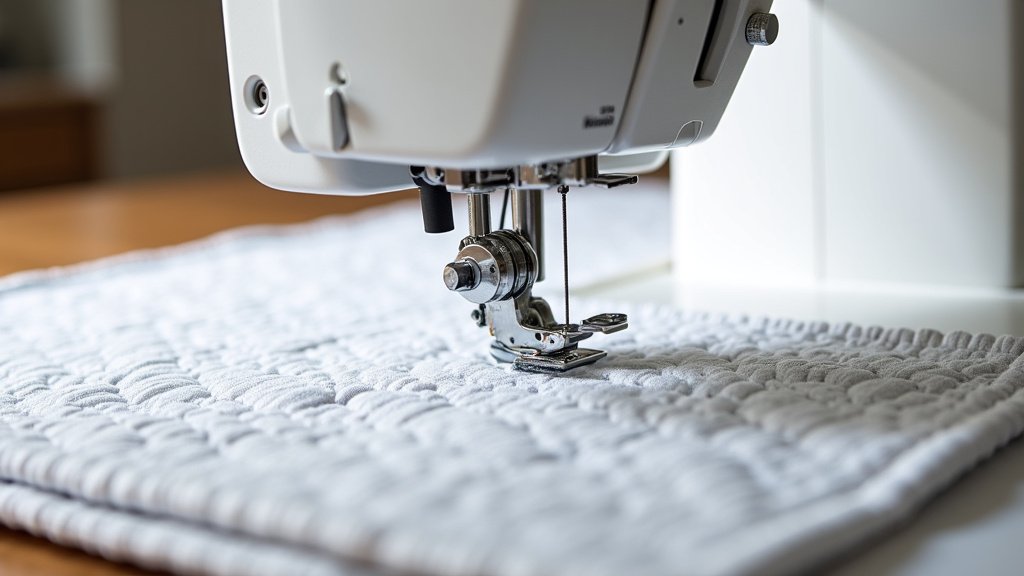
First and foremost, ensure your mid-arm machine is properly set up on its frame. This means it’s stable and the machine head can move freely. You’ll likely need a specialized quilting foot that allows for free-motion movement. This foot is designed to glide over the quilt layers without snagging. It also has a higher lift to accommodate the bulk of batting and backing fabric. This foot is designed to glide over the quilt layers without snagging, allowing for free-motion movement.
Batting and Backing Fabric Choices
The type of batting and backing fabric you choose can affect your quilting. For edge-to-edge, especially with denser patterns, you’ll want batting that is stable and doesn’t stretch too much. A good quality cotton or a cotton-poly blend often works well. Your backing fabric should also be pre-washed to prevent shrinkage later. Ensure your backing is at least 4-6 inches larger than your quilt top on all sides. This extra fabric is crucial for securing it to the frame.
Thread and Needles
Selecting the right thread and needles is also important. For all-over quilting, many quilters prefer a good quality cotton or polyester thread. These threads are strong and create a consistent stitch. You’ll want to use a needle size appropriate for your fabric and thread. A size 80/12 or 90/14 needle is often a good starting point. Always use a new, sharp needle for each quilt to prevent skipped stitches and fabric damage.
The Quilting Process: Step-by-Step on a Mid-Arm
Getting started with edge-to-edge quilting on your mid-arm might seem daunting, but we can break it down into manageable steps. The key is preparation and patience. Think of it like painting a large mural – you need a good canvas and a plan.
Preparing Your Quilt Sandwich
Layering your quilt is a critical first step. You’ll spread your backing fabric on the frame, wrong side up. Then, you’ll carefully center your batting on top of the backing. Finally, place your quilt top right side up on the batting. Smooth out any wrinkles or tucks. You can use basting spray, safety pins, or hand basting to hold these layers together. A smooth, taut surface is essential for preventing puckers and ensuring even stitching.
Loading Your Quilt onto the Frame
This is where the frame really comes into play. You’ll attach the edges of your backing fabric and quilt top to leaders on the frame. This process ensures that your quilt is evenly tensioned across the frame. Many frames have a roller system that allows you to advance the quilt as you work. Make sure everything is loaded as smoothly and wrinkle-free as possible. This might take a little practice to get perfect.
Choosing and Stitching Your Pattern
For edge-to-edge, you’ll be using an all-over pattern. This could be a simple meander, a stipple, or a pre-designed pantograph. Pantographs are printed patterns on paper that you follow with a stylus attached to your machine. Many quilters use digital patterns with computerized mid-arm systems. If you’re free-motion quilting, you’ll be guiding the machine freely across the quilt. Start in the center and work your way out, stitching across the entire quilt. Aim for consistent stitch length. If you’re using a pantograph, simply follow the lines. If you’re free-motion quilting, pick a simple, repeatable design to start.
Managing Fabric Movement
As you quilt, you’ll need to advance the quilt on the frame. This is done by rolling the fabric. The goal is to keep the fabric under the needle consistently taut. You don’t want it too tight, which can distort your stitches, nor too loose, which can lead to puckering. Find that sweet spot where the fabric glides smoothly.
Troubleshooting Common Issues
Even with the best preparation, you might encounter a few snags. Don’t let them discourage you! Most issues are fixable.
- Skipped Stitches: Often caused by a dull needle, incorrect needle type, or lint buildup. Ensure you have a sharp, new needle installed correctly and clean your machine.
- Thread Breakage: Can be due to a burr on the machine, incorrect tension, or poor quality thread. Check your machine for burrs and adjust your tension.
- Puckering: Usually a sign of uneven tension in your layers. Make sure your backing and batting are smooth, and your quilt top isn’t bunched up.
Is a Mid-Arm the Right Choice for You?
Deciding if a mid-arm machine is your ideal tool for edge-to-edge quilting depends on your quilting space, budget, and comfort level. Many quilters find it to be a significant step up from a domestic machine without the large investment of a full-sized longarm. It offers a good balance between control and workspace. If you’re looking to move beyond quilting in the hoop but aren’t ready for a huge setup, a mid-arm is certainly worth considering.
Comparing Workspace Sizes
To give you a clearer picture, let’s compare the typical throat space:
| Machine Type | Typical Throat Space | Best For |
|---|---|---|
| Domestic Machine | 6-9 inches | Small projects, basic straight-line quilting, free-motion in the hoop (limited) |
| Mid-Arm Machine | 16-18 inches | Edge-to-edge quilting, larger quilt projects, more comfortable free-motion |
| Longarm Machine | 18+ inches (often 20-30 inches) | Large quilts, complex edge-to-edge patterns, professional quilting business |
Tips for Success with Your Mid-Arm
To make your edge-to-edge quilting journey on a mid-arm as smooth as possible, keep these tips in mind:
- Start Small: Begin with smaller quilts or simpler patterns to build your confidence.
- Invest in Quality Tools: Good batting, thread, and needles will make a difference.
- Practice Your Movement: Spend time getting comfortable with how the machine moves over the quilt.
- Maintain Your Machine: Regular cleaning and oiling are essential for smooth operation.
- Join a Community: Online forums or local quilt guilds can offer support and advice.
Conclusion
You’ve learned that your mid-arm machine is absolutely capable of beautiful edge-to-edge quilting. It strikes a wonderful balance, offering more workspace than a domestic machine without the vast footprint of a longarm. With the right setup, accessories, and a little practice, you can achieve professional-looking results on your quilts. Don’t be afraid to start with a smaller project or a simpler pattern. Your mid-arm is ready to help you create stunning, all-over quilted designs.
Ready to get started? Gather your essential accessories and prepare to load your first quilt onto the frame. You’ve got this!
Frequently Asked Questions
Can I use a standard sewing machine foot for edge-to-edge quilting on a mid-arm?
No, it’s highly recommended to use a specialized free-motion quilting foot designed for your mid-arm machine. This foot has a rounded base that glides smoothly over the quilt layers, preventing snagging and allowing for the free movement needed for all-over patterns.
How much larger should my backing and batting be compared to my quilt top for edge-to-edge quilting?
For successful edge-to-edge quilting on a frame, your backing and batting should extend at least 4-6 inches beyond your quilt top on all sides. This extra fabric is necessary to securely attach the layers to the leaders on your quilting frame.
What is the difference between a mid-arm and a longarm machine for edge-to-edge quilting?
The primary difference is throat space, which is the measurement from the needle to the arm of the machine. Mid-arms typically have 16-18 inches of throat space, while longarms have 18 inches or more, often 20-30 inches. More throat space on a longarm allows you to maneuver larger quilt sections more easily.
Is it difficult to load a quilt onto a mid-arm frame for edge-to-edge quilting?
Loading a quilt onto a frame can take some practice, but it’s a manageable process. The key is to ensure your backing, batting, and quilt top are smooth, wrinkle-free, and evenly tensioned before you begin stitching. Frames are designed to help you achieve this.
What kind of patterns work best for edge-to-edge quilting on a mid-arm machine?
All-over, continuous patterns are ideal for edge-to-edge quilting. This includes simple meanders, stippling, or designs created by following pantographs (pre-printed patterns). You can also use digital patterns with computerized mid-arm systems for a wide variety of design options.