
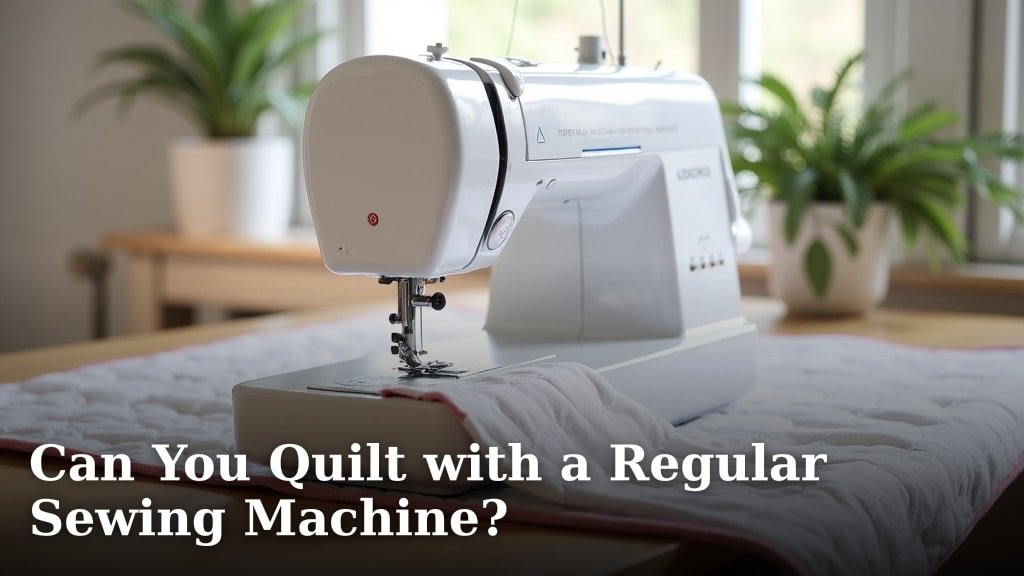
Yes, you absolutely can quilt with a regular sewing machine. You don’t need a fancy long-arm machine to create beautiful quilts. With a few simple adjustments and the right mindset, your standard machine is perfectly capable.
Many quilters start their journey using the machine they already own. You can sew together quilt tops, baste your layers, and even do some fantastic free-motion quilting. It’s all about understanding your machine’s capabilities and knowing a few key techniques.
TL;DR:
- Regular sewing machines are great for quilting.
- You can piece, baste, and quilt on them.
- No need for a special long-arm machine.
- Some accessories make it easier.
- Practice is key for good results.
Ready to turn your everyday sewing machine into a quilting powerhouse? Let’s explore exactly how you can quilt with the machine you have right now.
Your Regular Sewing Machine: A Quilter’s Companion
Many people wonder if their everyday sewing machine is up to the task of quilting. The good news is, for most home quilters, it certainly is. You can create beautiful quilts without a specialized long-arm machine. Your standard machine can handle piecing, basting, and even free-motion quilting.
Think of your sewing machine as a versatile tool. With a few adjustments and some practice, it becomes a powerful partner in your quilting journey. Let’s look at what makes a regular machine suitable for quilting.
Key Features for Quilting on a Standard Machine
What should you look for in your machine, or consider adding, to make quilting easier? A few key features can make a big difference. These are often things you already have or can easily acquire.
Throat Space Matters (a Little)
The “throat space” is the area between the needle and the machine’s body. For quilting, especially when you’re working on larger projects, more throat space means less fabric to cram. However, even a standard throat space is manageable. You just learn to roll or fold your quilt to fit.
Don’t feel discouraged if your machine has a smaller throat. Many quilters successfully make king-sized quilts on machines with limited space. It’s more about your technique than the machine’s size (American Quilter’s Society).
Stitch Options: Straight and Zigzag
For piecing quilt blocks, a straight stitch is all you need. Most machines have this. For appliqué or some decorative quilting, a zigzag stitch can be useful. Again, this is a very common feature.
You’ll primarily be using a straight stitch for piecing your quilt top. A consistent, even stitch length is more important than a wide variety of decorative stitches when it comes to quilting.
Needle Up/Down Function
This is a wonderfully helpful feature. When you stop sewing, the needle automatically stays down in the fabric. This keeps your fabric from shifting. It’s incredibly useful for pivot points and accurate piecing.
If your machine doesn’t have this, no worries! You can simply use your handwheel to lower the needle before lifting your presser foot. It takes a little more thought but works just as well.
Adjustable Presser Foot Pressure
Some machines allow you to adjust how much pressure the presser foot puts on the fabric. This can be handy for quilting. You might reduce the pressure for thick layers, or increase it for slippery fabrics.
Not all machines have this, and it’s not a deal-breaker. Most machines come with a default setting that works well for a wide range of fabrics, including quilt sandwiches.
Essential Tools and Accessories for Quilting
While your regular machine is capable, some accessories can significantly improve your quilting experience. These items aren’t expensive or hard to find. They are often what separates a struggling quilter from a happy one.
Must-Have Feet for Your Machine
Your sewing machine probably came with a few presser feet. For quilting, a couple more will become your best friends. These feet make a huge difference in accuracy and ease.
The Walking Foot: Your Best Friend for Straight-Line Quilting
A walking foot is arguably the most important accessory for machine quilting. It has its own set of feed dogs that grip the top layer of fabric. This helps all layers of your quilt sandwich move evenly through the machine.
Without a walking foot, the top layer of fabric can shift. This causes tucks or puckers on your quilt back. A walking foot prevents this, ensuring smooth, even stitches when quilting straight lines or gentle curves. Many experts say it’s a game-changer for beginners (National Quilters Circle).
Free-Motion Quilting Foot (Darning Foot)
If you want to do free-motion quilting, you’ll need a free-motion or darning foot. This foot hovers just above your fabric. It allows you to move the fabric freely in any direction while stitching. It’s what gives you the freedom to “draw” with your needle.
Using this foot, you’ll drop your machine’s feed dogs. This way, you control the movement and the stitch length with your hands. It takes practice, but it’s incredibly rewarding.
Other Helpful Notions
Beyond presser feet, a few other items will streamline your quilting process. These are common sewing tools you might already have or can easily pick up.
- Good Quality Needles: Use fresh, sharp needles designed for quilting or denim. A 90/14 or 80/12 size often works well. Change them frequently.
- Quality Thread: Invest in good quality cotton or polyester thread. It’s stronger and produces less lint.
- Bobbins: Have plenty of pre-wound bobbins ready. You’ll go through them quickly when quilting.
- Quilting Gloves: These have grippy fingertips that help you move your quilt sandwich smoothly during free-motion quilting.
- Extension Table: An extension table increases your machine’s work surface. This provides more support for your quilt, reducing drag and making it easier to maneuver.
Preparing Your Machine and Work Area for Quilting
Before you even lay your first stitch, a little preparation goes a long way. Setting up your machine and workspace properly will save you headaches later. It’s like preparing your kitchen before cooking a big meal.
Machine Maintenance First
Clean your machine before you start quilting. Lint builds up, especially with cotton fabrics and batting. A clean machine runs smoother and prevents skipped stitches or tension issues. Regularly brush out the bobbin area and oil if your machine requires it.
Creating a Supportive Workspace
You need space. A large, flat surface around your machine is ideal. This supports the weight of your quilt as you move it. If you don’t have a dedicated quilting table, try pushing two tables together, or use an ironing board next to your machine.
Think about your chair and lighting too. You’ll be spending a fair amount of time at your machine. Good posture and ample light prevent fatigue and make quilting more enjoyable.
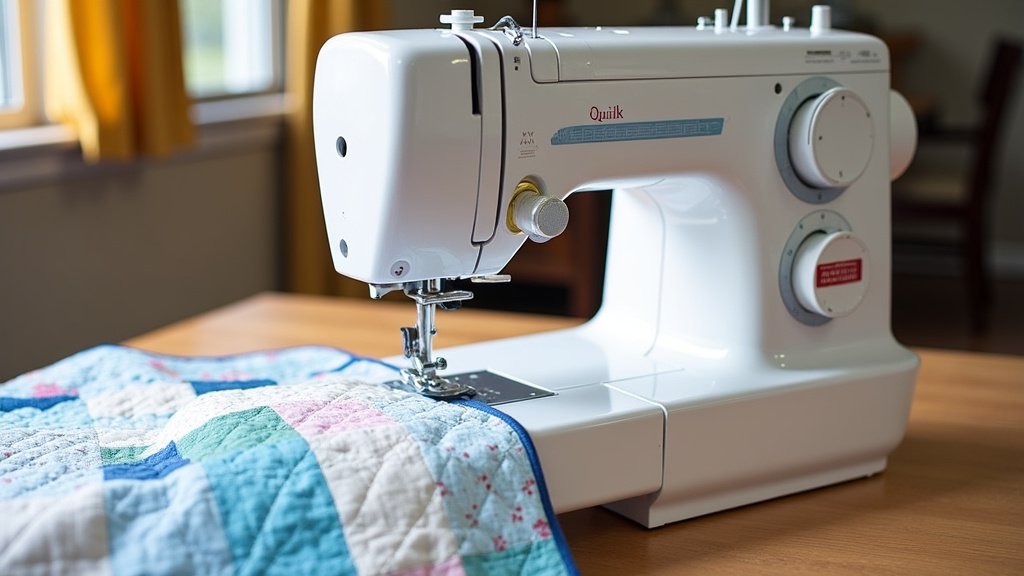
Techniques for Quilting on a Domestic Machine
Now that your machine and workspace are ready, let’s talk about the techniques. There are several ways to quilt on your regular sewing machine. Each has its charm and level of difficulty.
Straight-Line Quilting
This is an excellent starting point for any beginner. Straight-line quilting involves stitching in straight lines across your quilt. You can follow the seams of your quilt blocks, create grids, or stitch parallel lines.
Here’s a simple checklist for straight-line quilting:
- Attach your walking foot.
- Set your stitch length to a slightly longer setting (around 2.5-3.0mm).
- Use a guide (like painter’s tape or a seam guide) to keep lines straight.
- Work from the center of your quilt outwards to prevent pushing fabric.
- Take frequent breaks to relax your shoulders and neck.
Quilting with a Walking Foot
Using a walking foot is key for straight-line quilting. It helps feed all layers evenly, reducing puckering. You can quilt beautiful patterns like cross-hatching, simple grids, or outline quilting around your blocks. It provides a very clean, modern look.
Experiment with different thread colors to see how they stand out or blend in. You can make the quilting part of the design or have it subtly add texture.
Free-Motion Quilting (FMQ)
This is where you get to be really creative! Free-motion quilting means you guide the quilt freely under the needle, creating designs with your hands. Think of it as drawing with thread.
It takes practice, but it’s incredibly rewarding. You can stitch stippling, loops, feathers, or custom designs. Your regular machine is perfectly capable of this.
Tips for Successful Free-Motion Quilting
Many quilters find free-motion quilting daunting at first. However, we found that breaking it down into smaller steps helps (Craftsy). Here are some tips:
| Aspect | Recommendation |
|---|---|
| Needle | Use a fresh, sharp needle (quilting or topstitch). |
| Thread | Match top and bobbin thread or use fine bobbin fill. |
| Setup | Drop feed dogs, attach darning/FMQ foot. |
| Practice | Start on quilt sandwiches, not your final quilt. |
| Speed | Maintain a consistent machine speed and hand movement. |
| Gloves | Wear quilting gloves for better grip and control. |
Remember, your stitch length depends on how fast you move your hands relative to the machine’s speed. It’s a bit like learning to ride a bike – it feels awkward at first, then clicks.
Overcoming Common Challenges
You might encounter a few hurdles when quilting on a regular machine. But don’t worry, these are common, and there are simple solutions for almost every issue.
Dealing with Limited Throat Space
This is the biggest perceived challenge for many. How do you fit a large quilt through a small space? The trick is to roll or fold the bulk of your quilt tightly. Use wonder clips or even rubber bands to keep it compact. The goal is to minimize the amount of fabric you’re pushing through the machine at any one time.
Don’t be afraid to stop, adjust, and re-roll your quilt as you go. Many experts say this process becomes second nature (Quiltville). It’s all about managing the bulk effectively.
Managing Quilt Weight and Drag
A large quilt can be heavy. This weight can pull on your needle, leading to uneven stitches or even broken needles. An extension table helps support the quilt’s weight. You can also use temporary furniture or even a stack of books to support the edges of your quilt.
The goal is to keep the majority of the quilt’s weight off the needle area. Let the tables do the work, not your hands or your machine.
Tension Troubles
Tension issues can be frustrating. You might see loops on the top or bottom of your quilt. Before adjusting tension dials, always try these steps: change your needle, re-thread your machine completely (top and bobbin), and clean the bobbin area. Many tension problems are solved by these basic troubleshooting steps.
If those don’t work, then try adjusting your tension. A good starting point is to slightly loosen the top tension. Test on a scrap quilt sandwich before working on your actual quilt.
Conclusion
So, there you have it! Your regular sewing machine is a powerful tool for quilting, not a limitation. You can piece, baste, and even free-motion quilt beautiful projects. By understanding your machine’s features and adding a few key accessories like a walking foot, you’ll transform your quilting experience. Don’t let limited throat space or the idea of complex techniques hold you back. Start with simple straight-line quilting, maintain your machine, and remember that practice makes perfect. Now, go dust off your machine and start stitching your next masterpiece!
Frequently Asked Questions
Is it hard to quilt on a regular sewing machine?
No, it’s not hard at all, especially for piecing quilt tops. Quilting the layers together takes a bit more practice, but with a walking foot and basic techniques, you’ll be surprised how quickly you get the hang of it. Many quilters start this way.
What size quilt can I make on a standard sewing machine?
You can make any size quilt! Even king-sized quilts are possible. The trick is learning to roll and manage the bulk of the quilt effectively. We found that most home quilters successfully manage large projects by taking their time and supporting the quilt’s weight.
Do I need special thread for quilting on my machine?
While you don’t need “special” thread, using good quality cotton or polyester thread designed for quilting is highly recommended. It’s stronger and creates less lint than general-purpose threads. This helps prevent tension issues and machine problems.
How often should I clean my sewing machine when quilting?
Quilting produces a lot of lint from fabric and batting. We suggest cleaning your machine after every few hours of quilting, or after completing a medium to large project. Regular cleaning keeps your machine running smoothly and prevents skipped stitches.
Can I learn free-motion quilting on my regular machine?
Absolutely! Free-motion quilting is entirely possible on a standard machine. You’ll need a free-motion or darning foot and to drop your feed dogs. It requires practice to coordinate your hands with the machine’s speed, but many online tutorials can guide you.
