
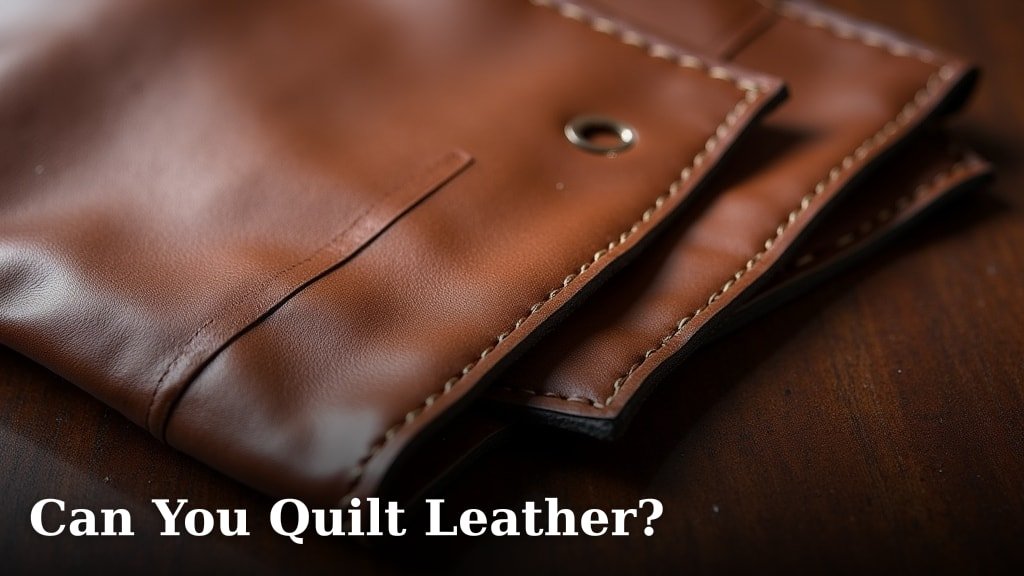
Yes, you absolutely can quilt leather, and it can result in stunning, durable projects! While it might seem tricky, quilting leather is achievable with the right techniques and specialized tools. It’s a fantastic way to add a touch of luxury and robustness to your sewing creations.
When you’re working with leather for quilting, you’ll discover it behaves quite differently from fabric. Instead of traditional stitching and batting, leather quilting often involves techniques like slashing, embossing, or using a heavy-duty needle. We found that preparation is key for successful results.
- Quilting leather is possible.
- It requires different tools and techniques.
- Prepare your leather carefully.
- Consider specialized needles and thread.
- Avoid traditional batting methods.
Let’s get into the specifics of how to successfully quilt with leather and the best practices we’ve found for this unique material.
Working with Leather for Quilting Projects
Yes, you can definitely quilt leather, and it opens up a whole new world of design possibilities! It might seem intimidating at first, but with the right approach, your leather quilts can be truly stunning and incredibly durable. We’ve found that the key is understanding how leather behaves differently from fabric and adjusting your techniques accordingly.
Understanding Leather’s Unique Properties
Leather isn’t fabric. It doesn’t fray like cotton or linen, which is a plus. However, it also doesn’t have the same give or stretch. Poking holes in leather is permanent; you can’t unpick stitches without leaving visible marks. This means precision is your best friend when quilting leather. We’ve learned that mistakes are harder to hide.
Think of leather like a beautifully tanned hide. It can be thick or thin, smooth or textured. Each type will behave a bit differently under your needle. The type of leather you choose will influence the techniques you use and the final look of your project. For instance, garment-weight leather is more forgiving than thicker upholstery leather.
Essential Tools for Quilting Leather
When you decide to quilt leather, you’ll need to gather some specialized tools. Your standard sewing machine needles and thread might not cut it. We found that investing in the right equipment makes a world of difference. It’s not about replacing your entire sewing kit, but adding a few key items.
Needles: The First Line of Defense
Your standard universal sewing machine needles are likely too fine for leather. They can snag, break, or even damage the leather. You’ll want to opt for leather-specific needles. These needles have a sharper point and a distinct cutting edge. This cutting edge helps to slice through the leather fibers rather than pushing them apart. We recommend starting with a size 90/14 or 100/16 needle, depending on your leather’s thickness.
Thread: Strength and Durability
Leather requires a stronger thread than standard cotton or polyester. You’ll want to use a heavy-duty thread. Upholstery thread or a bonded nylon thread is a great choice. These threads are designed to withstand more stress and friction. They also hold up better to the permanent nature of leather stitches. We found that a waxed thread can also be beneficial as it glides more easily through the leather.
Footing for Your Machine
The presser foot on your sewing machine can cause friction and drag when sewing leather. This can lead to skipped stitches or an uneven feed. A walking foot or a Teflon foot can be incredibly helpful. A walking foot has an integrated upper feed mechanism that moves the top layer of leather along with the bottom layer. A Teflon foot has a slick surface that reduces friction. We’ve found both can significantly improve your sewing experience.
Other Handy Tools
Don’t forget a rotary cutter and mat for precise cutting. A seam ripper is useful, but use it with extreme caution on leather, as it can leave noticeable marks. A hole punch can be handy for creating starter holes if needed, and a mallet and awl can help in certain situations for hand stitching or making adjustments. Some quilters also use a clover or specialized clips instead of pins, as pins can leave permanent holes.
Techniques for Quilting Leather Successfully
Quilting leather isn’t about layering batting and stitching through it like fabric. The most common and effective methods involve creating patterns or textures on the leather itself. We’ve researched several techniques that yield beautiful results.
Slashing and Weaving Leather
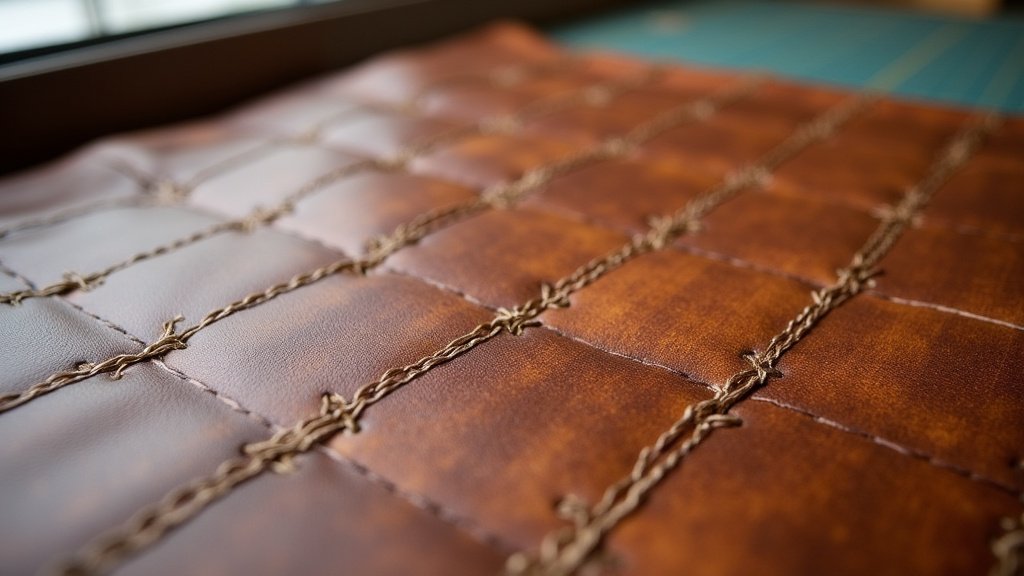
This is a very popular technique. You start by cutting your leather into strips. Then, you weave these strips together to create a quilted pattern. It’s less about stitching and more about construction. You might stitch the woven panel down onto a backing fabric. We found that this method creates a wonderful textural effect.
To get started, cut your leather into uniform strips. The width of the strips will determine the density of your weave. Then, lay out a base of strips parallel to each other. Weave perpendicular strips over and under the base strips. You can create simple over-under patterns or more complex weaves. This is a very tactile and rewarding process.
Embossing and Tooling Leather
If you’re working with vegetable-tanned leather, embossing and tooling are fantastic options. These techniques don’t involve stitching at all. Instead, you use specialized tools to create raised designs or patterns on the leather surface. It’s a form of art. Many leatherworkers use these methods for decorative panels.
You’ll need an awl, stylus, and various stamping tools. Start by tracing your design onto the leather. Then, use the tools to press lines and shapes into the surface. You can achieve a subtle embossed look or deep, defined patterns. We found that a light mist of water on the leather can help make it more pliable for tooling. Remember, practice on scraps first!
Layering and Topstitching
For a more traditional quilting look, you can layer pieces of leather. Think of it like appliqué or patchwork, but with leather. You can cut shapes from different colors or textures of leather and stitch them onto a larger leather panel. Use your heavy-duty needle and thread for this.
When topstitching, keep your stitches consistent. Because you can’t easily unpick, plan your lines carefully. Many sewers use a stitch guide or tape to keep their lines straight. We found that a longer stitch length (around 3.0mm or 3.5mm) often works best for leather. This helps prevent the perforations from tearing the leather over time.
Using a Backing Fabric
While you won’t typically use traditional batting, you might want a backing fabric. This can stabilize your leather, especially if you’re using thinner cuts or employing techniques like weaving. A sturdy fabric like denim, canvas, or even a non-woven interfacing can work well. You’ll secure the leather piece to the backing fabric.
The method of attachment depends on your project. You might use fabric glue, strong double-sided tape, or stitch it down around the edges. If you’re stitching, use your leather needle and thread. We found that a quilt-as-you-go method can also be adapted, where you stitch the leather directly onto the backing fabric, creating your “quilt” as you go.
Preparing Your Leather for Quilting
Proper preparation is absolutely essential for successful leather quilting. It ensures your material is ready to be worked with and helps prevent unexpected issues. We always recommend a thorough prep stage.
Choosing the Right Leather
Not all leather is created equal for quilting. For beginners, we recommend starting with garment-weight or upholstery-weight leather. These are typically thinner and more pliable, making them easier to cut and stitch. Avoid very stiff or extremely thick leathers until you’re more experienced.
Look for smooth finishes. Suede or heavily textured leathers can be more challenging to work with. Also, consider if you want a natural finish or a dyed leather. The finish can affect how the needle interacts with the material. Many sources suggest that chrome-tanned leathers are often softer and more suitable for sewing than vegetable-tanned leathers for quilting purposes.
Conditioning and Stabilizing
Sometimes, leather can be a bit stiff or dry. A gentle leather conditioner can help make it more pliable. Apply a small amount and let it soak in. Then, wipe off any excess. We found that this can make cutting and stitching much smoother.
If your leather is very thin or stretchy, you might consider using a lightweight fusible interfacing on the back. This adds stability without the bulk of traditional batting. Follow the manufacturer’s instructions for applying the interfacing to leather. Test on a scrap piece first to ensure it doesn’t damage the leather.
Cutting and Marking
Use a sharp rotary cutter and a metal ruler on a cutting mat for accurate cuts. Scissors can sometimes pinch and distort the leather. When marking, use a silver or white pen, a chalk pencil, or an awl to create faint marks that won’t be visible on the finished side. Always mark on the wrong side of the leather if possible.
We found that it’s a good idea to cut all your pieces at once. This ensures consistency, especially if you’re creating a patchwork or woven design. Take your time with the cutting; precise shapes will make assembly much easier.
Tips for a Smooth Sewing Experience
Once you’re prepared, a few extra tips can make your sewing process with leather much smoother. These are the little things we’ve learned that make a big difference.
Test Your Stitches
Before you stitch on your actual project, always test your settings on a scrap piece of the same leather. Check your needle, thread, stitch length, and tension. You want to ensure you’re getting clean stitches without any skipped stitches or thread breakage. This is non-negotiable!
Go Slow and Steady
Leather doesn’t forgive mistakes easily. There’s no real “seam ripping” for leather; the holes remain. So, slow down your sewing machine speed. Use a guide to help you keep your seam allowances straight. Your goal is perfect stitch placement on the first try.
Avoid Pins Where Possible
As mentioned earlier, pins leave permanent holes. Instead of pinning, try using binder clips, sewing clips, or even painter’s tape to hold pieces together. If you must use pins, place them in the seam allowance where they won’t be as visible, or use very fine silk pins.
We found that working with a slightly longer stitch length (around 3mm to 4mm) helps prevent the perforations from weakening the leather. It also looks more aesthetically pleasing on leather. Some machines have a “stitch regulator” which can help ensure consistent stitch length, but going slow manually is often best.
Consider Hand Stitching
For certain decorative elements or when a machine just won’t do, hand stitching can be beautiful on leather. Use a heavy-duty needle and a thick thread, like embroidery floss or specialized leather lacing. A saddle stitch is a classic and strong hand stitch that looks professional.
We found that a thimble is essential for hand stitching leather. You’ll need to push the needle through tough material. Take your time, and enjoy the process. Hand stitching can add a unique, artisanal touch to your leather quilts.
Here’s a quick checklist to keep in mind:- Choose garment or upholstery weight leather.
- Use leather-specific needles.
- Select strong, heavy-duty thread.
- Consider a walking foot or Teflon foot.
- Test all settings on scrap leather first.
- Go slow and avoid pins when possible.
Conclusion
Quilting with leather is definitely within your reach, and it opens up exciting creative avenues! We’ve learned that the key lies in preparing your material correctly and using the right tools, like heavy-duty needles and strong thread. Embracing techniques such as slashing, weaving, or precise topstitching will help you achieve stunning, durable results. Don’t be afraid to experiment with different leather weights and finishes. Your next beautifully quilted leather project is just a few careful stitches away – so gather your specialized supplies and start creating!
Frequently Asked Questions
Can I use my regular sewing machine for leather quilting?
Yes, you can use your regular sewing machine, but with modifications. You’ll need to swap your standard needle for a leather-specific needle and use a heavier-duty thread. A walking foot or Teflon foot is also highly recommended to help the leather feed smoothly.
What is the best type of leather for a beginner quilter?
For beginners, we recommend starting with garment-weight or upholstery-weight leather. These types are generally thinner and more pliable, making them easier to cut and stitch. Avoid very stiff or thick leathers until you gain more experience.
How do I avoid leaving permanent holes when quilting leather?
Since leather perforations are permanent, it’s best to avoid pins as much as possible. Instead, try using binder clips, sewing clips, or painter’s tape to hold your pieces together. If you must pin, place them within the seam allowance where they won’t be visible.
What’s the difference between quilting leather and fabric?
The main difference is that leather doesn’t fray and holes are permanent. You also typically won’t use traditional batting. Instead, quilting leather often involves techniques like slashing, weaving, or decorative topstitching directly onto the leather or onto a backing fabric.
How do I keep my stitches straight on leather?
Keeping stitches straight is vital. We found that using a stitch guide attached to your machine or carefully applied tape can help maintain consistent seam allowances. Sewing slowly and steadily will give you better control, ensuring perfect stitch placement on the first try.
