
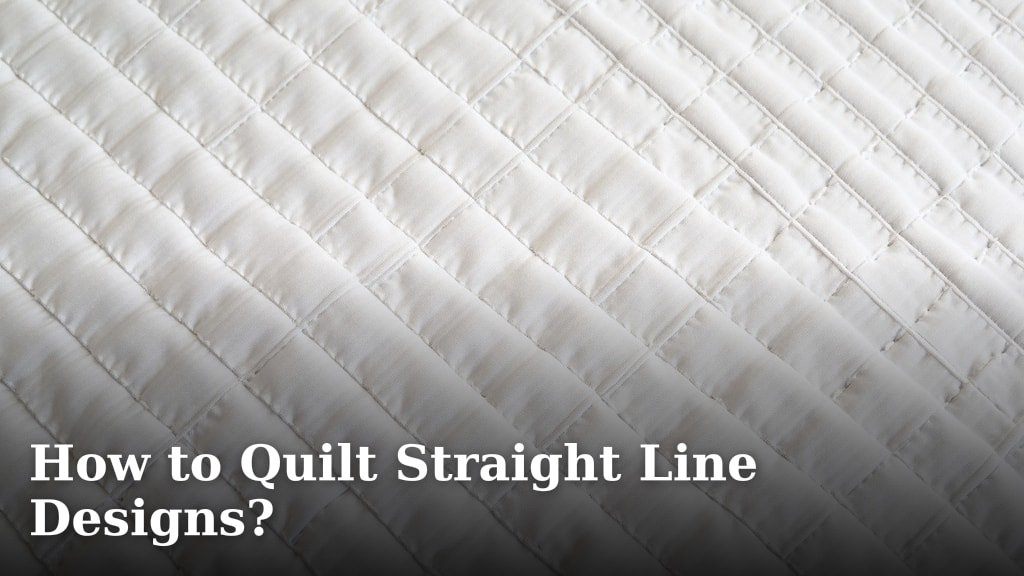
The easiest way to quilt straight line designs is by using a walking foot and keeping your stitches consistent. A walking foot evenly feeds the top layer of fabric with the bottom layer, preventing puckering. For beginners, starting with simple straight lines will help you build confidence and master basic quilting techniques before moving on to more complex patterns.
Straight line quilting doesn’t have to be boring! Many quilters find that even simple straight lines can add amazing texture and depth to their quilts. We found that practicing different spacings and angles of these lines can create stunning visual effects. You’ll be surprised at the impact straight lines can have on your finished project, even when you’re just starting out.
- Use a walking foot for even feeding.
- Keep your stitching consistent for a professional look.
- Practice different line spacings and angles.
- Straight lines add great texture and depth.
Ready to create some beautiful straight line quilting? Let’s walk through the simple steps to get you started on your next quilting project!
Your Guide to Quilting Straight Lines Like a Pro
Quilting straight lines might sound simple, but getting them perfectly straight takes a little know-how. Don’t worry, we’ve got you covered! We found that with the right tools and a few key techniques, you can achieve beautiful, even lines that make your quilts pop. Let’s dive into making your straight line quilting projects shine.
Setting Up for Success: Your Quilting Station
Before you even think about stitching, getting your machine and quilt sandwich ready is super important. A little preparation goes a long way. We found that setting up your space properly makes a big difference in the final outcome.
The Walking Foot: Your New Best Friend
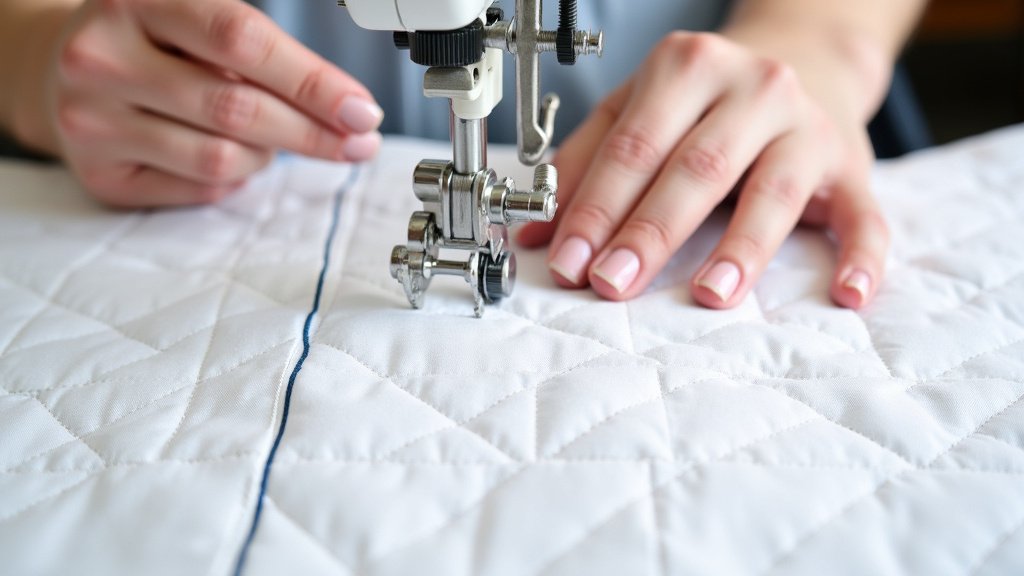
If you’re new to quilting straight lines, the walking foot is an absolute game-changer. Seriously, it’s like having an extra set of hands. This attachment helps feed the top layer of your quilt sandwich evenly with the bottom layer. Many quilters swear by it. We found it drastically reduces the chance of puckering or wavy seams. It keeps everything moving through the machine at the same pace. If you’re new to quilting straight lines, the walking foot is an absolute game-changer.
Your standard presser foot can sometimes cause the top fabric to drag. This can lead to those dreaded little tucks and folds. The walking foot has little feed dogs that engage with your quilt top and bottom layers. This ensures a smooth, consistent feed. Most sewing machine brands offer a walking foot compatible with their models. You can usually find them at your local quilt shop or online. Check your machine’s manual if you’re unsure which one to get.
Preparing Your Quilt Sandwich
A good quilt sandwich is the foundation for great quilting. This means your backing fabric, batting, and quilt top are all properly layered and secured. For straight line quilting, this step is especially critical. We found that without proper basting, even the steadiest hand can end up with shifted layers. A good quilt sandwich is the foundation for great quilting.
Basting Options for Straight Lines
There are a few ways to hold your quilt layers together. Each has its pros and cons, but for straight line quilting, you want something secure.
- Pin Basting: Using curved safety pins is a popular choice. Place pins every 4-6 inches across your entire quilt sandwich. This method is secure and works well for all types of quilting. We found that curved pins are easier to maneuver under the presser foot.
- Spray Basting: This involves using a temporary adhesive spray. You spray one layer, then carefully smooth the next layer over it. Repeat for all layers. This can be faster than pin basting. However, some find it can shift more easily if not done carefully. We found that good ventilation is key when using spray adhesives.
- Hand Basting: Using a needle and thread to create large stitches across your quilt. This is the most time-consuming but offers great security. If you’re aiming for absolute stillness in your layers, hand basting is a solid option.
Marking Your Lines (Optional but Recommended)
While some quilters can freehand perfect lines, most of us benefit from a little guidance. Marking your quilting lines can help you achieve that desired precision. We found that using the right marking tool makes all the difference.
Choosing Your Marking Tool
The key is to use a tool that will disappear later! Here are some common options:
- Chalk Pencils or Wheels: These leave a temporary chalk line that can be brushed or washed away. They work well on most fabrics.
- Water-Soluble Pens: These pens leave a colored line that disappears with water. Make sure to test on a scrap piece of fabric first. Some fabrics hold the color longer than others.
- Frixion Pens: These heat-erasable pens are popular. The lines vanish with the heat from your iron. Again, testing on a scrap is essential.
- Washable Markers: Similar to water-soluble pens, these wash out. Always do a test run.
We found that using a quilting ruler in conjunction with your marking tool is the easiest way to draw straight lines. Place the ruler on your quilt and draw along the edge. This ensures your lines are perfectly parallel and spaced just the way you want them.
The Art of Stitching: Mastering Straight Lines
Now for the fun part – the actual stitching! This is where your preparation pays off. Remember, consistency is your goal here. We found that paying attention to a few details makes the process much smoother.
Setting Your Machine for Success
Your sewing machine settings play a big role in how your straight lines turn out. Don’t just dive in with your usual settings!
Needle Choice Matters
Using the right needle is crucial. For quilting, a universal needle or a quilting needle is usually best. Quilting needles have a sharper point and a stronger shaft to go through thicker layers of fabric without bending or breaking. We found that changing your needle regularly (every 6-8 hours of sewing) helps ensure clean stitches.
Thread Selection
For straight line quilting, a good quality cotton thread is often recommended. It works well with most cotton quilt fabrics. Consider the weight of your thread. A standard 40 or 50 weight thread is a good all-around choice. You can use a thicker thread for a more prominent quilting design. We found that matching your thread color to your quilt top can make the quilting disappear. Using a contrasting color makes your quilting stitches stand out as a design element.
Tension and Stitch Length
Machine tension needs to be balanced for a neat stitch. When using a walking foot, you might need to adjust your machine’s tension slightly. Often, you might need to loosen the top tension a bit. This helps prevent the bobbin thread from showing on the top. We found that doing a few test stitches on scraps of your quilt sandwich is the best way to check your tension. For stitch length, aim for something around 2.0 to 2.5 mm for most quilting. This length is sturdy and looks good.
Guiding Your Quilt: Techniques for Straightness
This is where the magic happens. With your walking foot attached and your machine set up, you’re ready to stitch. We found that a combination of your walking foot and careful guiding is key.
Using Your Walking Foot Effectively
Let the walking foot do its job! You don’t need to push or pull the quilt. Simply guide it gently through the machine. Your hands should be positioned to the sides of the walking foot, not pushing the fabric forward. We found that controlling the speed of your sewing machine is more important than forcing the fabric. A steady, consistent speed is what you’re after.
Following Marked Lines
If you marked your lines, this is where they shine. Keep your needle on the marked line, or just to one side of it, depending on how you want the line to appear. Use your ruler as a guide if you didn’t mark every single line. Many walking feet have a little seam guide attachment that can help you keep lines perfectly spaced. We found that practicing with these guides can significantly improve your accuracy.
Stitching in the Ditch
This is a very popular straight-line quilting technique. You quilt directly in the seam lines of your quilt blocks. It creates a subtle texture and helps define your blocks without being overly showy. We found that it requires a very steady hand and careful attention to where the seam lines are. A walking foot is highly recommended for this technique.
Grid Quilting
Creating a grid pattern of straight lines is another simple yet effective design. You can quilt parallel lines horizontally, vertically, or even diagonally. The spacing of these lines greatly impacts the final look. We found that closer lines create more texture and can even slightly shrink your quilt. Wider spacing creates a more subtle effect.
Varying Spacing and Angles
Don’t be afraid to experiment! Quilting straight lines doesn’t mean they all have to be the same. Try varying the spacing between your lines. You could quilt lines 1 inch apart, then another section with lines 2 inches apart. Even quilting diagonally across your quilt can add a dynamic element. We found that a combination of horizontal, vertical, and diagonal lines can create a stunning visual effect on a simple quilt top.
| Design Idea | Description | Best For |
|---|---|---|
| Stitching in the Ditch | Quilting along existing seam lines. | Defining blocks, subtle texture. |
| Grid Quilting | Parallel lines across the quilt (horizontal, vertical). | Modern looks, adding texture. |
| Diagonal Lines | Lines stitched at an angle across the quilt. | Adding movement and visual interest. |
| Wavy Lines | Free-motion or guided wavy lines. | Softer, organic feel. |
| Echo Quilting | Stitching lines parallel to a design element (like a circle). | Highlighting specific shapes or patterns. |
Tips for a Professional Finish
Even simple straight lines can look unprofessional if a few details are missed. We found these tips help ensure a polished final product.
Start and Stop Smartly
Begin and end your quilting lines with a few backstitches to secure them. Alternatively, you can bury your threads. This involves pulling the bobbin thread to the top using a needle and threader, then tying a knot and tucking it into the batting. We found that burying threads gives the cleanest finish.
Manage Your Bulk
As you quilt, your project gets thicker. This can make it awkward to maneuver. Try to roll up the excess quilt that isn’t currently under the needle. This keeps it out of the way and makes it easier to control. We found that managing bulk is especially important on larger quilts.
Pressing is Key
After quilting, give your quilt a good press. This helps to flatten everything out and make your quilting stitches lie nicely. We found that pressing from the back, then a final light press from the front, gives the best results.
Practice Makes Perfect: Your Quilting Journey
Don’t get discouraged if your first few attempts aren’t absolutely perfect. Straight line quilting is a skill that improves with practice. We found that quilters who dedicate time to practicing often see the most improvement. Think of each quilt as a learning opportunity.
Your Straight Line Quilting Checklist:
- Gather your walking foot and any necessary accessories.
- Prepare and baste your quilt sandwich securely.
- Select your preferred marking tools and ruler.
- Set your machine with a fresh needle and appropriate thread.
- Practice on scraps before quilting your main project.
- Guide your quilt gently, letting the walking foot do the work.
Conclusion
You’ve learned that quilting straight lines is totally achievable, even if you’re just starting out. Remember, the walking foot is your best friend for preventing puckers and ensuring even feeding. Proper preparation, like secure basting and choosing the right tools, sets you up for success. Don’t be afraid to experiment with different markings, threads, and even line spacings to create unique textures and patterns. Your next step is to grab your walking foot, pick a simple project, and start stitching those beautiful, straight lines. Happy quilting!
Frequently Asked Questions
Do I really need a walking foot to quilt straight lines?
While it’s possible to quilt straight lines without one, a walking foot makes the process much easier and more consistent. We found it significantly reduces puckering and ensures your fabric feeds evenly, giving you a more professional result with less frustration.
How do I keep my straight lines perfectly spaced?
Using a quilting ruler along with a temporary marking tool is the best way to ensure perfect spacing. Many walking feet also have helpful seam guide attachments that can guide your stitching at consistent distances. Practice is key to finding what works best for you.
What’s the best way to start and stop my quilting stitches?
To secure your stitches, you can either backstitch a few times at the beginning and end of each line, or bury your threads. Burying threads involves pulling the bobbin thread to the top, tying a knot, and tucking it into the batting for a cleaner finish. We found burying threads gives a more polished look.
Can I quilt straight lines on any quilt project?
Yes, straight line quilting is incredibly versatile! It works wonderfully for modern quilts, beginners’ first projects, and even to add subtle texture to more traditional designs. You can quilt them in any direction or pattern you like.
My stitches look wavy. What could be wrong?
Wavy stitches often happen if you’re pushing or pulling the fabric too much. Let your walking foot do the work of feeding the layers. Ensure your quilt sandwich is securely basted, and try maintaining a steady, consistent sewing machine speed. Practicing on scraps can help you adjust your technique.
