
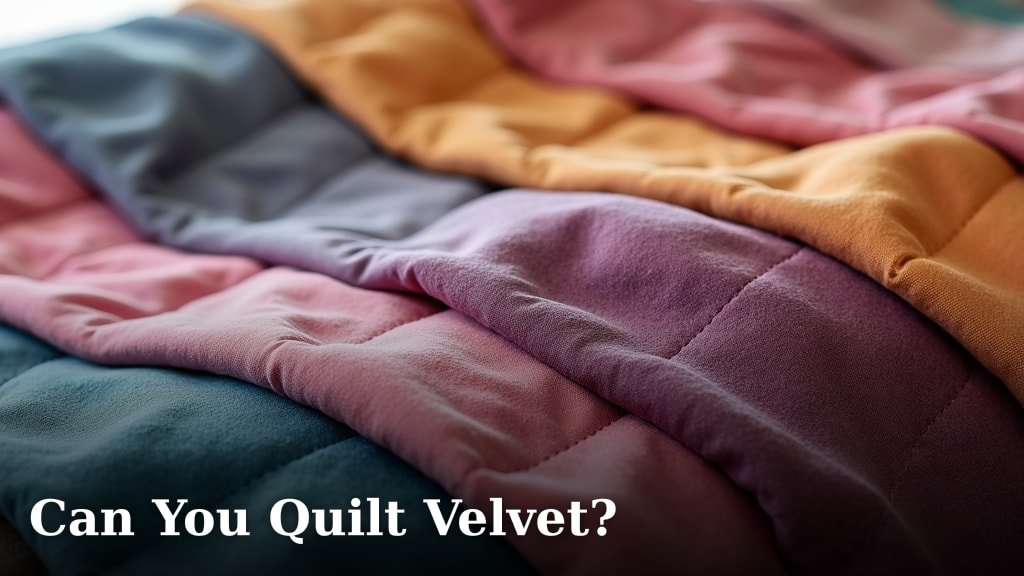
Yes, you can absolutely quilt velvet, but it does come with a few special considerations! Velvet can be a tricky fabric to work with, but with the right techniques and care, you can create stunning quilted projects. We found that using a few key methods makes a big difference in handling this luxurious material.
When quilting with velvet, think about how to preserve its soft nap and prevent it from shifting. Many quilters have discovered that stabilizing the fabric is crucial. This involves methods that help keep the fibers in place during the quilting process. We learned that the right tools and careful handling are key to success.
- Velvet can be quilted.
- Stabilizing the fabric is important.
- Use the right tools for best results.
- Be gentle to preserve the nap.
Ready to dive into the luxurious world of velvet quilting? Let’s walk through the best ways to handle this beautiful fabric and achieve a gorgeous finish.
Working With Velvet Fabric for Quilting Projects
Can you quilt velvet? Yes, you absolutely can! It might seem a little intimidating at first. Velvet has a unique texture and pile that can make it feel slippery. But with the right approach, you can create some truly luxurious and beautiful quilted items. We’ve found that preparation and gentle handling are key.
Many quilters worry about crushing the pile or having the fabric shift. These are valid concerns! We discovered that understanding velvet’s properties is the first step. Then, you can choose the best techniques to manage them. Think of it like coaxing a shy cat; you need a gentle touch.
Understanding Velvet: What Makes It Special
Velvet is known for its soft, dense pile. This pile is created by weaving extra warp threads around rods. When the rods are removed, loops are formed. These loops are then cut to create a smooth, plush surface. This pile gives velvet its characteristic shimmer and deep color. It’s this very pile that needs special attention when you’re quilting.
There are different types of velvet, too. You’ll find silk velvet, which is the most luxurious but also the most delicate. Cotton velvet is more durable. Synthetic velvets, like polyester or rayon blends, often offer a good balance of softness and stability. For quilting, we found that polyester or rayon velvets are often a good starting point as they are less prone to stretching.
Preparing Your Velvet Fabric for the Quilt
Before you even think about cutting, it’s important to prepare your velvet. This is where we really make sure things go smoothly. Many quilters recommend pre-washing velvet, but this can be tricky. If you do wash it, hand washing in cool water with a mild detergent is best. Avoid machine washing or harsh agitation.
We found that air-drying velvet is also essential. Lay it flat on a towel to prevent stretching. Never put velvet in a dryer, as the heat can permanently damage the pile. Once it’s dry, you might notice some wrinkling. A low-heat iron, used carefully and with a pressing cloth, can help. Always press from the back and move the iron quickly. Never let the iron sit in one spot.
Stabilizing Your Velvet: A Must-Do Step
This is perhaps the most critical part of quilting with velvet. The pile can shift, and the fabric can stretch out of shape easily. To prevent this, we found that stabilizing the fabric beforehand makes a world of difference. Think of it as giving your velvet a supportive foundation.
One of the most effective methods we researched is using a temporary spray adhesive. You can lightly spray the wrong side of your velvet and then adhere it to a lightweight stabilizer, like Pellon SF101 Shape-Flex or a similar fusible interfacing. Make sure the stabilizer is cut slightly larger than your velvet piece.
Another option is to use fusible fleece. This adds a bit of loft to your quilt, which can be lovely with velvet. Apply the fusible fleece to the back of the velvet with your iron, following the manufacturer’s instructions. This will help prevent stretching and shifting during the quilting process. It also gives the velvet a nice body.
Choosing the Right Tools and Notions
When you’re working with a fabric like velvet, your usual quilting tools might need a slight adjustment. We found that using the right tools can prevent frustration and ensure a better outcome. It’s all about working with the fabric, not against it.
Needles and Thread: The Foundation of Your Stitches
For your sewing machine needle, a universal needle in a size 80/12 or 90/14 is generally recommended. These are sturdy enough to handle the velvet. Some quilters prefer a microtex needle for its sharpness, which can help pierce the fabric cleanly. Avoid ballpoint needles, as they can snag the pile.
As for thread, a good quality polyester thread is a solid choice. It’s strong and less likely to break. If you’re aiming for a more decorative look, you could experiment with silk thread, but be aware it can be more delicate. For piecing, a good standard cotton thread works well, but again, ensure it’s strong.
Cutting Your Velvet: Precision is Key
Cutting velvet requires care to avoid shifting. We found that using a rotary cutter and a self-healing mat is the most accurate method. Lay your velvet flat, ensuring the pile is going in the same direction for all pieces. Use a ruler with a non-slip backing to hold the fabric steady.
You might want to consider cutting your velvet pieces slightly larger than you need. This gives you a little extra wiggle room for any slight shifts that might occur. Then, you can trim them down to the exact size once they’re pieced together. This is a helpful tip we’ve heard from many experienced quilters.
The Sewing Machine: Setting It Up for Success
When you’re actually sewing your velvet pieces together, keep your stitches a bit longer than you might for standard quilting cotton. A stitch length of 2.5 to 3.0 is often a good range. This allows the fabric to move a little more freely without puckering.
Your machine’s presser foot can also make a difference. A standard presser foot might drag on the velvet. We found that a walking foot or a roller foot can be very helpful. These feet help feed the fabric evenly through the machine, reducing the chance of it shifting or bunching up. They essentially grip the fabric from both above and below.
Piecing and Assembling Your Velvet Quilt Top
Now comes the fun part: putting it all together! When you’re piecing velvet, always sew with the velvet side facing up if possible. This allows you to see and control the fabric better. We found that keeping your seams straight is important.
When joining two pieces, align them carefully. Because velvet can be slippery, consider using quilting clips instead of pins. Pins can leave permanent holes in velvet. Clips gently hold the fabric together without damaging it. You can also use a bit of spray starch on the edges before sewing to give them more grip.
The Quilting Process: Stitching Through Velvet
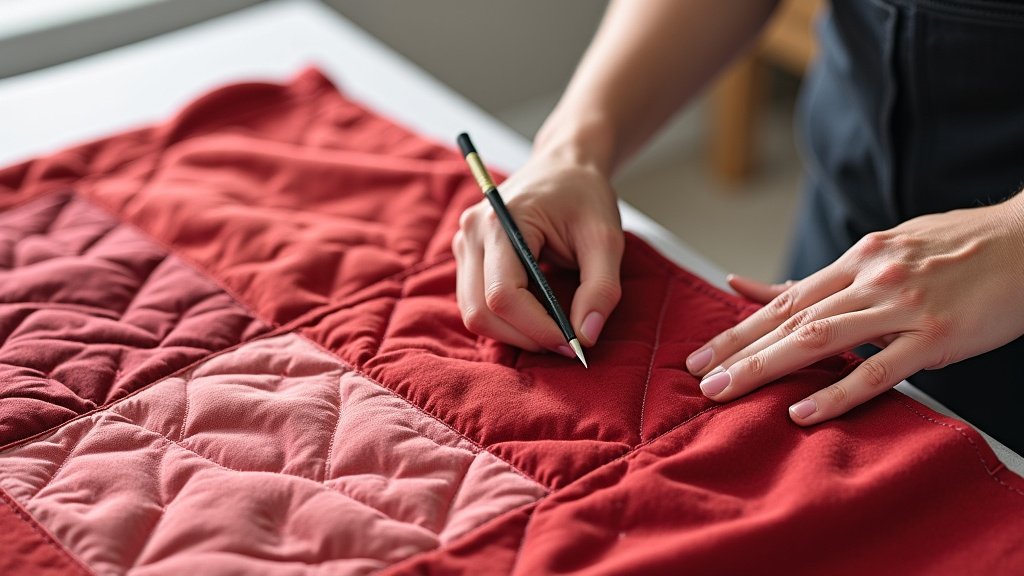
When it comes to the actual quilting stitches, go gently. Avoid heavy or dense quilting designs, especially at first. The goal is to add definition without crushing the nap or distorting the fabric. We found that simpler patterns work best.
Consider using a basting spray or hand-basting with large stitches to secure your quilt sandwich. Be sure to use a fine mist basting spray and don’t oversaturate. If hand-basting, use long, even stitches. This is essential for keeping the layers from shifting during quilting.
For machine quilting, think about your quilting density. A few large, flowing lines of quilting will highlight the velvet’s texture beautifully. Too many stitches can make the velvet look flat. You might want to experiment on a scrap piece first to see how your chosen quilting pattern interacts with the velvet nap.
Finishing Your Velvet Quilt: Binding and Beyond
Binding a velvet quilt can be a bit of a challenge. Velvet can be thick, especially when you have multiple layers. We found that a Our guide to sewing binding on a quilt explains how to use a double-fold binding.double-fold binding is usually the best choice. This gives a clean, neat finish. Ensure your binding strips are cut straight and are wide enough to accommodate the bulk.
Consider using a bias cut for your binding. This allows the binding to ease around curves and corners more easily. When you attach the binding, sew slowly and carefully. You may need to use a walking foot for your binding attachment as well. This helps ensure an even feed of all the layers.
When it comes to washing your finished velvet quilt, less is more. Hand washing in cold water is always the safest bet. If you must machine wash, use a gentle cycle with cold water and a very mild detergent. Always air dry your quilt. This preserves the beautiful pile and prevents shrinkage or damage. Gentle care is the secret to a lasting, luxurious velvet quilt.
A Quick Checklist for Quilting Velvet
- Pre-wash velvet carefully if needed (hand wash, cool water).
- Stabilize velvet with spray adhesive or fusible interfacing.
- Use a sharp universal or microtex needle (80/12 or 90/14).
- Cut pieces precisely with a rotary cutter, keeping pile direction consistent.
- Sew with longer stitch lengths (2.5-3.0) and consider a walking foot.
- Use quilting clips instead of pins to avoid fabric damage.
Conclusion
You absolutely can quilt velvet, and the results can be stunning! We’ve learned that with careful preparation and mindful techniques, you can overcome velvet’s challenges. Stabilizing the fabric, using the right tools, and employing a gentle touch are your best allies. Don’t let this luxurious fabric intimidate you. Take these tips, experiment on a scrap piece, and get ready to create a quilted masterpiece that feels as good as it looks. Your next velvet quilt awaits!
Frequently Asked Questions
What is the best type of velvet to use for quilting?
For beginners, we found that polyester or rayon velvets are often the easiest to work with. They offer a good balance of softness and stability, making them less prone to stretching than silk velvet. Cotton velvet is also a durable option.
How do I prevent velvet from shifting while I’m quilting?
Stabilizing your velvet is key. We recommend using a temporary spray adhesive to attach it to a lightweight fusible interfacing or using fusible fleece on the back. This provides a supportive foundation and minimizes unwanted movement.
Can I use pins when quilting with velvet?
We advise against using pins on velvet. Pins can create permanent holes and snag the delicate pile. Instead, consider using quilting clips, which gently hold layers together without causing damage.
How should I prepare velvet fabric before cutting and sewing?
If you choose to pre-wash, hand wash velvet in cool water with a mild detergent and air dry flat. Be cautious with ironing; use a low-heat setting and a pressing cloth, always ironing from the back.
What kind of needle and thread should I use for velvet quilting?
A sharp universal needle in a size 80/12 or 90/14 is generally recommended. Some quilters prefer a microtex needle for its precision. For thread, a good quality polyester thread is strong and reliable for both piecing and quilting.
