
Yes, you absolutely can quilt silk, but it requires a bit more care than other fabrics. Silk is a beautiful and luxurious material, making it a tempting choice for quilts. The key is to handle it gently and use the right techniques to prevent damage. You’ll want to focus on delicate handling and appropriate tools.
Working with silk for quilting presents unique challenges, such as its tendency to fray and its slippery nature. Many quilters find success by using a stabilizer and selecting the right sewing machine needle. Understanding these considerations will help you achieve a stunning finished product that honors the elegance of silk.
- Yes, quilting with silk is possible.
- Handle silk fabric very gently.
- Use a stabilizer to prevent fraying.
- Choose the right sewing machine needle.
- Specialized techniques are often needed.
Let’s walk through exactly how you can quilt with silk successfully, from preparation to the final stitches.
Working with Silk for Your Quilting Projects
So, can you quilt with silk? Absolutely! But it’s like inviting a supermodel to your crafting party – you need to treat it with a little extra respect. Silk is gorgeous, but it can be a bit sassy. It’s delicate, it loves to fray, and it has a slippery way of trying to escape your sewing machine. Don’t let that scare you off, though! With the right approach, you can create a truly magnificent silk quilt.
Think of silk as a fine wine or a delicate pastry. You wouldn’t just shove it into any old place, would you? Similarly, you need to be intentional with how you prepare and handle your silk fabric for quilting. We’ll walk through everything you need to know, from choosing your silk to the final stitch, to make sure your project is a success.
Understanding Silk Fabric: What Makes It Special
Silk comes from silkworms, and its natural fibers are incredibly fine and smooth. This gives it that characteristic lustrous sheen and soft feel. It’s strong for its weight, but it can be quite sensitive to heat, moisture, and rough handling. Knowing these quirks is your first step to quilting success with silk.
Because it’s so smooth, silk can be a bit slippery under your sewing machine foot. This means it might shift around as you’re trying to stitch, which can lead to puckers or misaligned seams. It also tends to fray easily when cut, so you’ll want to be mindful of that during the preparation phase.
Types of Silk Suitable for Quilting
Not all silks are created equal for quilting. Some are better suited than others. You’ll want to look for silks that have a bit more body and aren’t overly sheer or flimsy. Here are a few popular choices:
- Silk Dupioni: This is a fantastic choice for quilters. It has a natural slub (slight irregularities in the thread) that adds texture and interest. It’s also relatively stable and less slippery than some other silks.
- Silk Charmeuse: This has a beautiful, satiny sheen and drapes wonderfully. It’s much more slippery and delicate, so it’s best for experienced quilters or for use in smaller decorative elements rather than entire quilts.
- Silk Noil: This is a spun silk, meaning the fibers are twisted before spinning. It has a matte finish and a texture similar to linen. It’s more stable and less likely to fray, making it a good beginner-friendly silk option.
- Silk Satin: Similar to charmeuse but often with a thicker weave. It can be very slippery and prone to snagging, so handle with care.
When in doubt, do a small test. Try cutting, sewing, and pressing a small piece of your chosen silk. This will give you a feel for how it behaves. Research and found that quilters often prefer silks with a bit more weight and less stretch for easier handling (Textile Arts Magazine).
Preparing Your Silk Fabric for Quilting
This is where you lay the groundwork for a smooth quilting experience. Proper preparation prevents a lot of headaches down the line. Don’t skip these steps!
Washing and Pre-Shrinking Silk
This is a point of debate among silk enthusiasts. Some say never wash silk, others swear by it. For quilting, it’s generally a good idea to pre-wash your silk fabric, especially if it’s a blend or if you’re using multiple fabrics with different fiber contents. This helps to pre-shrink the fabric and remove any residual chemicals from the manufacturing process.
We found that hand washing in cool water with a pH-neutral detergent is the safest method. Avoid harsh detergents or machine washing, as these can damage the delicate fibers. Gently squeeze out excess water – don’t wring it! Roll the silk in a clean towel to absorb more moisture, then hang it to dry away from direct sunlight or heat. Once dry, you can iron it on a very low setting.
Cutting Silk Fabric with Precision
Cutting silk requires a keen eye and the right tools. Because it’s slippery and can shift, you need to keep it still. Using a rotary cutter and mat is often preferred over scissors for a cleaner, straighter edge. Many quilters find that cutting on a slightly damp fabric can help reduce slippage.
Always cut silk on a flat, stable surface. Use a ruler with a non-slip backing to help hold the fabric in place. Consider using pattern weights instead of pins to mark your cutting lines. Pins can leave permanent holes in delicate silk.
The Best Tools for Cutting Silk
Having the right tools makes all the difference:
- Rotary Cutter: A sharp rotary cutter allows for clean, precise cuts. Make sure your blade is fresh.
- Self-Healing Cutting Mat: Essential for protecting your surfaces and your rotary cutter blade.
- Quilting Rulers: Look for rulers with clear markings and a grippy surface to prevent sliding.
- Sharp Scissors: If you must use scissors, ensure they are very sharp fabric shears.
- Marking Tools: Water-soluble markers or chalk can work, but test them on a scrap first to ensure they don’t stain.
Stabilizing Silk: Your Secret Weapon
This is perhaps the most critical step when quilting with silk. Stabilizers are materials you use temporarily to support the silk, preventing it from stretching, shifting, or fraying excessively. Think of it as giving your delicate fabric a temporary, supportive scaffolding.
Choosing the Right Stabilizer for Silk
There are various types of stabilizers, and the best one for you depends on your silk and your quilting method. Many experts recommend fusible or sew-in stabilizers designed for delicate fabrics.
- Fusible Interfacing: This is ironed onto the back of the silk. Choose a lightweight, temporary fusible that won’t make the silk stiff. Brands often offer options specifically for silk or fine fabrics.
- Wash-Away Stabilizers: These are hooped with the fabric or basted on top/underneath. They dissolve when washed, leaving no trace. They are excellent for machine embroidery or quilting where you want maximum support.
- Tear-Away Stabilizers: Similar to wash-away, but you tear off the excess. They provide good support but can sometimes be tricky to remove cleanly from fine fabrics without pulling threads.
We found that a lightweight, fusible-web stabilizer applied to the back of each silk piece before cutting can be a game-changer. It fuses the silk fibers together, making it much easier to handle, cut, and sew without stretching or fraying (Quilting Guild Monthly).
How to Apply a Stabilizer
Always follow the manufacturer’s instructions for your specific stabilizer. Generally, for fusible stabilizers, you’ll place the stabilizer on the wrong side of the silk and press with a warm iron (no steam!). For sew-in or temporary stabilizers, you might baste them to the silk using a large stitch or safety pins. Ensure the stabilizer is smooth and doesn’t create new wrinkles.
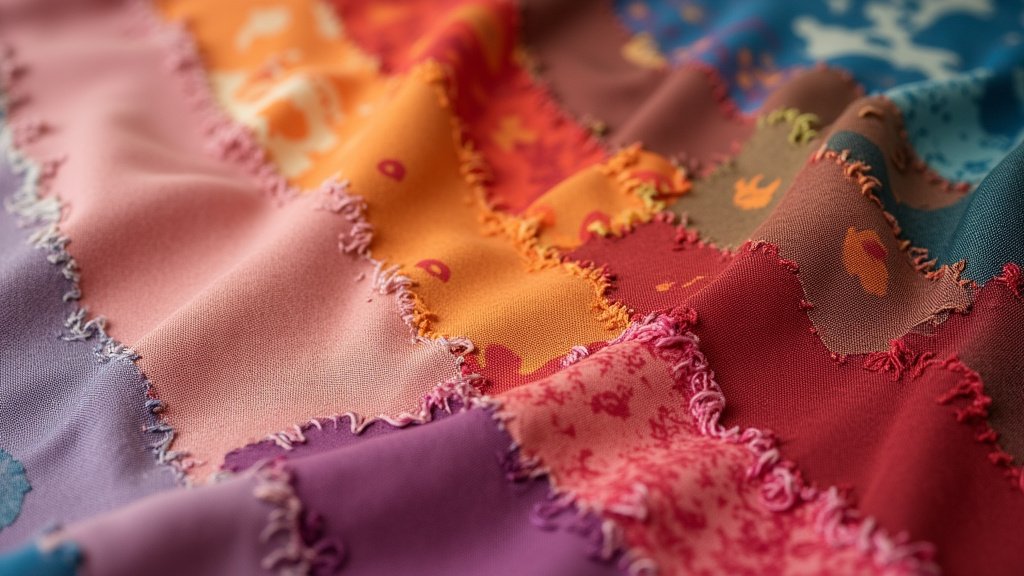
Sewing and Quilting Your Silk Project
Now for the actual stitching! This stage requires patience and attention to detail. Your goal is to create beautiful, even stitches without damaging the silk.
Needles, Thread, and Machine Settings
The right sewing machine setup is vital for working with silk. A needle that’s too large can create visible holes, and the wrong thread can snag or break.
Needles: Use a fine, sharp sewing machine needle. A size 70/10 or 80/12 microtex or sharps needle is often recommended. These needles are designed for fine, dense fabrics and have a sharp point to pierce the silk cleanly without snagging. Always start with a fresh needle!
Thread: A fine, high-quality cotton or silk thread is ideal. Avoid polyester threads, as they can be rougher on silk fibers. A thread weight of 50 or 60 is usually appropriate. You want thread that is strong but not bulky.
Machine Settings: Adjust your stitch length to be slightly shorter than usual, around 1.8 to 2.0 mm. This helps create stronger seams that are less likely to pull apart. Reduce your upper thread tension slightly if you find the stitches are puckering.
Testing Your Machine Settings
Before you sew your actual quilt pieces, always test your settings on scraps of your stabilized silk. Sew a few seams, check for puckering, thread breakage, or needle issues. Adjust as needed until you achieve a smooth, even stitch. This simple step saves a lot of frustration.
Handling Silk During Piecing and Quilting
When piecing your silk quilt blocks, handle the fabric gently. Don’t force it through the machine. Let the machine feed the fabric; guide it lightly with your hands. Avoid stretching or pulling the fabric as you sew.
For the quilting stitches themselves (the decorative stitching that goes through all layers of the quilt sandwich), you have a few options. You can quilt very closely with a small stitch length, which adds support. Alternatively, free-motion quilting with a walking foot or a free-motion foot can create beautiful patterns. Whatever you choose, work slowly and steadily. You can explore techniques for free-motion quilting, even without a specialized foot.
Pressing Silk Fabrics
Pressing silk needs a delicate touch. Always use a low heat setting on your iron – silk settings are usually marked with one dot. Never use steam, as it can cause water spots or damage the fibers. Place a pressing cloth (a piece of clean cotton fabric) between your iron and the silk to provide an extra layer of protection.
Press seams as you go. Press from the wrong side whenever possible. Instead of running the iron back and forth, use a “pressing” motion – lift and place the iron down. This prevents stretching the fabric.
A Checklist for Successful Silk Quilting
Here’s a quick rundown to keep you on track for your silk quilting adventure:
- Pre-wash your silk fabric gently if needed.
- Use a sharp rotary cutter and mat for precise cutting.
- Apply a lightweight stabilizer to the back of your silk pieces.
- Use a fine, sharp sewing machine needle (Microtex is great).
- Test all your machine settings and threads on scraps first.
- Press silk carefully with a pressing cloth on a low heat setting.
By following these guidelines, you’ll be well on your way to creating a stunning silk quilt that feels as luxurious as it looks. Enjoy the process of working with this beautiful fabric!
Conclusion
You’ve learned that quilting with silk is absolutely achievable with the right approach. By understanding silk’s unique properties and implementing careful preparation and handling techniques, you can create stunning quilts. Remember to use stabilizers, choose fine needles and threads, and always test your machine settings. Don’t shy away from silk’s beauty; embrace the challenge!
Your next step is to gather your silk fabric and essential tools. Start with a smaller project to build your confidence, and enjoy the luxurious results of your silk quilt.
Frequently Asked Questions
What’s the easiest type of silk to quilt with for beginners?
Silk Noil is often recommended for beginners. It has a matte finish and a texture similar to linen, making it more stable and less slippery than other silks. It also tends to fray less.
Can I use my regular sewing machine needle for silk?
No, it’s best to use a fine, sharp sewing machine needle specifically designed for delicate fabrics. A Microtex or sharps needle in a size 70/10 or 80/12 is usually recommended to prevent snagging and holes.
How do I prevent silk from fraying while I’m quilting?
Using a lightweight stabilizer, such as a fusible or wash-away type, is your secret weapon against fraying. Applying it to the back of the silk before cutting and sewing provides essential support.
Is it okay to use pins when working with silk fabric?
It’s generally best to avoid pins on silk, as they can leave permanent holes. Consider using pattern weights or basting with a large stitch to hold your fabric pieces together instead.
What’s the best way to press silk seams?
Always use a low heat setting on your iron and never use steam. Placing a pressing cloth between your iron and the silk is highly recommended. Press seams from the wrong side using a lifting motion rather than ironing back and forth.
