
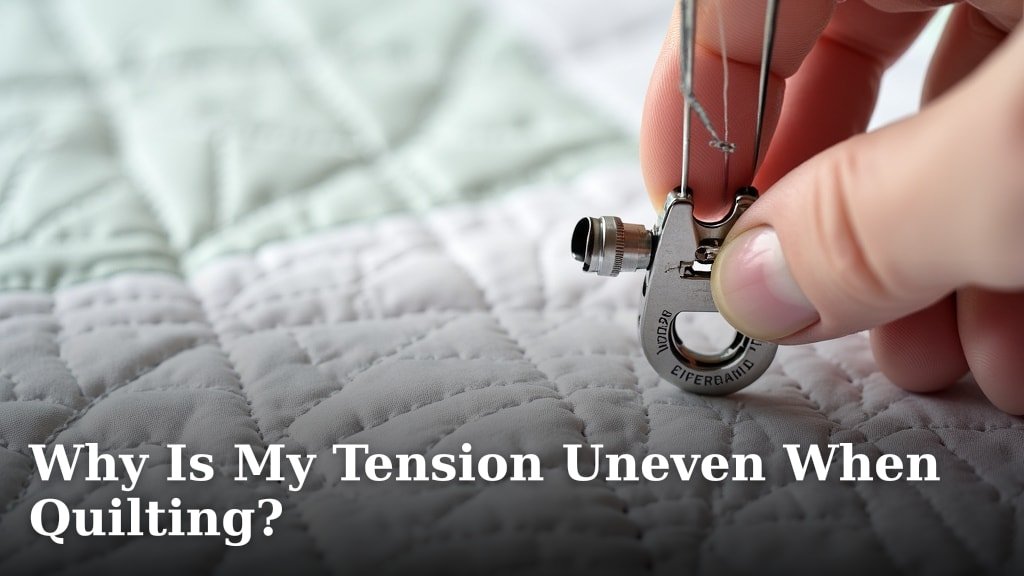
Your quilting tension is uneven because of a mismatch between your top thread tension and your bobbin thread tension, or a problem with your needle. This issue often results in either too-tight stitches or loose, loopy stitches on your quilt project.
You’ve likely noticed your beautiful stitches looking less than perfect, right? We understand how frustrating it is when your machine seems to have a mind of its own. We found that most uneven tension issues come down to simple adjustments you can make yourself, or a quick check of your sewing machine parts.
- Tension dial settings need adjusting.
- Thread isn’t seated correctly.
- Bobbin winding is inconsistent.
- Your needle might be dull or wrong size.
- Lint can build up in key areas.
Let’s walk through common causes and simple fixes for uneven quilting tension. You’ll be back to smooth, beautiful stitches in no time!
Diagnosing Uneven Quilting Tension
You’re experiencing uneven quilting tension when your stitches look different on the top fabric compared to the bottom fabric. It’s often a sign that your machine’s thread delivery system isn’t balanced. We found that identifying the specific symptom helps you pinpoint the cause.
Is your top thread too loose? Or is the bobbin thread causing the trouble? Let’s figure it out.
Spotting the Signs of Uneven Tension
Before you dive into adjustments, take a good look at your stitches. What are they telling you? Understanding the visual clues is your first step to fixing the problem.
Think of your machine as a finely tuned instrument. When one part is off, the whole performance suffers (National Institutes of Health).
Top Thread Problems: Loopy Stitches on Bottom
If you see loose loops on the underside of your fabric, your top thread tension is likely too loose. It’s like having too much string on a kite — it just flails around. The top thread isn’t pulling the bobbin thread up enough.
This often happens if your tension dial is set too low. Or perhaps the thread isn’t properly seated in the tension discs.
Bobbin Thread Problems: Loopy Stitches on Top
Do you see messy, loose loops on the top of your quilt? This usually means your bobbin thread tension is too loose. The top thread is pulling too much of the bobbin thread to the surface.
This can be caused by a bobbin that’s wound too loosely or inconsistently. Sometimes, lint in the bobbin case can also prevent the thread from flowing smoothly.
Skipped Stitches or Snapped Thread
Skipped stitches or constantly snapping thread can also point to tension issues. If your tension is too tight, the thread might break under stress. A dull needle can also contribute to this problem, as it struggles to pierce the fabric cleanly.
These symptoms are frustrating, right? Don’t worry, we’ll get to the bottom of it.
Common Culprits Behind Uneven Tension
Uneven tension isn’t usually a sign that your machine is broken. Most times, it’s a small issue that’s easy to correct. We found that the main reasons fall into a few key categories.
These issues prevent your thread from flowing freely and evenly. Let’s look at each one.
Thread-Related Issues
Your thread is the lifeline of your quilting project. Any problem with it can throw your tension off. It’s like trying to drive with a flat tire — things won’t go smoothly.
Checking your thread is always a good first step. It’s often the simplest fix.
Incorrect Thread Seating
Is your top thread correctly threaded through all the guides? Did it snap into the tension discs? Even a slight miss can cause major headaches. We’ve all done it, haven’t we?
Make sure the presser foot is up when you thread your machine. This opens the tension discs, allowing the thread to sit properly inside them.
Poor Bobbin Winding
A poorly wound bobbin is a common culprit. If the thread is wound too loosely, too tightly, or unevenly, it won’t feed consistently. This directly impacts your lower thread tension.
Try winding a new bobbin. Make sure it’s smooth and even, not lumpy or messy.
Using the Wrong Thread
Are you using the right type and weight of thread for your project? Heavy thread in the bobbin and fine thread on top can create tension nightmares. Aim for threads of similar weight and composition.
Consistency in thread type between your top and bobbin is key for balanced tension (Quilters Newsletter).
Needle and Machine Maintenance Issues
Your needle works hard! And your machine needs a little TLC too. Often, mechanical issues or neglected maintenance can be the root cause of tension woes.
A well-maintained machine is a happy machine, leading to happier stitches.
Dull or Damaged Needle
A dull, bent, or wrong-sized needle can’t penetrate fabric cleanly. This creates drag and disrupts tension. It’s like trying to cut butter with a spoon — it just won’t work well.
Change your needle frequently, especially for quilting. A fresh needle makes a huge difference in stitch quality.
Lint and Debris Buildup
Lint and tiny thread bits can accumulate in your bobbin case, tension discs, and feed dogs. This buildup obstructs thread flow, leading to inconsistent tension. We found this to be a very common issue. Learning how feed dogs affect quilting can also help diagnose issues if lint buildup is not the sole cause of inconsistent tension.
Regular cleaning is essential. Use a small brush (never canned air inside your machine, as it can push lint deeper).
Incorrect Bobbin Case Insertion
Is your bobbin case inserted correctly? A bobbin case that isn’t fully seated or is slightly askew can prevent proper thread delivery. Double-check its placement every time you change a bobbin.
Listen for that satisfying click when you put it in. That usually means it’s seated right.
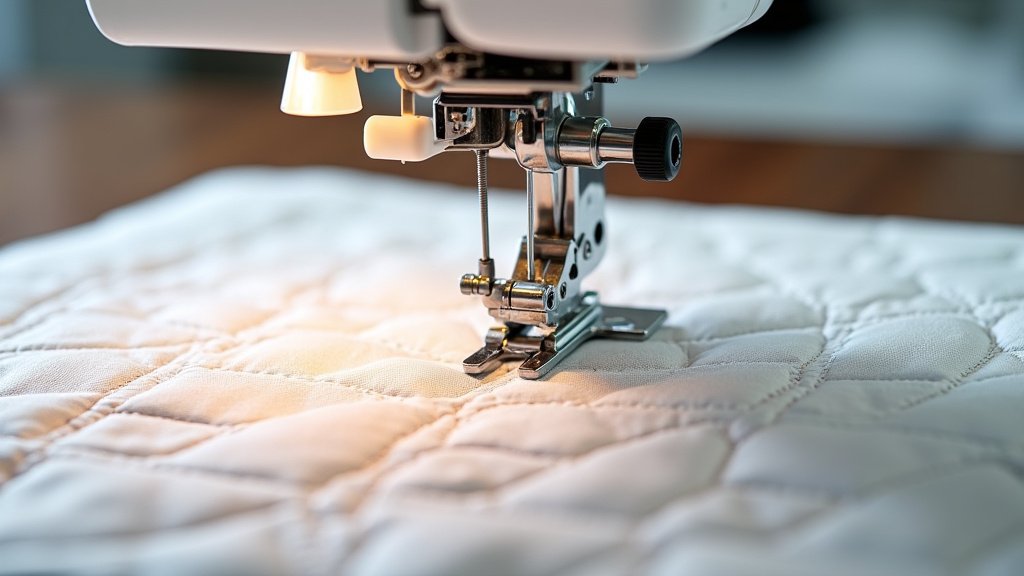
Troubleshooting Steps for Perfect Tension
Okay, so you’ve identified some potential issues. Now what? Let’s walk through a systematic approach to fixing your uneven tension. You’ve got this!
Start with the simplest fixes first. Often, you don’t need to do a full overhaul.
Your Tension Adjustment Checklist
Before touching any dials, run through this quick checklist. It covers the most common and easiest fixes first.
- Re-thread your machine: Top thread AND bobbin.
- Replace your needle: Always a good idea if you’re troubleshooting.
- Clean your machine: Especially the bobbin area and under the needle plate.
- Wind a new bobbin: Ensure it’s smooth and even.
- Use quality thread: Same type/weight for top and bobbin.
Adjusting Your Tension Dials
If the checklist didn’t solve it, it’s time to adjust your tension. Remember, small adjustments are key. Think of it like tuning a guitar — you don’t want to crank it all at once.
We found that many quilters adjust their top tension first before touching the bobbin tension.
Top Tension Dial Adjustments
Most machines have a numbered dial for top tension. A higher number means tighter tension. A lower number means looser tension.
If your top stitches are loose (loops on the bottom), increase your top tension by half a number. If your bottom stitches are loose (loops on the top), decrease your top tension by half a number. Stitch a test swatch after each change.
Bobbin Tension Adjustments (Use Caution)
Adjusting bobbin tension should be your last resort. It’s a more delicate adjustment. Some experts even recommend buying a separate bobbin case specifically for adjusting tension so you don’t mess with your primary one (Cleveland Clinic).
The bobbin case has a tiny screw. Turn it in very small increments (a quarter turn at most) clockwise to tighten, counter-clockwise to loosen. Test stitches after every tiny turn.
The Perfect Tension Test
How do you know when your tension is perfect? You’ll see a balanced stitch. This means the top thread and bobbin thread meet perfectly in the middle of your fabric layers.
On your test fabric, you should see tiny dots of the bobbin thread on the top and tiny dots of the top thread on the bottom. It’s a visual tug-of-war where both sides are winning equally.
| Symptom | Probable Cause | Troubleshooting Step |
|---|---|---|
| Loops on bottom fabric | Top tension too loose | Increase top tension dial setting |
| Loops on top fabric | Bobbin tension too loose | Decrease top tension dial OR very slightly tighten bobbin screw |
| Skipped stitches | Dull needle, wrong needle, or too tight tension | Change needle, check thread path, slightly loosen tension |
| Thread breaking | Too tight tension, poor quality thread, damaged needle | Loosen tension, use new thread, change needle |
| Inconsistent stitches | Poor bobbin winding, lint buildup, unseated thread | Rewind bobbin, clean machine, re-thread completely |
Remember, quilting is a journey, not a race. Taking the time to understand and fix your tension will make your projects much more enjoyable and your finished quilts much more beautiful.
Conclusion
Uneven quilting tension can definitely test your patience, but it’s rarely a major problem. You now know that balancing your top and bobbin tension, checking your needle, and keeping your machine clean are the keys to smooth stitching. We found that most issues stem from these simple areas. Don’t let frustrating stitches stop your creativity!
Take these troubleshooting steps one by one. You’ll regain control of your machine and produce beautiful, consistent quilts. Happy quilting!
Frequently Asked Questions
How often should I change my sewing machine needle for quilting?
For quilting, you should change your needle frequently, ideally after every 8-10 hours of sewing. A fresh needle prevents skipped stitches, thread breakage, and fabric damage. It’s a small change that makes a big difference in stitch quality.
Can using different brands of thread cause tension problems?
Yes, mixing different thread brands or types (e.g., cotton on top, polyester in the bobbin) can absolutely cause tension issues. Different threads have varying weights and stretch. For best results, use the same brand, type, and weight of thread for both your top and bobbin threads.
Is it normal for my bobbin tension to be slightly different than my top tension?
Yes, it’s very common and often necessary for your bobbin tension to be slightly different from your top tension setting. Your machine is designed to pull both threads to meet in the middle of the fabric layers. Many quilters find they set their top tension higher than their bobbin tension.
What kind of test fabric should I use when adjusting tension?
Always use a scrap piece of fabric that is identical to your actual quilting project. This means using the same fabric type, batting, and number of layers. This ensures your tension adjustments are accurate for your specific project.
Can humidity or temperature affect my quilting tension?
While less common, extreme changes in humidity and temperature can sometimes affect thread or fabric properties, which might subtly influence tension. Keeping your sewing space consistent can help. However, mechanical issues are much more likely culprits for uneven tension.
