
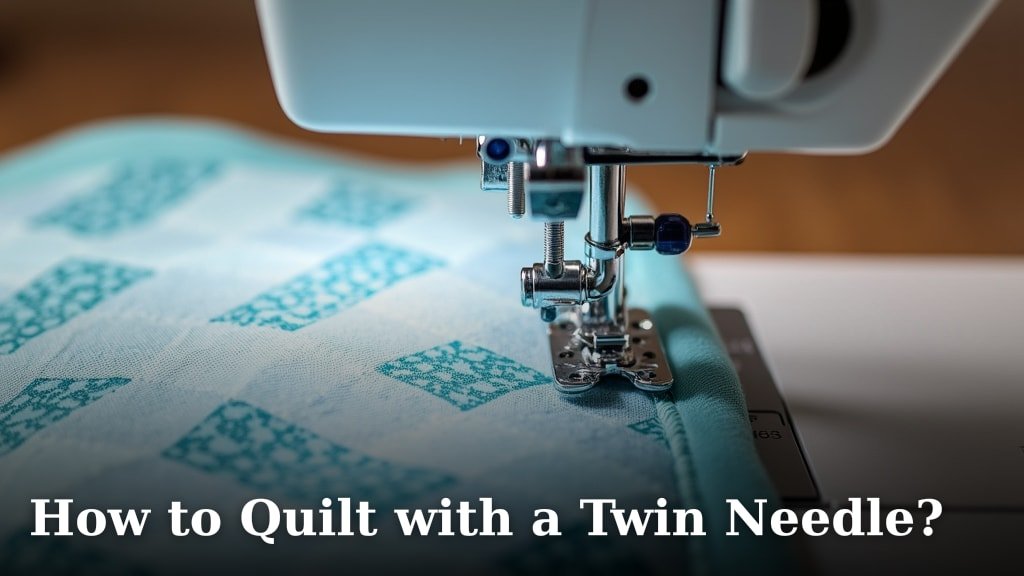
Yes, you absolutely can quilt with a twin needle, and it’s a fantastic way to achieve a professional-looking topstitch on your quilts. This technique creates two parallel lines of stitching on the top and a single thread on the back, mimicking a coverstitch machine without needing one. It’s a simple yet effective way to add decorative elements to your quilting projects.
Many quilters find that using a twin needle can significantly speed up the process of adding decorative stitching. It’s especially useful for quilting straight lines or creating a subtle textured effect across larger areas. You’ll get a clean, even look that really makes your stitches pop, and it’s a great way to make your quilting stand out. Many sewers find it’s a surprisingly easy sewing machine trick to master.
- Use a twin needle for a professional topstitch look.
- It creates two parallel stitches on top, one on the back.
- Great for straight lines and subtle texture.
- Mimics a coverstitch machine without owning one.
- A simple trick for making your quilting stand out.
Ready to give it a try? Let’s walk through exactly how to set up your machine and get started quilting with a twin needle.
Getting Started with Twin Needle Quilting
You’re curious about using a twin needle for your quilting projects, and that’s fantastic! It’s a really accessible way to add a professional, decorative finish to your quilts. Think of it as a little sewing machine magic that makes your topstitching look super neat and impressive. We’ll guide you through everything you need to know to get this cool technique working for you.
Understanding How a Twin Needle Works
So, what exactly does a twin needle do? Well, it’s quite clever! It’s essentially two needles attached to a single shank. This means it creates two parallel rows of stitching on the top side of your fabric. On the bobbin side, it uses just one thread, creating a single line that connects those top stitches. This gives you a look that’s remarkably similar to a coverstitch, which is often used for hemming and decorative effects on ready-made garments. Many quilters find this effect perfect for adding definition to quilt seams or borders.
The Stitch Comparison: Top vs. Bobbin
On your quilt top, you’ll see two clean, evenly spaced lines of stitching. This is where the decorative appeal really shines. When you flip your quilt over, you’ll notice a single, slightly zigzagging stitch. This happens because the bobbin thread has to travel back and forth to catch both top needles as they go up and down. It’s this unique construction that gives you that professional, finished appearance without needing specialized equipment. It’s a simple concept with a big visual impact.
Benefits Beyond Just Looks
Beyond the beautiful stitching, using a twin needle can also be a time-saver. Imagine quilting straight lines across a large quilt. Instead of sewing the same line twice or using a walking foot with a wider stitch, a twin needle accomplishes this in a single pass. This can really speed up your quilting process, especially for larger projects or when you want consistent, parallel lines. Many sewers report finishing quilting tasks much faster when using this method for certain designs. You’ll find yourself achieving that even, clean look with less effort.
Setting Up Your Sewing Machine for Twin Needle Quilting
Getting your machine ready is the most important step. A few simple adjustments will make all the difference in achieving beautiful results. Don’t worry, it’s not complicated, and once you’ve done it once, you’ll remember it. Let’s get your machine prepped and ready to go!
Choosing the Right Twin Needle
Not all twin needles are created equal, and picking the right one is key. You’ll see them categorized by size and type. The size refers to the distance between the two needles (e.g., 2.0mm, 3.0mm). A 2.0mm or 2.5mm is a great starting point for most quilting projects. These sizes offer a nice, visible stitch without being too wide. You’ll also find needles designed for different fabric types, like universal, jersey, or stretch. For quilting cottons, a universal twin needle is usually your best bet.
Needle Size Matters
The space between the needles dictates how bold your parallel stitches will be. A wider space creates a more dramatic effect, while a narrower space is more subtle. For most quilting, especially when adding decorative stitching to blocks or borders, a 2.0mm to 3.0mm width is ideal. It’s wide enough to be noticeable but not so wide that it overwhelms your piecing. Many quilters experiment with different sizes to see what works best for their specific designs. Research suggests that for standard quilting cottons, a medium width is most versatile (Singer).
Understanding Needle Types
Just like single needles, twin needles come in different types. Universal twin needles are designed for general sewing and work well on most woven fabrics like quilting cotton. If you’re working with knits or stretch fabrics for the first time with a twin needle, you might consider a stretch twin needle. However, for traditional quilting, stick with the universal type. They are robust and designed to handle the denser nature of quilt layers. This choice is crucial for preventing skipped stitches or needle breakage.
Thread Selection for Twin Needle Success
The thread you choose plays a significant role in the final look. Since the twin needle creates prominent topstitching, using good quality thread is important. For the top, you have a few excellent options. Many quilters prefer using standard cotton or polyester all-purpose thread in both needle eyes. This gives a classic, clean look. If you want a bit more flair, you could try a variegated thread in one or both eyes for a multi-colored effect, or even a slightly thicker decorative thread for more impact.
What about the bobbin thread? Here’s where things differ from regular sewing. For a twin needle setup, you must use a bobbin thread that is thinner than your top threads. This is critical for the stitch to form correctly on the back. A good choice is a thin cotton or polyester bobbin thread, often called “bobbin lace thread” or “fine bobbin thread.” It’s designed to be strong yet slender. Some even use an invisible nylon thread for the bobbin in certain applications, though a fine colored thread often works best for quilting. Using a standard bobbin thread can cause tangling and skipped stitches because it’s too thick to accommodate the needle’s movement.
Winding Your Bobbins (Yes, Plural!)
This is a slightly different process than usual. Because the twin needle needs a separate thread for each needle eye, you’ll typically set up your machine with two top thread cones. You’ll then wind two separate bobbins. One bobbin will go in your machine’s bobbin case as usual. For the second bobbin thread, you’ll need to feed it through your machine’s threading path and connect it to the second needle eye. This might sound complicated, but your sewing machine manual will have specific instructions for threading with a twin needle. Some machines even have a secondary spool pin to make this easier. It’s essential to have these two bobbins filled so you don’t run out mid-quilting!
Thread Your Machine Carefully
Threading a machine for a twin needle requires a little extra attention. Make sure to thread each needle eye separately. You’ll run one thread through the normal tension discs and guides and up to one needle. Then, you’ll take the second thread, often using a secondary spool pin or a clever threading route your manual shows, and thread it through the same tension discs and guides (or sometimes a separate set, depending on your machine) all the way to the second needle. It’s crucial that both threads are seated correctly in the tension discs. If one thread isn’t properly tensioned, you’ll get loopy stitches on the back or skipped stitches. Some machines have a specific way to handle this, so consulting your manual is key. Many experts recommend using the same type and weight of thread for both top needles to ensure even tension and stitch formation.
Adjusting Tension Settings
Tension is your best friend (or worst enemy!) when using a twin needle. Because you have two threads working together, you’ll likely need to adjust your machine’s tension settings. Generally, you’ll need to increase the top tension slightly. This helps pull the thread down firmly to create those neat stitches on the quilt top. The exact setting will depend on your machine, thread, and fabric. It’s always best to test on a scrap piece of your quilting fabric first. You want to see two parallel lines on top and a single, neat stitch on the back. If you see loops on the back, your top tension is too loose. If the stitches look too tight or strained, your tension might be too high. We found that starting with a setting about 1-2 numbers higher than your usual stitch setting is a good baseline (Brother).
Your First Twin Needle Quilt Stitches
Now that your machine is set up, it’s time for the fun part: stitching! Let’s cover the practical steps to get those beautiful parallel lines onto your quilt. Remember to go slowly at first, and don’t be afraid to experiment.
Prepare Your Quilt Sandwich
Just like any quilting project, you’ll want to prepare your quilt sandwich. Layer your quilt backing, batting, and quilt top. Baste them together securely using safety pins, spray adhesive, or large stitches. A well-basted quilt is less likely to shift, which is even more important when you’re aiming for precise, parallel stitches with a twin needle. Ensure your fabric layers are smooth and wrinkle-free before you start. Any puckering can translate into your beautiful twin needle stitches.
Start Quilting!
Begin quilting on your prepared quilt sandwich. For straight-line quilting, you can use your walking foot on top of the twin needle setup. This helps feed all the layers evenly under the presser foot. If you’re not using a walking foot, ensure you’re guiding the fabric gently. Move slowly and steadily, especially when you’re first getting used to the feel of the twin needle. Focus on keeping your lines straight and evenly spaced. The twin needle will do the work of creating those parallel stitches for you. You’ll be amazed at how quickly you can quilt large areas this way! Many quilters find this technique particularly useful for For straight-line quilting with a twin needle, consider using a walking foot to help feed the fabric evenly.quilting grid patterns or simple horizontal and vertical lines.
Troubleshooting Common Issues
Even with the best preparation, you might encounter a few hiccups. Don’t get discouraged! It’s part of the learning process. Here’s a quick rundown of common problems and solutions:
- Skipped Stitches: This is often caused by improper threading, incorrect needle type, or a worn-out needle. Double-check your threading, ensure you’re using the right needle for your fabric, and try a fresh twin needle.
- Thread Breakage: This can happen if your tension is too high, your thread is of poor quality, or the thread is catching on something. Re-adjust your tension, switch to a smoother thread, and ensure your machine is clean and free of lint.
- Uneven Stitches: If your stitches look wobbly or have different lengths, your tension might be off, or you might be pulling on the fabric. Ensure your machine is properly threaded, adjust tension as needed, and let the machine feed the fabric without pulling.
- Needle Breaking: This can occur if you force the fabric, quilt over thick seams or pins, or if the needle isn’t inserted correctly. Always remove pins before stitching over them, go slowly over thick areas, and ensure the needle is fully inserted and straight in the needle clamp.
Remember to test stitch on scraps whenever you make an adjustment. This is the fastest way to see what’s working and what isn’t.
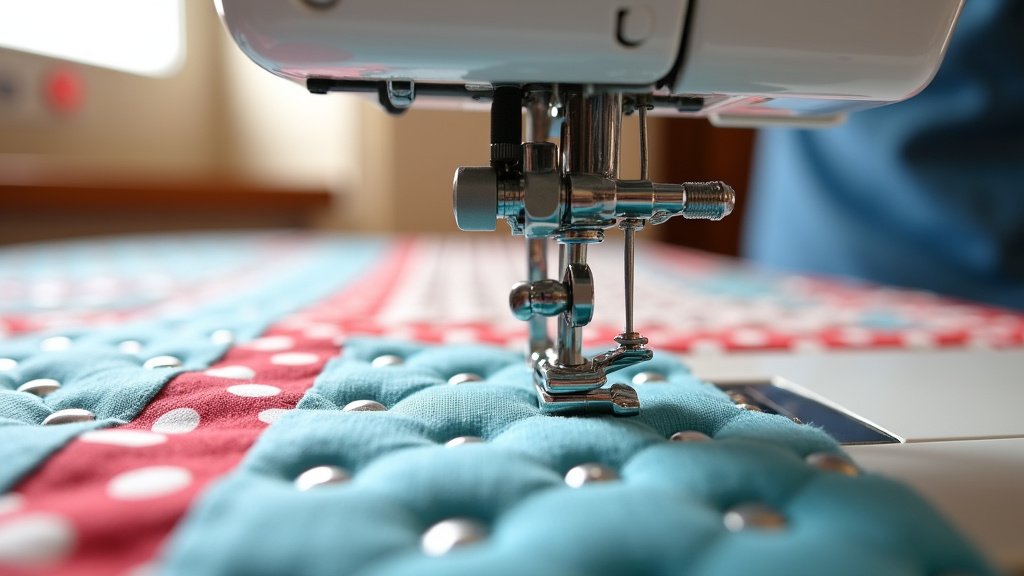
Essential Tips for Perfect Twin Needle Quilting
To help you achieve those flawless stitches every time, here are a few extra tips we’ve gathered from experienced quilters and sewing resources. These small adjustments can make a big difference in your results.
- Use a Quality Needle: Invest in good-quality twin needles from reputable brands. They are sharper and more consistently manufactured, leading to fewer skipped stitches and breaks.
- Keep it Clean: Lint buildup in your machine can cause all sorts of problems. Clean your bobbin area and feed dogs regularly, especially when quilting.
- Slow and Steady Wins: Rushing through quilting can lead to errors. Take your time, guide the fabric smoothly, and enjoy the process.
- Experiment with Thread: Don’t be afraid to try different thread weights and types on your test swatches. You might discover a combination you absolutely love!
- Consider a Topstitch Needle: While universal twin needles work well, some sewers find that a twin topstitch needle, which often has a slightly larger eye, can be beneficial for thicker threads.
- Consult Your Manual: Every sewing machine is a little different. Your owner’s manual is the best resource for specific instructions on threading and using twin needles on your particular model.
With a little practice and these tips, you’ll be quilting with your twin needle like a pro in no time! It’s a wonderful way to add that extra polish to your quilts.
Conclusion
You’re now equipped to quilt with a twin needle, a fantastic way to add professional topstitching to your projects. Remember, choosing the right needle and thread, setting your tension carefully, and testing on scraps are your keys to success. Don’t be afraid to experiment with different stitch widths and thread colors. With a little practice, you’ll find this technique surprisingly simple and incredibly rewarding. So, grab your twin needle, thread up your machine, and start creating those beautiful parallel lines on your next quilt!
Frequently Asked Questions
Can I use any sewing machine with a twin needle?
Most modern sewing machines can handle a twin needle, but it’s always best to check your machine’s manual. Some older or very basic models might not have the clearance or specific threading paths needed for twin needle use. Many modern sewing machines can handle a twin needle, but it’s always best to check your machine’s manual.
What is the best needle size for quilting with a twin needle?
For general quilting with cotton fabrics, a 2.0mm or 2.5mm twin needle is a great starting point. These sizes provide a visible stitch without being too wide, offering a good balance for most quilting designs.
Do I need a special walking foot for twin needle quilting?
While not strictly required, a walking foot can be very helpful when quilting with a twin needle. It helps feed all layers of your quilt sandwich evenly, preventing puckering and ensuring consistent stitch length, especially for straight-line quilting.
Why is my twin needle quilting leaving loops on the back?
Loops on the back usually indicate that your top tension is too loose. You’ll likely need to increase your machine’s top tension slightly to help pull the thread down firmly for a neat stitch. Always test adjustments on scrap fabric.
Can I use the same thread for both top needles?
Yes, using the same type and weight of thread for both top needles is generally recommended. This helps ensure consistent tension and stitch formation across both lines of stitching. Ensure your bobbin thread is thinner.
