
The best way to organize a small sewing room for quilting is by The best size quilting machine for small spaces can help you organize your craft.prioritizing smart storage solutions and clever layout choices. You can transform even a tiny space into a functional and inspiring quilting haven. It’s all about making every inch count and keeping your tools and fabrics accessible.
When space is tight, organization becomes your best friend. We found that many quilters struggle with clutter, making it hard to enjoy their craft. Finding a system that works for your workflow is key to a happy sewing experience. Let’s make your small space work for you!
- Think vertically with shelves and wall storage.
- Use clear containers for fabric and notions.
- Keep frequently used items within easy reach.
- Declutter regularly to maintain order.
- Consider multi-functional furniture pieces.
Ready to turn that small space into your dream quilting studio? We’ve gathered some practical tips to help you make the most of your area.
Maximizing Your Small Quilting Studio Space
Organizing a small sewing room for quilting can feel like a puzzle. You want everything accessible but also out of the way. We found that the secret lies in smart storage and clever layout.
Think of your space as a tiny, functional machine. Every component needs a purpose and a place. Let’s make sure your quilting happens without the frustration of clutter.
Clever Storage Strategies for Quilters
Storage is king in a small sewing room. You need to think smart about where and how you keep your supplies.
Go Vertical: Walls Are Your Friends
When floor space is limited, look up! Walls offer prime real estate for storage. Shelving units can hold fabric bins, patterns, and books. Wall-mounted pegboards are fantastic for hanging tools like scissors, rulers, and rotary cutters. This keeps them visible and easily grabbed.
Floating Shelves for Fabric and Notions
Floating shelves look clean and modern. They can display your favorite fat quarters or hold smaller notions containers. Research shows that open shelving can make a small room feel larger if it’s not overstuffed (Good Housekeeping).
Pegboards for Essential Tools
A pegboard is a quilter’s best friend. You can customize it with hooks and small bins. It’s perfect for keeping your most-used rulers and cutting tools within arm’s reach. This saves you digging through drawers.
Containment is Key: Boxes and Bins
Using containers helps group similar items. It prevents small notions from scattering everywhere. Clear containers are a game-changer. You can see exactly what’s inside without opening every box.
Clear Bins for Fabric Stash Management
For your fabric stash, clear plastic bins are ideal. You can stack them neatly on shelves or under a cutting table. Labeling them with fabric types or colors helps even more. We found that this makes finding the right print much quicker.
Drawer Dividers for Notions
Smaller items like threads, bobbins, needles, and buttons need organization. Drawer dividers create compartments. This keeps everything tidy and prevents items from getting lost. You can buy dividers or even make your own from cardboard.
Multi-Functional Furniture Pieces
In a small space, furniture should work double duty. Look for pieces that offer both workspace and storage.
Ottomans with Hidden Storage
An ottoman can serve as a footrest or extra seating. Many come with hidden storage compartments inside. These are perfect for stashing extra thread, batting scraps, or even projects in progress.
Cutting Tables with Drawers
A cutting table is essential, but one with built-in drawers or shelves is a bonus. This offers a large surface for cutting and hidden storage for fabrics or tools. Some tables even fold down when not in use.
Layout: Making Every Inch Count
The way you arrange your furniture and zones matters. A good layout makes your sewing flow smoothly.
Create Zones for Different Activities
Even in a small room, you can designate areas. You might have a cutting zone, a sewing zone, and a pressing zone. Keeping these zones separate helps maintain order.
The Sewing Station Essentials
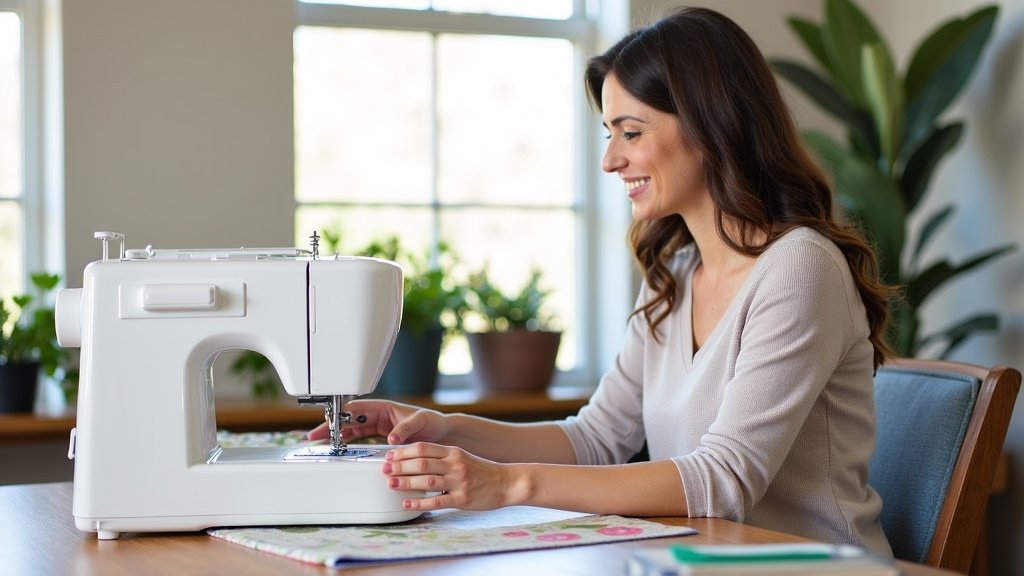
Your sewing machine should be on a stable table at a comfortable height. Ensure you have good lighting. Keep your most-used threads and bobbins nearby. This reduces the need to constantly reach or get up.
The Cutting and Pressing Hub
A dedicated cutting space is crucial. Ideally, this is a large surface. Your ironing board or station should be close by. This makes it easy to cut fabric, press seams, and move to the next step in your quilting process.
The Importance of Lighting
Good lighting is not just about comfort; it’s about accuracy. Poor lighting can lead to sewing mistakes. We found that layered lighting is best.
Natural Light is Your Best Bet
If possible, position your sewing area near a window. Natural light is excellent for color accuracy when choosing fabrics. However, remember to use blinds or curtains to control glare.
Task Lighting for Precision Work
Supplement natural light with good task lighting. A bright desk lamp focused on your sewing machine or cutting mat is essential. Many sewing machines have built-in lights, but an external light source can make a big difference.
Decluttering: The Ongoing Process
Organization isn’t a one-time event. Regular decluttering keeps your space functional.
Regular Fabric Stash Purges
Do you have fabrics you know you’ll never use? It’s tough, but letting go is important. Consider donating usable scraps to charity or a local sewing group. This frees up valuable space.
Tool Audit: What Do You Actually Use?
Go through your notions and tools periodically. Are there duplicates you don’t need? Are there tools you bought with good intentions but never use? Sell or donate them. Less clutter means a more peaceful sewing environment.
A Checklist for Your Small Quilting Space
Here’s a quick list to get you started on organizing your small quilting room:
- Assess your current space: What are your biggest storage challenges?
- Go vertical: Install shelves or use wall-mounted storage.
- Use clear containers: See what you have at a glance.
- Designate zones: Create areas for sewing, cutting, and pressing.
- Declutter regularly: Purge fabrics and tools you no longer need.
- Invest in multi-functional items: Furniture that does double duty saves space.
Conclusion
Transforming your small quilting space is achievable with smart strategies. We’ve shown you how vertical storage, clear containers, and multi-functional furniture can maximize every inch. By creating distinct work zones and committing to regular decluttering, you’ll build a more peaceful and productive sewing environment. Your dream quilting studio is within reach, no matter the size of your room. Your next step is to pick one organizing tip and implement it this week to start seeing a difference.
Frequently Asked Questions
What’s the best way to store a large fabric stash in a small room?
For a large fabric stash, prioritize vertical storage with sturdy shelving units. Use clear, stackable bins to keep fabrics visible and protected. Consider labeling bins by color or type to easily find what you need without rummaging.
How can I improve lighting in my tiny sewing room?
Maximize natural light by placing your sewing machine near a window if possible. Supplement this with good task lighting, like an adjustable desk lamp, directed at your sewing area and cutting mat. Avoid overhead lights that can create shadows.
Is a pegboard truly helpful for a small sewing space?
Yes, a pegboard is incredibly useful for small spaces. You can hang frequently used tools like scissors, rulers, and rotary cutters, keeping them off your work surface and within easy reach. It helps maintain an organized and clutter-free desk.
How often should I declutter my sewing room?
Aim for a small decluttering session weekly and a more thorough purge every 3-6 months. Regularly tidying up fabric scraps and putting away tools prevents overwhelming clutter from building up again.
Can I have dedicated zones in a very small sewing room?
Absolutely! Even in a small room, you can designate areas for sewing, cutting, and pressing. Use furniture placement and small markers, like a specific mat for cutting, to visually separate these zones and improve your workflow.
