
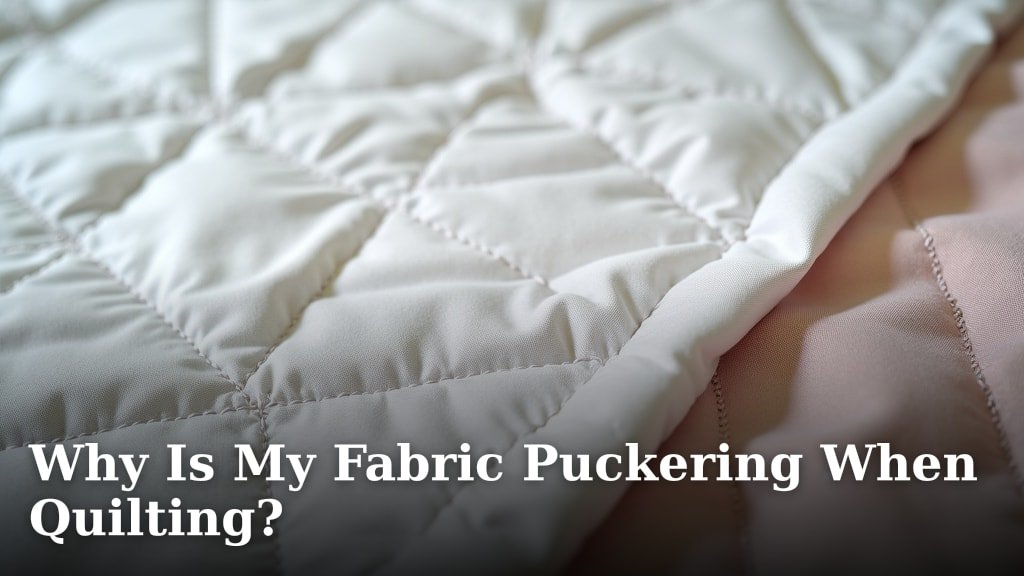
Your fabric is puckering when quilting primarily because of uneven tension between your top thread and bobbin thread, or because your fabric layers are shifting inconsistently. This common quilting problem often leaves you with wavy seams or bunched fabric.
We know how frustrating it is when your beautiful quilt top starts to look less-than-perfect. Fabric puckering can also be caused by using the wrong needle, incorrect stitch length, or even the type of batting you chose. Don’t worry, these issues are very common and usually easy to fix once you know the cause.
- Uneven thread tension.
- Fabric layers shifting.
- Incorrect needle choice.
- Stitch length issues.
- Batting type problems.
Let’s walk through why your fabric might be puckering and, more importantly, how you can fix it for smooth, beautiful quilting every time.
Understanding Fabric Puckering in Quilting
You’ve put in the time and effort, but now your quilt fabric looks a bit rumpled. What’s going on? Let’s uncover the main reasons why your fabric might be puckering when you quilt.
The Tension Tango: Top vs. Bobbin Thread
One of the most common culprits for puckering is uneven thread tension. Think of your sewing machine as a delicate balance. The top thread and bobbin thread need to meet perfectly in the middle of your fabric layers.
Too Tight Top Thread
If your top thread is too tight, it will pull the fabric upwards, creating little gathers or puckers on the surface. This often looks like a series of tiny mountains along your stitch line. It’s like a tug-of-war where one side is winning too easily.
Too Loose Bobbin Thread
Conversely, if your bobbin thread is too loose, the top thread pulls it to the surface of your quilt. You’ll see little loops of the bobbin thread on the top, and the fabric will look puckered from the lack of opposing tension. It’s not holding its own weight.
Balancing Your Tension
The key is balance. We find that a good starting point is to always test your tension on a scrap sandwich of your actual quilt fabrics and batting. Adjust your top tension dial incrementally until your stitches look even on both sides. If issues persist, you might need to check your bobbin tension, though this is less frequently adjusted (American Quilter’s Society).
Shifty Layers: Keeping Your Quilt Sandwich Still
Another major reason for puckering is your quilt layers shifting as you sew. Your quilt “sandwich” consists of the backing, batting, and quilt top. If these layers move independently, the fabric can stretch or bunch, leading to puckers.
Inadequate Basting
Basting is your best friend against shifty layers. Whether you use pins, spray, or thread basting, its purpose is to temporarily hold all three layers together. If you don’t use enough basting, or if your basting isn’t distributed evenly, you’ll likely see puckering.
- Pin Basting: Use safety pins every 3-4 inches, starting from the center and working your way out.
- Spray Basting: Use a temporary adhesive spray, ensuring full coverage to prevent bubbles and shifting.
- Thread Basting: Hand-stitch long, loose stitches across your quilt to hold the layers.
Quilting Direction and Speed
How you move your quilt through the machine also matters. Dragging, pushing, or stopping abruptly can cause fabric to distort. We’ve seen that maintaining a consistent speed and gently guiding your quilt (rather than forcing it) helps prevent puckers. Think of it like a dance – smooth, flowing movements.
Needle Nuisances: Choosing the Right Tool
The humble sewing needle plays a surprisingly big role in preventing puckering. Using the wrong needle can damage your fabric or fail to glide through the layers smoothly.
Needle Type and Size
Quilting needles have a slightly rounded or ballpoint tip that slides between the fabric threads rather than piercing them. This helps prevent damage and reduces resistance. We recommend using a quilting-specific needle, typically size 75/11 or 80/12. A needle that is too dull or too large for your thread can also contribute to puckering by creating larger, more visible holes.
Dull or Bent Needles
A dull needle struggles to penetrate the fabric, causing it to push and drag the material instead of piercing it cleanly. This can easily lead to puckering. Many quilters recommend changing your needle every 8-10 hours of sewing, or at the start of every new project. It’s a small change that makes a big difference.
Stitch Length Logic: Too Long or Too Short?
Your stitch length settings can significantly impact how your quilt looks. It’s not just about aesthetics; it’s about fabric integrity.
Stitch Length Too Short
When your stitches are too short, they essentially perforate the fabric too densely. This can cause the fabric to weaken along the stitch line, making it more prone to pulling and puckering. It’s like having too many holes too close together in a piece of paper – it tears easily. We often find that a stitch length of 2.5-3.0 mm is ideal for quilting.
Stitch Length Too Long
While less common for puckering, stitches that are too long can sometimes allow fabric to shift too much between stitches. This might not cause puckering directly but can lead to a less stable quilt that puckers later with wear and washing.
Batting’s Role: The Invisible Layer
Your batting, nestled between your quilt top and backing, also influences puckering. Different battings behave differently.
Batting Shrinkage
Some battings, especially those made from natural fibers like cotton or wool, are designed to shrink slightly when washed. This shrinkage can create the crinkled, puckered look many quilters love. However, if you’re aiming for a perfectly flat quilt and choose a high-shrinkage batting without pre-washing (or expect no shrinkage), you might be surprised by the “pucker.” If you prefer minimal shrinkage, look for pre-shrunk or synthetic battings.
Batting Type and Loft
The thickness (loft) and material of your batting can also affect how easily your machine can quilt through it. Very dense or very thick batting can create more resistance, potentially leading to puckering if your machine struggles or your tension isn’t adjusted accordingly.
| Puckering Cause | Appearance | Common Fix |
|---|---|---|
| Uneven Thread Tension | Wavy seams, loops on top/bottom | Adjust top tension dial; check bobbin. |
| Fabric Layers Shifting | Bunches, folds, or ripples in fabric | Increase basting (pins, spray); consistent quilting speed. |
| Incorrect Needle | Snagging, skipped stitches, visible holes | Use new quilting-specific needle (75/11 or 80/12). |
| Stitch Length Issues | Perforated-looking fabric (too short) | Set stitch length to 2.5-3.0 mm. |
| Batting Type | Overall crinkling after washing (shrinkage) | Choose pre-shrunk or synthetic batting for flat finish. |
Pre-Quilting Preparations: Setting Yourself Up for Success
Prevention is always better than a cure, especially in quilting. A little prep work goes a long way to avoid puckering.
Pressing Your Quilt Top
Before you even think about basting, give your quilt top a good press. Flat seams reduce bulk and help your fabric lay smoothly. Wrinkles or bulky seams can create small pockets where puckering can start.
Squaring Up Your Fabric
Ensure your backing fabric is squared up and larger than your quilt top and batting. This provides extra material to hold onto, preventing your main quilt from being stretched or distorted during quilting. Many quilters find that having a backing several inches larger on all sides is ideal.
Using a Walking Foot
If you’re machine quilting, a walking foot can be a game-changer. This specialized presser foot has its own set of feed dogs that grip the top layer of your quilt, moving it at the same rate as the bottom layers. This virtually eliminates shifting and goes a long way in preventing puckering. It’s like having an extra pair of hands guiding your fabric (Consumer Reports).
Your Puckering Prevention Checklist
Before you start your next quilting session, run through this quick checklist to minimize the chances of puckering:
- Test your thread tension on a scrap sandwich.
- Ensure adequate and even basting across your quilt.
- Install a fresh, sharp quilting needle.
- Set your stitch length to an appropriate size (2.5-3.0 mm).
- Press your quilt top thoroughly before basting.
- Consider using a walking foot for machine quilting.
By addressing these common issues, you’ll be well on your way to creating beautifully smooth, pucker-free quilts. Happy quilting!
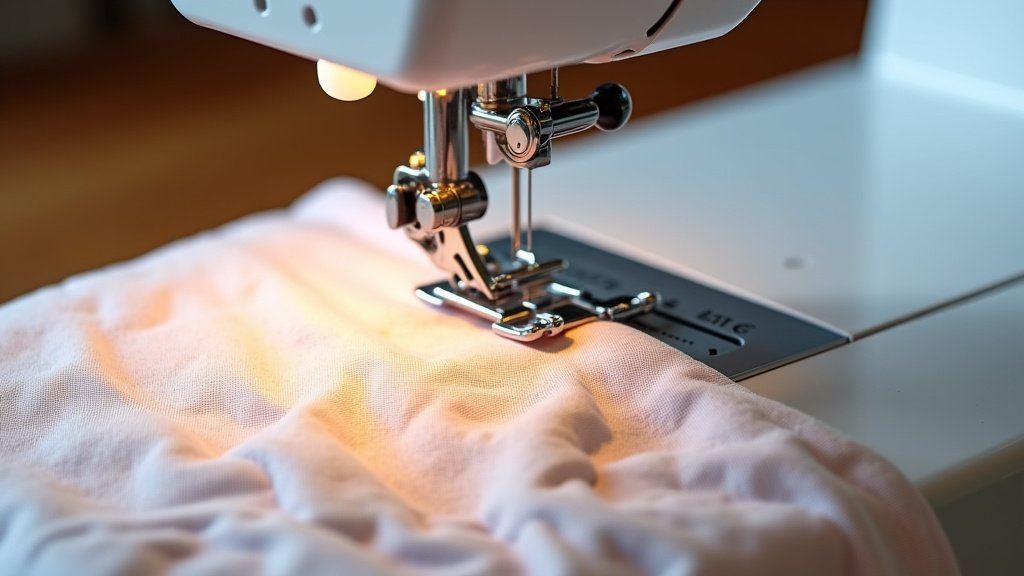
Conclusion
Dealing with fabric puckering can feel like a setback, but it’s a common hurdle for many quilters. By understanding the core reasons—like thread tension, shifting layers, or even your needle choice—you gain the power to fix them. Remember, quilting is a journey of learning and refinement. Don’t let a few puckers discourage you!
Take a deep breath, review your setup, and make those small, incremental adjustments. You’ll find that a little troubleshooting goes a long way toward creating the smooth, beautiful quilts you envision. Keep experimenting, keep practicing, and soon you’ll be quilting with confidence and precision.
Frequently Asked Questions
Why does my quilt pucker only on one side?
If puckering appears predominantly on one side, it often points to an uneven distribution of basting or inconsistent pressure while quilting. Check that your quilt layers are equally secured across the entire piece. You might also be putting more pressure on one side as you guide it through the machine.
Can using the wrong thread cause puckering?
Yes, using the wrong thread can contribute to puckering. Thread that is too thick for your needle or fabric can create bulk. Thread that is too weak might break or stretch unevenly, leading to stitch inconsistencies and fabric distortion.
How can I fix puckered fabric after I’ve already quilted it?
Fixing puckers after quilting can be tricky, but sometimes you can gently steam the area with an iron. This may relax the fibers and reduce the pucker’s prominence. For more severe puckers, you might need to carefully unpick the stitches in the affected area and re-quilt with adjusted settings.
Does washing a quilt help or worsen puckering?
Washing can either hide or accentuate puckering, depending on the cause. If your batting shrinks, it can create an all-over crinkled look that might camouflage minor puckers. However, if the puckering is due to severe fabric distortion or tension issues, washing might make it more noticeable or set the problem further.
Is it normal for my quilt to pucker a little bit when I’m just starting?
Absolutely, it’s very normal! Quilting takes practice, and puckering is a common experience for beginners. As you gain more experience with your machine, understanding tension, and mastering even fabric guidance, you’ll see puckers less and less. Don’t be discouraged; it’s part of the learning process.
