
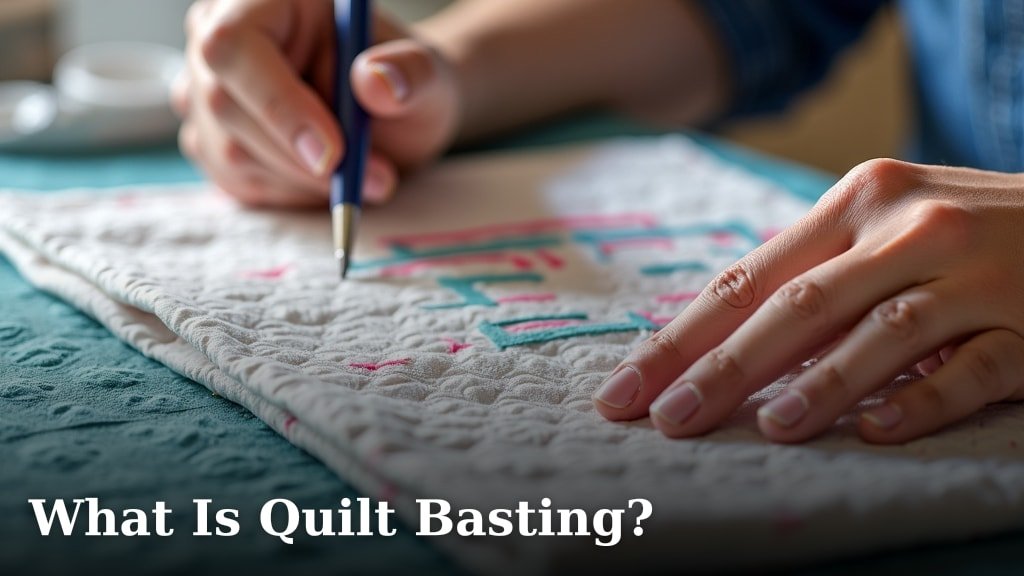
Quilt basting is temporarily holding together three layers of a quilt before you start the actual quilting. You are essentially making a "quilt sandwich" by securing the quilt top, the batting (the fluffy middle layer), and the backing fabric. This crucial step prevents your fabric layers from shifting around while you quilt.
Without proper quilt basting, you could end up with unwanted puckers and folds in your finished quilt. We found that quilters use several methods for basting, including pins, spray adhesive, or even long stitches called thread basting. The goal is always to create a smooth, stable surface for your quilting stitches.
- Quilt basting holds your quilt layers together.
- It prevents shifting and puckering.
- Common methods include pins, spray, or thread.
- It prepares your quilt for the actual stitching.
Let’s walk through everything you need to know about quilt basting, so your next quilting project is a breeze.
The Purpose of Quilt Basting
You’ve spent hours choosing fabrics and piecing your quilt top. You’ve prepared your backing. But why do you need to add an extra step before quilting? Simply put, basting is the glue that holds your quilt sandwich together.
Imagine trying to sew through three slippery layers of fabric that keep moving. It would be a frustrating mess! Basting ensures your quilt top, batting, and backing fabric stay perfectly aligned. This creates a stable foundation for your quilting stitches, making your work much easier and more enjoyable.
Why Basting Is So Important
Many quilters consider basting a non-negotiable step. We found it plays a critical role in achieving a professional-looking finish. Without it, you risk several common quilting pitfalls.
- Prevents Shifting: Your fabric layers can easily slide against each other. Basting locks them into place.
- Eliminates Puckering: Uneven tension or shifting layers lead to unsightly puckers. Basting keeps everything smooth.
- Ensures Even Stitches: A stable surface allows you to create consistent, beautiful stitches.
- Reduces Frustration: Basting makes the actual quilting process much less stressful.
Think of it like building a house. You wouldn’t skip the foundation, right? Basting is your quilt’s solid foundation. It sets you up for success before you even pick up your needle.
Preparing Your Quilt Layers for Basting
Before you begin basting, a little preparation goes a long way. This ensures your quilt sandwich is pristine and ready for its temporary bond. Taking these steps can save you time and headaches later.
First, make sure all your fabric pieces are pressed flat. Wrinkles in any layer can create bumps or uneven areas. A smooth start leads to a smooth finish.
Backing Fabric Preparation
Your backing fabric needs to be larger than your quilt top. Many experts suggest adding at least 4-6 inches extra on all sides (American Quilter’s Society). This gives you plenty of wiggle room when layering and prevents the backing from pulling in as you quilt.
If your backing fabric needs to be pieced, press the seams open or to one side. Make sure it's a nice, flat expanse. You want a seamless base for your quilt.
Batting Placement
The batting is the soft, fluffy middle layer. It’s what gives your quilt its warmth and dimension. Like the backing, your batting should also be larger than your quilt top. Again, aim for that extra 4-6 inches on each side.
Lay your batting out smoothly, making sure there are no wrinkles or folds. Some battings have a “right” side up, so check the manufacturer’s instructions. A well-placed batting will ensure even loft throughout your quilt.
Quilt Top Ready
Finally, your quilt top! This is the beautiful design you’ve worked so hard on. Give it a final press to remove any creases. Check for any loose threads or open seams. You want it to be perfectly square and flat.
Having a perfectly prepared quilt top means you won’t have to worry about adjusting it during the basting process. It’s ready to shine as the top layer of your sandwich.
Different Methods of Quilt Basting
There isn’t just one way to baste a quilt. We found that quilters often choose a method based on the size of their quilt, their personal preference, and the tools they have available. Each method has its pros and cons.
Let’s explore the most common ways you can baste your quilt. You might find one method feels more comfortable for you than others.
Pin Basting
Pin basting is a popular choice for many quilters, especially for medium to large quilts. It involves using special curved safety pins to hold the layers together. These pins are designed to go through all three layers easily.
How to Pin Baste
To pin baste, you’ll need a large, flat surface. Lay your backing fabric down first, smoothing it out and taping it securely to the surface. Next, place your batting smoothly on top of the backing. Finally, center your quilt top on the batting.
Start pinning from the center, working your way outwards. Aim for pins every 4-6 inches, creating a grid pattern. This ensures even distribution of tension. Many quilters find it helpful to use a kneeling pad for comfort (National Quilting Association).
Spray Basting
Spray basting uses a temporary adhesive spray to stick the layers together. This method is often favored for smaller projects or for quilters who dislike dealing with pins. It offers a very smooth, pin-free surface for quilting.
Tips for Spray Basting
When spray basting, work in a well-ventilated area. Lay your backing down and smooth it out. Fold back half of your batting, spray the exposed backing with adhesive, and then carefully smooth the batting onto it. Repeat for the other half.
Then, carefully fold back half of your quilt top, spray the exposed batting, and smooth the quilt top down. This method creates a seamless bond. We found it's best to use a light, even coat of spray, as too much can make your needle sticky.
Thread Basting
Thread basting involves using long, loose stitches to temporarily hold the layers. This is a traditional method, often chosen by hand quilters or those who want to avoid chemicals or pins. It’s labor-intensive but provides excellent control.
The Thread Basting Process
Similar to pin basting, start with your backing taped down, then batting, then quilt top. Using a long needle and strong thread (contrasting color is helpful), make large running stitches through all three layers.
Space your stitches about 2-3 inches apart. You can create a grid or diagonal lines. The goal is to create enough temporary stitches to keep everything secure. Many hand quilters appreciate the flexibility of thread basting (Quilt Alliance).
Comparing Basting Methods
To help you choose, here’s a quick comparison of the main basting methods:
| Method | Pros | Cons | Best For |
|---|---|---|---|
| Pin Basting | Inexpensive, reusable, good for all sizes. | Can be time-consuming, pins can get in the way of quilting. | Medium to large quilts, beginners. |
| Spray Basting | Quick, smooth surface, no pins to remove. | Requires ventilation, can be sticky, adhesive residue. | Small to medium quilts, machine quilters. |
| Thread Basting | No pins or chemicals, great for hand quilting, very flexible. | Most time-consuming, requires needle and thread. | Hand quilting, show quilts, intricate designs. |
Ultimately, the best method for you is the one that makes you feel most confident and comfortable. Don’t be afraid to try a few different ones to see what you prefer.
Troubleshooting Common Basting Issues
Even with careful preparation, you might encounter a few hiccups during the basting process. Don’t worry, these are common and usually easy to fix. The key is to address them before you start quilting.
Remember, basting is a temporary step. Its purpose is to make the next step easier. If something feels off, take a moment to adjust it.
Wrinkles and Bumps
If you notice wrinkles or bumps after basting, especially in the batting or backing, it means the layers weren’t perfectly smooth. This often happens if the fabric wasn’t stretched evenly or if a fold snuck in.
For pin basting, unpin the affected area, smooth it out, and repin. For spray basting, gently lift the layer, respray if needed, and smooth it back down. Thread basting requires removing the stitches and re-stitching. A smooth surface is essential for quality quilting.
Layers Shifting After Basting
Sometimes, even after basting, your layers might still shift. This indicates that your basting wasn’t dense enough. If you used pins, you might need more of them, placed closer together. For spray basting, perhaps you didn’t use enough adhesive.
If thread basting, your stitches might be too far apart. Adding more basting will help. It’s better to over-baste slightly than to have your layers move around during quilting. More basting equals more stability.
Your Basting Checklist
Before you dive into quilting, do a quick final check of your basted quilt. This ensures you haven’t missed anything important.
- Smoothness Check: Run your hands over the entire surface. Are there any bumps, wrinkles, or puckers?
- Edge Security: Are the edges of all three layers securely basted? No loose flaps?
- Pin Density (if applicable): Are pins evenly spaced, about 4-6 inches apart, throughout the quilt?
- Adhesion Check (if applicable): Gently tug at various spots. Do the layers feel securely bonded?
- Thread Integrity (if applicable): Are the basting stitches strong enough and not breaking?
- Overall Flatness: Does the quilt lie perfectly flat on your work surface?
Once you’ve given your basted quilt the green light, you are officially ready for the fun part: the actual quilting! You’ve laid a strong foundation, and your quilt is set for success.
Conclusion
You’ve seen how essential quilt basting is for a beautiful, long-lasting quilt. It’s the invisible hero that keeps your layers perfectly aligned, preventing those frustrating puckers and shifts. Whether you prefer the security of pins, the speed of spray, or the tradition of thread, there’s a basting method that fits your style and project.
Taking the time to baste properly truly sets your quilt up for success. We found that a little effort at this stage saves a lot of headaches later in the quilting process. Now that your quilt sandwich is stable and smooth, you’re ready to enjoy the creative journey of quilting. Go ahead, start stitching with confidence!
Frequently Asked Questions
Can I skip quilt basting?
While you technically can, we strongly advise against skipping basting. Your quilt layers will almost certainly shift and pucker during quilting, leading to a much less satisfying result. Basting provides the necessary stability for smooth, even stitches.
How long can I leave my quilt basted before quilting it?
For most methods, you can leave a quilt basted for several weeks or even months. If you use spray adhesive, its effectiveness might decrease over a very long period, and some sprays can leave residue if left too long. For pin or thread basting, storage in a dry, flat space is ideal.
What kind of pins should I use for pin basting?
You should use curved safety pins specifically designed for quilting. Their curved shape makes it easier to penetrate all three quilt layers without distorting the fabric. Standard straight pins can be difficult to insert and may not hold as securely.
How do I prevent my backing fabric from wrinkling during basting?
The best way to prevent wrinkles is to stretch and tape your backing fabric securely to a flat surface before adding the other layers. Ensure it’s taut but not overstretched. Smooth out any wrinkles as you go, working from the center outwards.
Is it better to machine baste or hand baste?
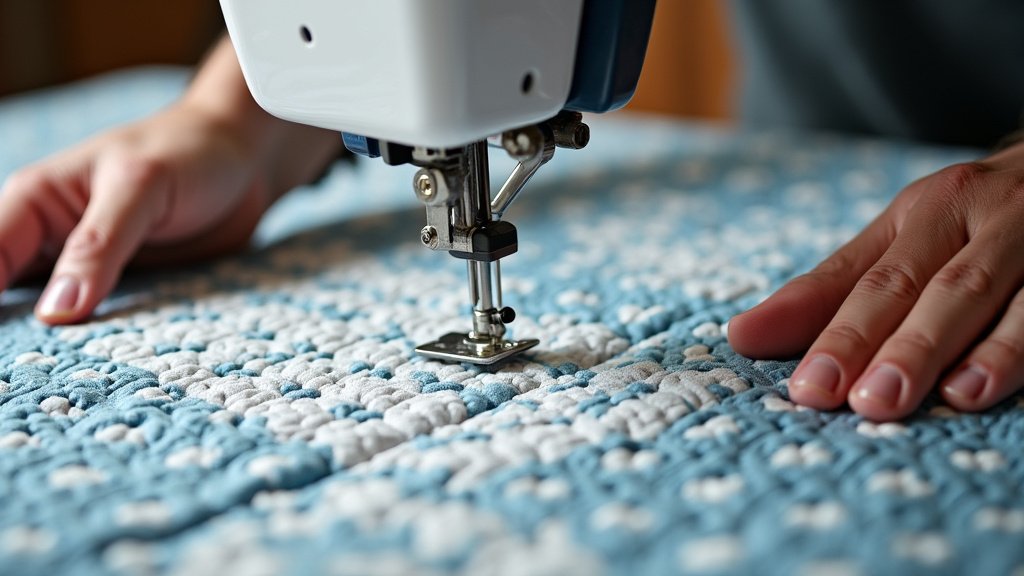
The “better” method depends on your preference and project. Machine basting (using long, wide stitches on your sewing machine) is quick for larger quilts. Hand basting (thread basting) offers more control and is often preferred by hand quilters or for very intricate designs where precision is key.
