
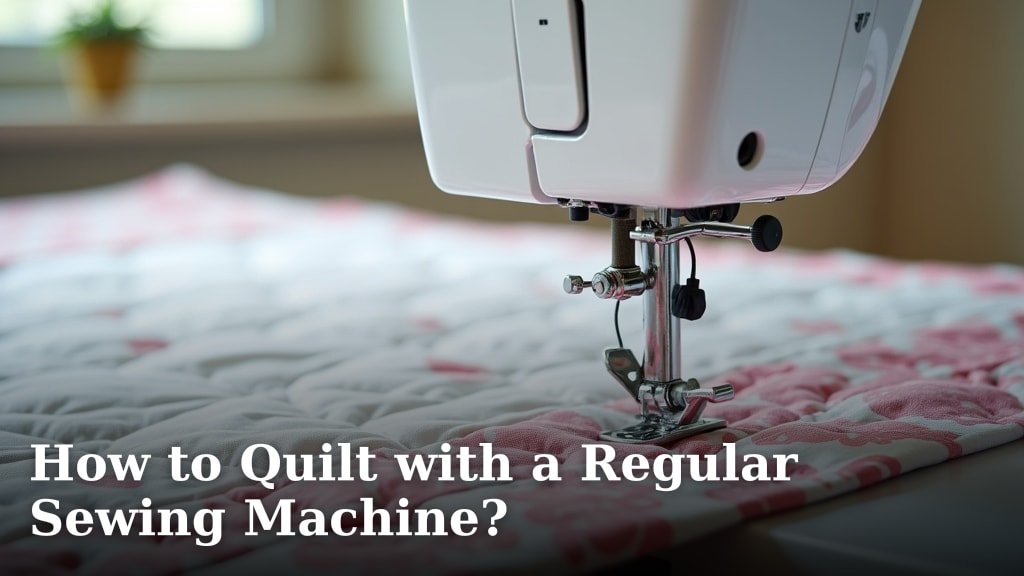
Yes, you can absolutely quilt with a regular sewing machine! You don’t need a fancy, expensive long-arm machine to create beautiful quilts. With a few simple adjustments and the right techniques, your standard home sewing machine is perfectly capable of handling quilting projects.
Many quilters start their journey just like you, using the machine they already own. It’s all about understanding your machine’s capabilities and learning some key quilting methods. You can produce stunning results, from small wall hangings to larger bed quilts, right in your own sewing space.
- No special machine needed to quilt.
- Your regular sewing machine will work great.
- Learn a few simple techniques.
- Adjust your machine settings easily.
- Start quilting beautiful projects today!
Ready to turn your everyday sewing machine into a quilting powerhouse? Let’s walk through everything you need to know to start quilting with confidence.
Setting Up Your Standard Sewing Machine for Quilting
Transforming your everyday sewing machine into a quilting pro is easier than you think. It just takes a few adjustments and perhaps a couple of accessories to get started.
Understanding Your Machine’s Capabilities
Every sewing machine, even the most basic model, can handle some quilting tasks. The key is to know what your machine can do before you begin. Does it have adjustable stitch length and width? Can you drop the feed dogs?
Most modern machines offer these features. Even if your machine is older, you might be surprised by its versatility. We found that many home sewing machines can manage straight-line quilting and even simple free-motion quilting with the right setup.
Essential Attachments and Accessories
While you don’t need a new machine, some tools make quilting much smoother. Think of these as upgrades for your existing setup.
Choosing the Right Presser Feet
Your standard presser foot might work for piecing, but quilting often benefits from specialized feet.
- Walking Foot (Even-Feed Foot): This is often considered your best friend for straight-line quilting. It helps feed all layers of your quilt (top, batting, backing) evenly through the machine. This prevents puckering and shifting, resulting in a much smoother finish. Many quilters agree this is often the most important accessory you can buy for machine quilting.
- Darning Foot / Free-Motion Quilting Foot: This foot doesn’t touch the fabric surface; instead, it hovers just above it. This allows you to move your fabric freely in any direction, which is essential for free-motion quilting designs. It usually looks like a small open circle or a spring-loaded C-shape.
- 1/4-inch Seam Foot: While not strictly for quilting the layers together, this foot is incredibly helpful for accurately piecing your quilt top. It ensures consistent seam allowances, making your blocks fit together perfectly.
Needles and Thread for Quilting
Using the correct needle and thread can prevent a lot of frustration. It makes a big difference in the final look and durability of your quilt.
- Needles: For quilting, a sharp needle is usually recommended. A size 90/14 or 80/12 universal or quilting needle often works well. A sharp needle pierces through multiple layers of fabric and batting without snagging.
- Thread: Good quality cotton thread is a popular choice for quilting because it’s strong and blends well with cotton fabric. Polyester threads are also very durable. You’ll want a thread that is strong enough to hold your quilt together but fine enough not to add bulk.
Preparing Your Quilt Sandwich for Machine Quilting
Before any sewing can begin, you need to properly prepare your quilt sandwich. This critical step ensures your quilt lays flat and smooth, making the actual quilting process much easier.
Understanding the Quilt Layers
A quilt is typically made of three layers. Knowing their purpose helps you create a stable foundation.
- Quilt Top: This is the decorative, pieced fabric you’ve lovingly created. It’s the face of your quilt.
- Batting: This is the middle layer, providing warmth and dimension. Batting comes in various materials like cotton, polyester, wool, or blends. Each type offers different loft (thickness) and drape.
- Quilt Backing: This is the fabric layer on the very bottom. It can be a single piece of wide fabric or pieced together from standard width fabrics.
Many quilters recommend that both your batting and backing material be at least 4-6 inches larger than your quilt top on all sides. This extra margin gives you room to maneuver and helps you avoid running out of backing or batting during quilting (National Quilting Association guidelines).
Basting Your Quilt Layers Together
Basting is the process of temporarily securing the three layers of your quilt together. This prevents shifting and puckering while you quilt. Think of it like pinning fabric before you sew a garment. There are a few popular methods:
Pin Basting
This is a widely used and very effective method. You’ll need curved safety pins, which are easier to open, close, and push through multiple layers.
- Lay your backing fabric face down on a clean, flat surface (floor, large table). Tape it down securely with painter’s tape to keep it taut.
- Place your batting smoothly on top of the backing, centering it.
- Finally, center your quilt top right-side up on top of the batting. Smooth out any wrinkles.
- Start pinning from the center, working your way out. Place pins about every 4-6 inches. Many quilters say “the more pins, the better!” (The Modern Quilt Guild recommends this).
Spray Basting
For some, spray basting is a faster and less cumbersome option. This method uses a temporary fabric adhesive.
- Follow the same layering steps as pin basting.
- Lightly lift and fold back one half of your quilt top and batting.
- Spray a thin, even layer of temporary adhesive onto the backing.
- Carefully smooth the batting and then the quilt top back down onto the sprayed area.
- Repeat for the other half. Make sure to do this in a well-ventilated area.
Some quilters combine these methods, using spray basting for stability and a few pins for extra security, especially on larger quilts. Choose the method that feels most comfortable and secure for you.
Techniques for Quilting with Your Home Machine
Now that your quilt sandwich is ready, it’s time for the fun part: adding the actual quilting stitches! Your regular sewing machine offers several ways to do this beautifully.
Straight-Line Quilting
This is a fantastic starting point for beginners. You simply sew straight lines across your quilt. It’s elegant, classic, and surprisingly versatile.
- Using Your Walking Foot: Attach your walking foot. Set your stitch length to a slightly longer setting than for piecing – often 2.5 to 3.5mm works well. This longer stitch helps prevent pulling and looks nice on quilts.
- Stitching Guidelines: You can quilt straight lines parallel to the seams of your pieced blocks. You can also use painter’s tape or a washable fabric marker to draw guide lines directly on your quilt top. Some walking feet even come with guides that attach to help you keep lines evenly spaced.
- Quilting Direction: Start quilting from the center of your quilt and work your way outwards. This helps push any excess fabric towards the edges, minimizing puckers. You can quilt vertically, horizontally, or diagonally.
Free-Motion Quilting (FMQ)
This technique allows you to draw designs directly onto your quilt with thread. It’s like doodling with your sewing machine. It takes practice, but it’s incredibly rewarding.
Setting Up for FMQ
Before you begin, adjust your machine settings. Your regular sewing machine can absolutely do this.
- Drop Your Feed Dogs: This is crucial! Dropping the feed dogs allows you to move your fabric freely in any direction you choose. If your machine doesn’t have a switch to drop them, you might be able to cover them with a “feed dog cover plate.”
- Attach Darning/FMQ Foot: Replace your standard foot with your free-motion quilting foot.
- Lower Tension (Slightly): You might need to slightly lower your top thread tension. Test on a practice sandwich first.
- Extend Stitch Length (Trick): Although your feed dogs are down, you often start with a longer stitch length setting (like 3 or 4mm). This can sometimes help with thread tension.
- Gloves: Quilting gloves (with grippy fingertips) help you hold and move the quilt sandwich more easily without hand fatigue. They are a big help for maintaining control.
FMQ Practice and Design Ideas
Don’t jump straight into your masterpiece. Practice makes perfect!
- Practice Sandwich: Grab some scrap fabric, batting, and backing to create a small practice sandwich. This allows you to experiment with designs and machine tension without risking your main project.
- Simple Designs to Start: Begin with basic shapes like loops, stippling (a popular all-over texture that looks like puzzle pieces), or wavy lines. These patterns are forgiving and help you get a feel for guiding the quilt.
- “Drawing” with Your Machine: Remember, you are now the one moving the fabric to create the stitch length and direction. Keep your movements smooth and consistent. Speed up your machine gradually as you gain confidence, but don’t go too fast or too slow.
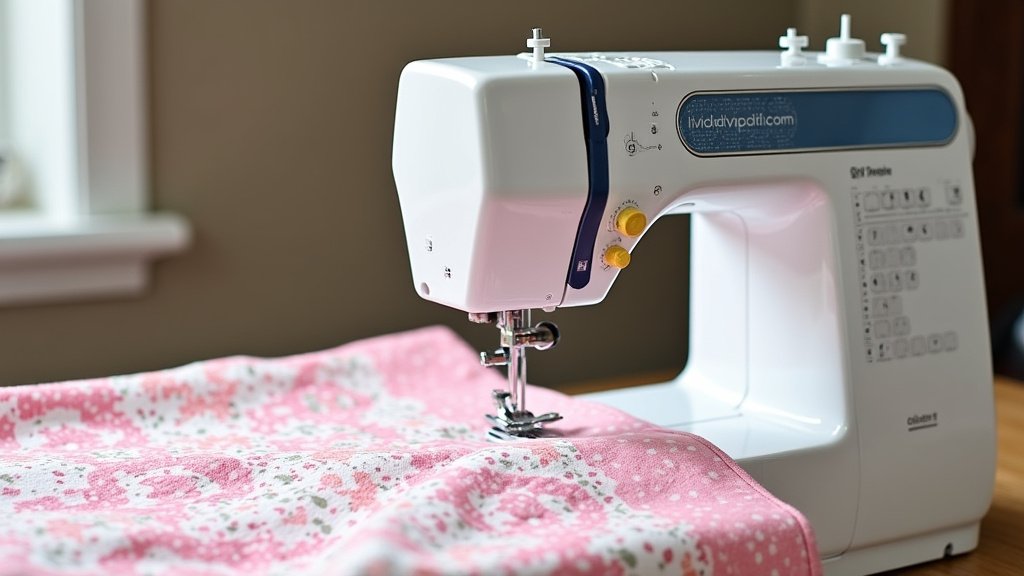
Troubleshooting Common Quilting Issues
Even experienced quilters encounter challenges. Don’t get discouraged if something doesn’t look quite right. Many common problems have simple solutions.
Skipped Stitches and Thread Breaks
These issues can be incredibly frustrating during your quilting journey.
Check Your Needle: Is your needle new and sharp? A dull or bent needle can cause skipped stitches and thread breaks. Replace it every 8-10 hours of sewing, or when you begin a new project. Is it inserted correctly? (Singer recommends this frequently).
Rethread Your Machine: Sometimes, a tiny bit of lint or incorrect threading can cause problems. Completely rethread your machine, both top and bobbin. Make sure your presser foot is up when you rethread the top thread to ensure it seats properly in the tension discs.
Adjust Tension: Top thread tension might be too tight or too loose. Test on a scrap piece. Adjust bit by bit until stitches look balanced on both sides.
Quality Thread: Use good quality thread. Cheap thread can be weak and more prone to breaking.
Puckering and Uneven Stitches
Puckers often happen when layers aren’t moving through the machine evenly. Uneven stitches can indicate a control issue.
Basting Check: Is your quilt sufficiently basted? Is there enough batting and backing extending beyond the quilt top? More pins or more spray adhesive can often solve puckering issues, especially on larger projects (Quilters Guild of America advice).
Walking Foot Usage: Ensure you are using your walking foot for straight-line quilting. It’s designed to prevent these exact issues. If you are using it, is it correctly installed?
Even Movement (FMQ): For free-motion quilting, practice keeping your hands moving at a consistent speed, matching the machine’s speed. Fast machine, fast hands. Slow machine, slow hands. This consistency helps create even stitches.
Support Your Quilt: Don’t let your quilt hang heavily off your machine. Support its weight with your hands, a table extension, or even a chair pushed up close. The weight of the quilt can drag and cause issues.
Here’s a quick checklist to help diagnose common issues:
- Is your needle new and the correct type?
- Have you rethreaded your machine, top and bobbin?
- Are your tension settings balanced?
- Is your quilt well-basted with no loose areas?
- Are you using the correct presser foot for your technique?
Remember, quilting is a skill that improves with practice. Be patient with yourself, embrace the learning process, and celebrate every stitch. You’ve got this!
Conclusion
You now know that your regular sewing machine is a powerful quilting tool. With the right accessories, like a walking foot, and a few simple technique adjustments, you can achieve beautiful results. We’ve walked through setting up your machine, preparing your quilt sandwich, and mastering both straight-line and free-motion quilting. Don’t let the lack of a specialized machine stop your quilting dreams.
You have everything you need to start. Grab some fabric scraps, practice the techniques, and watch your quilting confidence grow. Your next stunning quilt is waiting for you to create it!
Frequently Asked Questions
What’s the absolute minimum I need to start quilting with my regular machine?
The essentials include a walking foot for straight-line quilting, sharp needles, good quality thread, and curved safety pins for basting. These items will help you manage the multiple layers of a quilt effectively with your standard machine.
Can I quilt a large bed-sized quilt on my home sewing machine?
Yes, you definitely can! It requires a bit more planning and management of the fabric bulk. Support the quilt’s weight with a large table or chair to avoid strain on your machine and to prevent puckering.
How do I know if my sewing machine can drop its feed dogs for free-motion quilting?
Check your machine’s manual first for a lever or switch. If it doesn’t have one, research your model online. Many older machines can use a “feed dog cover plate” snapped over the feed dogs to achieve the same effect.
What’s the best type of batting for a beginner quilter using a regular machine?
We’ve found that 100% cotton batting with a medium loft works well. It’s easy to needle through, provides a nice drape, and stabilizes your quilt sandwich without being too thick or bulky for your sewing machine.
How often should I clean my sewing machine when quilting?
Quilting produces more lint due to the batting. We recommend cleaning your bobbin case and under the needle plate after every 2-4 hours of quilting. Regular cleaning prevents tension problems and keeps your machine running smoothly.
