
The easiest way to bind a quilt by machine is to use a double-fold binding strip, sew it to the front of your quilt, and then wrap it around to the back for a final stitch. This method creates a durable and clean finish, perfect for beginners and experienced quilters alike. You’ll quickly get smooth edges when you bind a quilt by machine.
Are you tired of hand-sewing quilt bindings? Many quilters find machine binding to be a faster, more efficient, and often more consistent method. It’s ideal for quilts that need to stand up to frequent use or washing. We found that machine binding offers a practical solution for most projects, especially when time is a factor.
- Prepare your quilt edges correctly.
- Cut your binding strips precisely.
- Attach the binding to the quilt front.
- Wrap and secure the binding to the back.
- Stitch the final binding in place.
You’re about to learn exactly how to approach this task with confidence. We’ll guide you through each step, making the process simple and enjoyable.
Mastering Machine Quilt Binding
You can create a beautiful, durable finish for your quilts by using your sewing machine for the binding. This method saves time and often results in a more consistent stitch than hand binding. Let’s get began.
Gathering Your Essential Supplies
Before you start, make sure you have everything ready. This prevents interruptions and makes the process smoother. Think of it like packing for a trip; you want all your essentials.
What You’ll Need
You don’t need many fancy tools, just the basics. Having these items close by will make a big difference. We found that preparation is key to a successful binding.
- Fabric for Binding: Usually about 1/2 yard, depending on quilt size.
- Rotary Cutter and Mat: For precise, straight cuts.
- Quilting Ruler: A long, clear one is best.
- Coordinating Thread: Match it to your binding fabric for a clean look.
- Sewing Machine: Of course! With a walking foot if you have one.
- Sharp Scissors: For trimming threads.
- Pins or Wonder Clips: To hold the binding in place.
- Iron and Ironing Board: Very important for crisp folds.
Preparing Your Quilt and Binding Strips
The foundation of a good binding is a well-prepared quilt and accurately cut strips. Don’t skip these first steps; they truly make a difference in your final product.
Trimming Your Quilt Edges
First, ensure your quilt top, batting, and backing are squared up. Use your rotary cutter and ruler to trim all four edges straight and even. Many experts say this step is vital for a smooth binding application (American Quilter’s Society). A messy edge will only lead to a messy binding, so take your time here.
Cutting Your Binding Fabric
You’ll want to cut your binding strips from the fabric you chose. For most quilts, a 2.5-inch width works well. This creates a standard double-fold binding. How many strips do you need? Measure the perimeter of your quilt and add an extra 10-12 inches for joining and overlap.
Example: A 60×80 inch quilt has a perimeter of (60+80) x 2 = 280 inches. If your fabric is 42 inches wide, you’ll need 280 / 42 = 6.66 strips, so cut 7 or 8 strips to be safe. We found that having an extra strip is better than running out midway.
Joining Binding Strips Together
Now, sew your binding strips end-to-end to create one long continuous strap. Place two strips right sides together, perpendicularly, forming an “L” shape. Stitch from corner to corner diagonally. Trim the excess fabric to a 1/4-inch seam, then press your seams open. This creates a less bulky join. Repeat until all your strips are joined.
Attaching the Binding to Your Quilt
This is where your binding starts to take shape. You’ll attach the binding to the front of your quilt first. We find this method to be the most beginner-friendly and forgiving.
Starting the Attachment Process
Begin by leaving an unsewn tail of about 10-12 inches at the start. You’ll use this later to join the ends. Align the raw edge of your binding strip with the raw edge of your quilt front. Use pins or clips to hold it in place. Many quilters like to start along one of the longer sides of the quilt. This position often feels more natural.
Stitching the Straight Edges
Using your sewing machine, stitch the binding to the quilt with a 1/4-inch seam allowance. Keep your seam allowance consistent! This is critical for neat corners and an even binding. A walking foot can be very helpful here, as it feeds all layers through your machine evenly. Go slow and steady.
Navigating the Corners
When you approach a corner, stop stitching 1/4 inch from the edge of the quilt. Backstitch a few stitches. Remove the quilt from your machine. Fold the binding strip straight up, creating a 45-degree angle. Then, fold the binding strip back down, aligning its raw edge with the next quilt edge. This creates a mitered corner. Pin it in place, then resume stitching from the folded edge with a 1/4-inch seam. Repeat for all four corners.
Joining the Binding Ends
Once you’ve stitched almost all the way around, you’ll have two unsewn tails. It’s time to join them neatly. This creates a continuous, unbroken binding.
Trimming and Overlapping
Lay your quilt flat. Overlap the two binding tails by about 2.5 to 3 inches (or the width of your binding strip). Trim away the excess from both tails so that they overlap perfectly. You can mark one tail, then lay the second tail over it, marking where it needs to be cut. We often use a ruler to make sure the overlap is precise.
| Overlap Method | Description | Best For |
|---|---|---|
| Standard Overlap | Ends overlap by binding width, then joined with a diagonal seam. | Most quilters, clean finish. |
| Butt Joint | Ends trimmed to meet, then joined with a straight seam. | Quick, but can be a bit bulkier. |
Sewing the Ends Together
Unfold the tails. Place them right sides together, at a 90-degree angle, just like you did when joining the initial strips. Stitch diagonally from corner to corner. Trim the seam to 1/4 inch and press it open. This creates a mitered join for a smooth, less bulky finish. Now, lay the joined binding back against the quilt and finish stitching the last unsewn section.
Finishing the Binding on the Back
Now for the final step! You’ve attached the binding to the front, and now you want to secure it to the back. This is where your machine binding really shines.
Pressing and Folding
Take your quilt to the ironing board. Press the binding away from the quilt top. Then, wrap the binding around to the back of the quilt. The raw edge of the binding is now neatly enclosed. Use pins or clips to hold it in place. Ensure the binding covers your previous stitch line on the back. This hides your first seam, creating a very clean look.
Stitching the Final Seam
From the front of your quilt, stitch ‘in the ditch’ of your seam where the binding meets the quilt top. This means sewing in the crease. Your stitches should catch the folded binding on the back. You’ll want to use thread that blends with your binding fabric (or quilt, if you preferred) so the stitches disappear. Practice on a scrap if you’re unsure. A quilting tip: if you use a thread color that matches your binding, it will be less noticeable on the back if you don’t perfectly catch the edge.
Consider using a decorative stitch for this final step if you want a different look. However, for a simple and clean finish, ‘stitch in the ditch’ or just outside the ditch is generally preferred. You’re almost done!
Checklist for Success
Here’s a quick reminder of the key steps to make sure your machine binding turns out perfectly:
- Trim quilt edges square and even.
- Cut binding strips at a consistent width (2.5 inches recommended).
- Join binding strips with diagonal seams, pressed open.
- Leave a long tail at the start for joining ends.
- Use a 1/4-inch seam allowance for attaching binding to the front.
- Miter corners neatly before continuing to stitch.
- Join binding ends with a diagonal seam for a smooth finish.
- Wrap binding to the back, covering the previous stitch line.
- Stitch “in the ditch” from the front to secure the binding on the back.
Conclusion
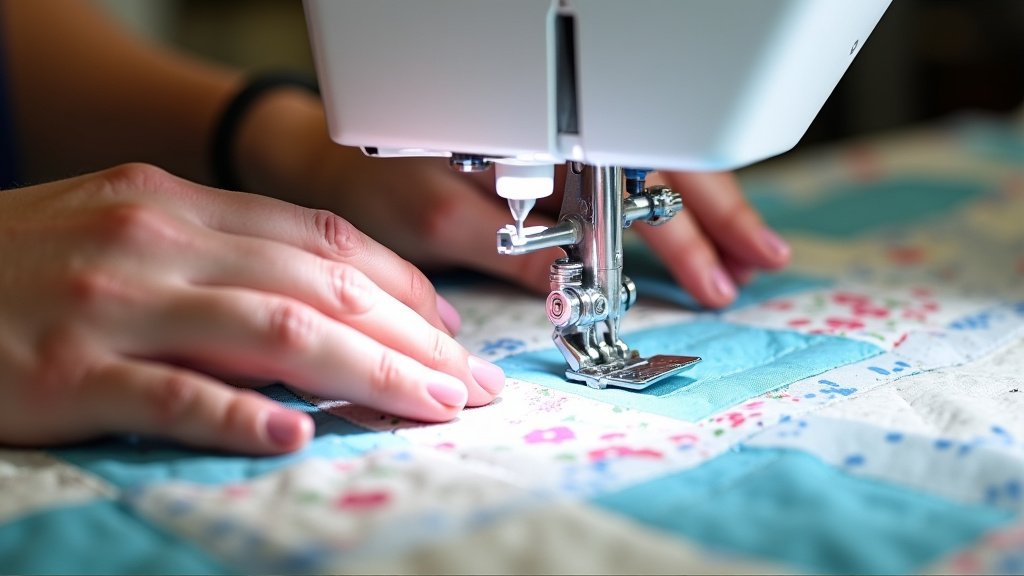
Congratulations! You’ve learned how to bind a quilt by machine, transforming what can seem like a daunting task into a rewarding one. You now have the skills to create a clean, durable finish on any quilt, saving time and ensuring a consistent look. We’ve walked through prepping your quilt, cutting and joining your strips, attaching them with precise seams, and neatly finishing the back.
Practice makes perfect with machine binding. Don’t be afraid to try it on a smaller project first. Soon, you’ll be confidently binding quilts of all sizes, giving them that polished, professional touch you’ve always wanted. Grab your machine and give it a go!
Frequently Asked Questions
What if my machine binding looks messy on the back?
If the back looks messy, it’s often because your final stitch from the front didn’t consistently catch the folded binding on the back. Try stitching slightly closer to the edge of the ditch on the front, ensuring your needle penetrates enough to secure the back. Using plenty of pins or clips to hold the binding securely in place on the back before that final stitch can also help immensely.
Can I use a wider binding strip than 2.5 inches?
Yes, you certainly can! A 2.5-inch strip is common, but you might prefer a 2.25-inch strip for a narrower binding or a 2.75-inch strip for a slightly wider one. Just be aware that a wider strip will result in a more prominent binding edge on your quilt. Adjust your seam allowances and folding accordingly to maintain a consistent look.
Is a walking foot necessary for machine binding?
While not strictly necessary, a walking foot is highly recommended, especially for beginners. It helps feed all layers of your quilt and binding through the machine evenly, preventing stretching or puckering. If you don’t have one, go slowly and support the weight of your quilt as you sew to minimize drag.
How do I prevent bulky corners with machine binding?
Bulky corners are a common concern. The key is in how you miter them at the stitching stage and then when you fold the binding to the back. When you fold to the back, ensure the corner fabric is neatly tucked in, creating a crisp 45-degree angle. Trimming excess fabric from the point of the mitered corner before folding can also reduce bulk.
What type of fabric is best for binding?
Quilting cotton is usually the best choice for binding due to its durability and ease of handling. It’s stable, presses well, and holds its shape. Avoid stretchy fabrics like knits, as they can be very challenging to sew straight and evenly around a quilt edge.
