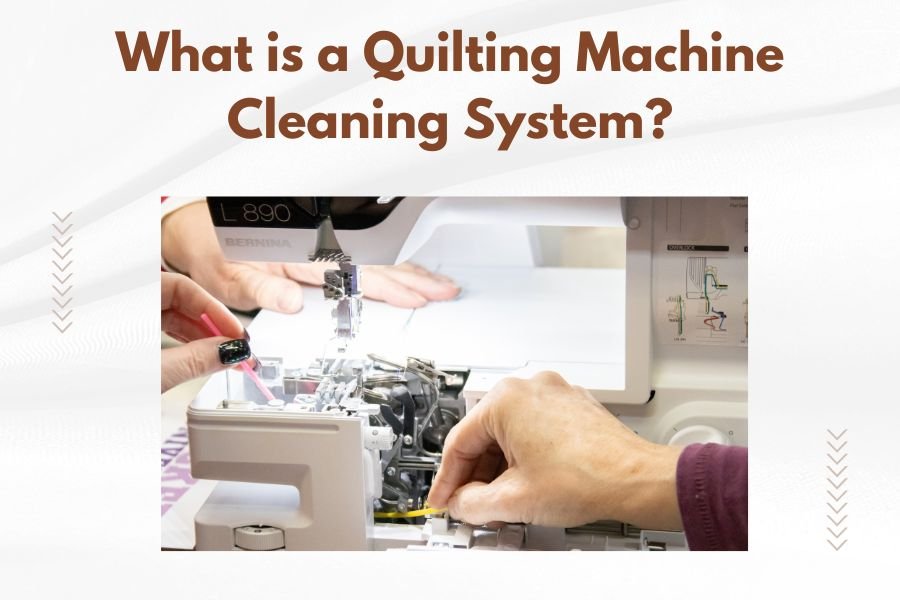
A quilting machine cleaning system is a specialized maintenance toolkit designed to keep your quilting machine running smoothly by removing lint, dust, and oil buildup from internal mechanisms.
Most quilting machine cleaning systems include brushes, compressed air tools, cleaning solutions, and detailed instructions to help you maintain your machine properly at home.
Why Your Quilting Machine Needs Regular Cleaning
Think of your quilting machine like a car engine. You wouldn’t drive 10,000 miles without an oil change, right? Your quilting machine works just as hard, moving thousands of stitches per minute.
Every time you quilt, tiny fabric fibers break off and settle inside your machine. Thread creates microscopic lint. Oil attracts dust. All this buildup clogs your machine’s moving parts.
What Happens When You Skip Cleaning
I found that dirty quilting machines cause several problems. Your stitches become uneven. Thread breaks more often. The machine makes strange noises or runs slower.
Some quilters I know have paid hundreds in repair costs. All because lint jammed their tension discs or clogged their feed dogs.
Essential Components of a Cleaning System
A complete quilting machine cleaning system contains several key tools. Each one targets different areas of your machine.
Cleaning Brushes and Tools
Small brushes reach tight spaces around your bobbin case and feed dogs. Most systems include both stiff and soft bristle brushes.
- Stiff brushes remove packed lint
- Soft brushes clean delicate mechanisms
- Angled brushes reach curved areas
- Long-handled brushes access deep spaces
Specialized Cleaning Picks
Plastic picks help you remove stubborn lint without scratching metal parts. They’re safer than using tweezers or needles.
Compressed Air Solutions
Canned air blows lint out of places brushes can’t reach. Some cleaning systems include small air compressors or hand-pumped air tools.
Always use short bursts of air. Too much pressure can push lint deeper into your machine.
Air Flow Direction Matters
Blow air from inside the machine outward. This pushes lint away from internal mechanisms instead of deeper inside.
Cleaning Solutions and Lubricants
Special cleaning fluids dissolve old oil and remove sticky residue. Most systems include both cleaners and fresh lubricating oil.
Never use household cleaners on your quilting machine. They can damage plastic parts or leave residue that attracts more dirt.
Types of Quilting Machine Cleaning Systems
You can choose from basic maintenance kits or professional-grade cleaning systems. Each has different tools and price points.
| System Type | Typical Contents | Best For |
|---|---|---|
| Basic Kit | Few brushes, lint pick, oil | Occasional quilters |
| Standard System | Multiple brushes, air can, cleaning fluid | Regular quilters |
| Professional Kit | Complete tool set, multiple oils, storage case | Heavy users, longarm machines |
Brand-Specific Cleaning Kits
Many quilting machine manufacturers sell cleaning systems designed for their machines. These kits include tools sized for specific models.
Universal cleaning systems work with most machines but might not fit perfectly in all areas.
Longarm Machine Systems
Longarm quilting machines need larger cleaning systems. They have more areas to clean and use different types of lubricants.
How to Use Your Cleaning System Properly
Cleaning your quilting machine isn’t difficult, but you need the right approach. Follow these steps for best results.
Before You Start Cleaning
Turn off your machine and unplug it. Remove the needle, presser foot, and throat plate. Take out the bobbin and bobbin case.
Good lighting helps you see lint buildup clearly. Use a desk lamp or flashlight to illuminate dark corners.
Safety First
Never clean a plugged-in machine. Moving parts can start unexpectedly and cause injury.
Step-by-Step Cleaning Process
Start with the bobbin area since this collects the most lint. Use your brush to remove visible debris from the bobbin case housing.
Clean the feed dogs next. These metal teeth grab fabric during quilting and catch lots of lint between their points.
Working Your Way Outward
Clean internal areas first, then work toward the outside of your machine. This prevents pushing dirt into already-clean areas.
When to Apply Oil
Only oil areas specified in your machine manual. Too much oil attracts dirt and can damage electronic components.
Use tiny drops of oil. One drop goes a long way on precision machine parts.
Let Oil Settle
Wait 10-15 minutes after oiling before using your machine. This gives oil time to penetrate moving parts.
How Often Should You Clean Your Machine
Cleaning frequency depends on how much you quilt and what materials you use. Heavy quilters need more frequent maintenance.
Daily Quilting Schedule
If you quilt every day, clean your bobbin area weekly. Do a complete cleaning monthly.
Batting creates more lint than regular fabric. Dark threads show lint buildup more easily than light colors.
Signs Your Machine Needs Cleaning
- Visible lint around the bobbin case
- Thread breaking more often
- Uneven stitch quality
- Machine running louder than normal
- Skipped stitches
Occasional Quilting Schedule
Weekend quilters can clean every 2-3 months. But check your bobbin area after each project.
Some fabrics create more lint than others. Flannel and loosely woven cottons shed more fibers.
Choosing the Right Cleaning System
Your quilting habits and machine type determine which cleaning system works best. Consider these factors before buying.
Machine Type Considerations
Computerized machines have more sensitive parts than mechanical models. They need gentler cleaning tools and specific lubricants.
Vintage machines often need different oils than modern machines. Check with your dealer about compatibility.
Size and Storage
Large cleaning kits offer more tools but take up more space. Choose a system that fits your storage area.
Budget and Value
Basic cleaning kits cost less upfront but may not include all the tools you need. Professional systems cost more but last longer.
Calculate cost per use rather than just initial price. A quality system used for years costs less per cleaning than cheap tools you replace often.
Common Cleaning Mistakes to Avoid
Many quilters make simple mistakes that can damage their machines. Here’s what to watch out for.
Using Wrong Cleaning Products
Household cleaners can damage plastic parts or leave residue. Stick to products made for sewing machines.
WD-40 and 3-in-1 oil aren’t suitable for quilting machines. They’re too thick and attract dirt.
Over-Oiling Your Machine
More oil doesn’t equal better performance. Excess oil drips onto fabric and attracts lint faster.
Pushing Lint Deeper
Aggressive cleaning can push lint into areas you can’t reach. Use gentle motions and work from inside out.
Compressed air used incorrectly blows debris deeper into your machine instead of removing it.
Professional vs. DIY Cleaning
You can handle basic cleaning at home, but some maintenance requires professional service. Know when to call for help.
What You Can Do at Home
Regular lint removal, basic oiling, and exterior cleaning are perfect DIY tasks. Your cleaning system handles these jobs well.
Most quilting machine problems come from lack of basic maintenance, not mechanical failures.
When to Call a Professional
Strange mechanical noises, timing issues, or electronic problems need professional attention. Don’t try to fix these yourself.
Annual professional servicing keeps your machine running smoothly between your regular cleanings.
Maintaining Your Cleaning System
Your cleaning tools need care too. Clean brushes work better and last longer than dirty ones.
Caring for Brushes and Tools
Wash brushes with warm soapy water after use. Rinse completely and let them air dry.
Replace brushes when bristles become bent or fall out. Worn brushes don’t clean effectively.
Storing Your Kit
Keep cleaning supplies in a dry place away from extreme temperatures. Oil can thicken in cold conditions.
Conclusion
A quilting machine cleaning system is your best investment for keeping your machine running smoothly. Regular cleaning prevents expensive repairs and keeps your stitches looking perfect.
Choose a system that matches your quilting frequency and machine type. Start with basic maintenance every few weeks, and you’ll be amazed how much better your machine performs.
Remember, prevention is easier than repair. A few minutes of cleaning saves hours of frustration and potentially costly service calls.
What’s the difference between machine oil and household oil?
Machine oil is specially formulated to stay clean and flow properly in precision mechanisms. Household oils like 3-in-1 are too thick and attract dirt, which can damage your quilting machine over time.
Can I use compressed air from my garage compressor?
Garage air compressors often contain moisture and oil that can damage your machine. Use clean, dry compressed air specifically designed for electronics and precision equipment, or stick with canned air from your cleaning kit.
How do I know if I’m over-cleaning my machine?
Signs of over-cleaning include excessive oil residue, lint sticking to oily surfaces, or mechanical parts that seem sluggish. Clean only when you see lint buildup or notice performance changes, not on a rigid schedule.
What should I do if my cleaning system doesn’t fit my machine?
Contact your machine manufacturer for model-specific tools, or look for adjustable cleaning tools. Never force tools into spaces where they don’t fit naturally, as this can damage delicate machine parts.
Is it normal for my machine to sound different after cleaning?
A quieter, smoother sound is normal after proper cleaning and oiling. If your machine sounds louder, makes grinding noises, or runs irregularly after cleaning, stop using it and consult a professional technician.