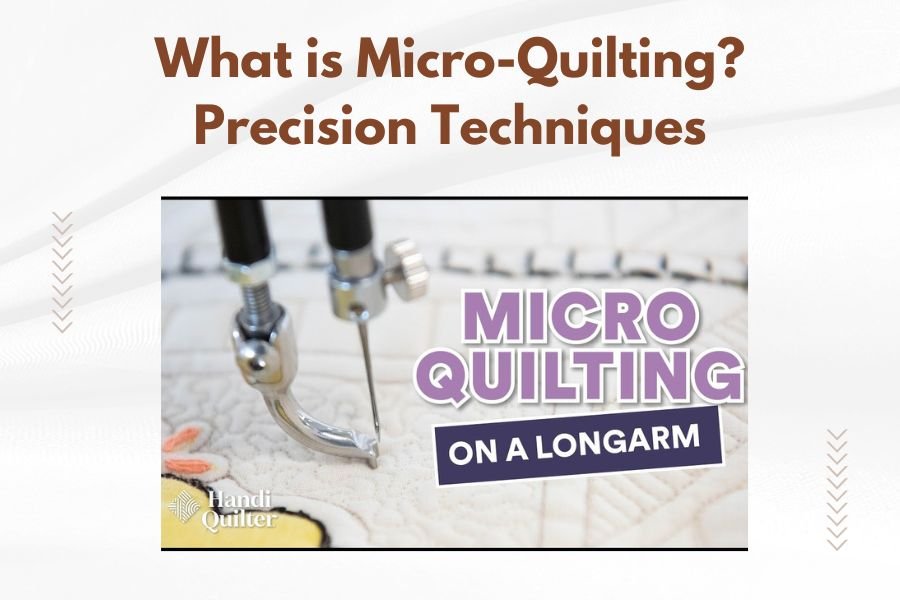
Micro-quilting is a precision quilting technique that uses extremely small stitches and intricate patterns, typically with stitch lengths of 1/8 inch or smaller.
This detailed quilting method creates stunning texture and visual depth through tight, controlled stitching that requires specialized tools and advanced skills.
What Makes Micro-Quilting Different from Regular Quilting?
You might wonder what sets micro-quilting apart from the quilting you already know. The difference lies in the scale and precision.
Regular quilting uses stitches that measure about 1/4 to 1/2 inch apart. Micro-quilting shrinks that down to 1/8 inch or even smaller. Think of it like comparing a regular paintbrush to a fine detail brush.
The patterns become incredibly detailed. You can create feathers that look real, flowers with individual petals, and geometric designs that seem impossible by hand.
Key Characteristics of Micro-Quilting
Research shows that micro-quilting shares several defining features that make it stand out:
- Stitch length of 1/8 inch or smaller
- Dense quilting patterns that cover most fabric surfaces
- High thread tension control
- Specialized needles and thread
- Longer completion times
Essential Tools for Micro-Quilting Success
You can’t dive into micro-quilting with regular quilting tools. The precision demands specific equipment.
Machine Requirements
Your sewing machine needs certain features to handle micro-quilting well. I found that machines with these capabilities work best:
- Variable speed control
- Precise stitch regulation
- Strong motor for dense stitching
- Good lighting system
- Smooth feed system
Needle Selection
Needles make or break your micro-quilting project. Size 70/10 to 80/12 needles work well for most micro-quilting. Sharp or microtex needles pierce fabric cleanly without pulling.
Thread Choices
Fine threads like 50-weight cotton or polyester give you the detail you need. Thicker threads can overwhelm tiny patterns and create bulk.
Hand Quilting Tools
Hand micro-quilting requires different tools than machine work.
Quilting Hoops and Frames
Small hoops, around 8 inches or less, give you better control. You need to move the hoop frequently, but the precision is worth it.
Specialized Thimbles
Leather thimbles or metal thimbles with good grip help you maintain control during long stitching sessions.
Planning Your Micro-Quilting Design
Planning becomes more important with micro-quilting because mistakes are harder to fix and more visible.
Design Scale Considerations
Your design needs to work at a small scale. Large, sweeping curves don’t translate well to micro-quilting. Instead, think intricate and detailed.
I came across quilting experts who recommend testing your design on paper first. Draw it actual size to see if the details will show up clearly.
Pattern Density
Micro-quilting allows for much denser patterns than regular quilting. You can fill spaces that would look too busy with normal-sized stitches.
Fabric Preparation
Your fabric needs extra preparation for micro-quilting success.
Batting Selection
Thin batting works best for micro-quilting. Thick batting fights against your small stitches and creates bulk.
Marking Your Design
Use fine-tip, removable markers. Your marks need to be precise since your stitches will be so small.
Step-by-Step Micro-Quilting Technique
Ready to try micro-quilting? Here’s how to approach it systematically.
Starting Your First Micro-Quilting Project
Begin with a small practice piece. Don’t jump into a full quilt right away.
Machine Setup
Set your machine to the slowest speed. Micro-quilting is about control, not speed. Reduce your stitch length to the smallest setting.
Test your tension on scraps first. You want even stitches without puckering.
Hand Quilting Setup
Position your hoop so you can see your marked lines clearly. Good lighting is essential – you’re working with tiny details.
Executing Small Stitches
The key to micro-quilting is consistent, tiny stitches. Each stitch should be the same length.
For hand quilting, rock your needle at a steeper angle than normal quilting. This helps you catch less batting and fabric.
Maintaining Rhythm
Find a comfortable rhythm and stick to it. Rushing leads to uneven stitches that stand out in micro-quilting.
Common Micro-Quilting Patterns
Certain patterns work particularly well for micro-quilting techniques.
Geometric Patterns
Tiny geometric shapes create stunning visual effects. Think mini hexagons, small diamonds, or intricate Celtic knots.
Organic Designs
Feathers, leaves, and flowers translate beautifully to micro-quilting. The small stitches let you show incredible detail.
Feather Patterns
Micro-quilted feathers can look incredibly realistic. Each spine and barb becomes visible with tiny stitches.
| Pattern Type | Difficulty Level | Best Application |
|---|---|---|
| Straight lines | Beginner | Backgrounds |
| Simple curves | Intermediate | Borders |
| Feathers | Advanced | Feature areas |
| Complex geometrics | Expert | Medallions |
Troubleshooting Micro-Quilting Problems
Even experienced quilters face challenges when they start micro-quilting.
Tension Issues
Dense stitching can cause tension problems. If your stitches pucker, loosen your top tension slightly.
Thread Breaking
Fine threads break more easily. Check your needle – it might be dull or the wrong size.
Needle Problems
Change your needle more often with micro-quilting. The dense stitching dulls needles faster than regular quilting.
Uneven Stitches
Consistent speed helps maintain even stitches. Slow down and focus on rhythm rather than completion.
Advanced Micro-Quilting Tips
Once you master basic micro-quilting, these tips will take your work to the next level.
Combining Different Stitch Sizes
You can create visual hierarchy by mixing micro-quilting with slightly larger stitches. Use micro-quilting for focal points and regular quilting for backgrounds.
Color Strategy
Thread color becomes more important in micro-quilting. The dense stitching means thread color affects the overall appearance significantly.
Invisible vs. Contrasting Thread
Matching thread lets the texture shine. Contrasting thread makes the pattern pop. Choose based on your design goals.
Conclusion
Micro-quilting opens up a world of detailed, intricate quilting possibilities that regular quilting can’t achieve. While it requires patience, specialized tools, and practice, the results are stunning. Start small, focus on consistent technique, and gradually work up to more complex patterns. Your quilts will gain a level of sophistication and detail that sets them apart. Remember that micro-quilting is a skill that develops over time – be patient with yourself as you learn this precision craft.
Can beginners learn micro-quilting or should they master regular quilting first?
Beginners can learn micro-quilting, but I found that having basic quilting skills first helps significantly. Understanding thread tension, needle selection, and general quilting mechanics makes the transition to micro-quilting smoother and less frustrating.
How long does micro-quilting take compared to regular quilting?
Micro-quilting takes approximately 3-4 times longer than regular quilting due to the smaller stitches and increased precision required. A section that might take one hour with regular quilting could take 3-4 hours with micro-quilting techniques.
What’s the best fabric type for micro-quilting projects?
High-quality cotton with a tight weave works best for micro-quilting. The fabric needs to hold tiny stitches without fraying or distorting. Avoid loosely woven fabrics or stretchy materials that can pucker under dense stitching.
Can you do micro-quilting on a regular sewing machine?
Yes, you can do micro-quilting on most regular sewing machines if they have variable speed control and adjustable stitch length. While specialized quilting machines make the process easier, a good-quality domestic machine with proper setup can produce excellent micro-quilting results.
How do you fix mistakes in micro-quilting without damaging the fabric?
Use a seam ripper very carefully, working one stitch at a time. The dense stitching in micro-quilting makes removal more challenging, so prevention through careful planning and practice is better than trying to fix mistakes after the fact.