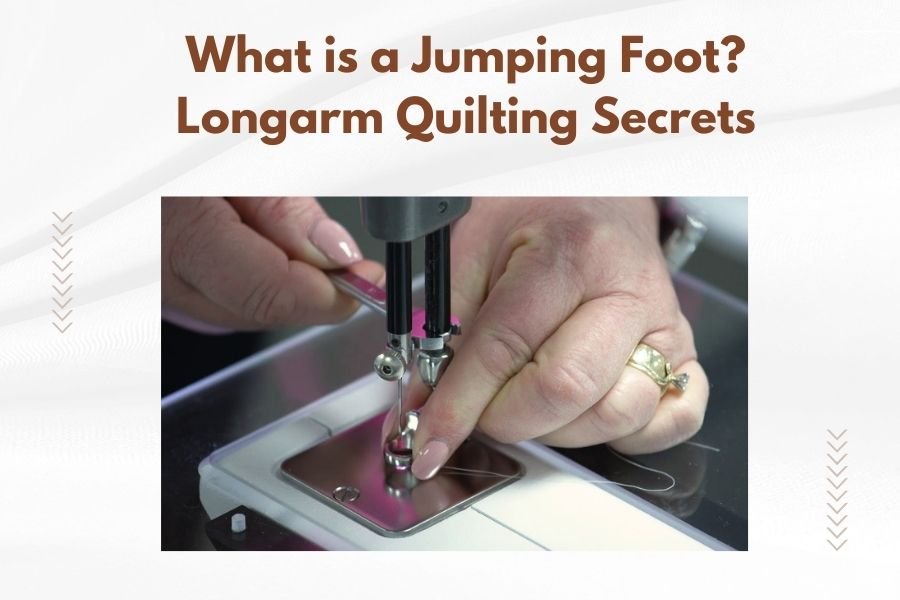
A jumping foot is a specialized longarm quilting foot that creates precise, consistent stitches by jumping between quilting points rather than dragging continuously across the fabric surface.
The jumping foot mechanism lifts the presser foot automatically during thread trims and repositioning, preventing fabric distortion and thread breaks that often plague traditional longarm quilting setups.
How Does a Jumping Foot Actually Work?
Think of a jumping foot like a tiny grasshopper on your longarm machine. Instead of sliding along your quilt like a regular foot, it hops up and down at lightning speed.
The foot connects to your machine’s computer system. When you stop stitching or change direction, the foot automatically lifts. This prevents the fabric from bunching or shifting underneath.
I found that many longarm quilters describe it as having an extra set of hands. The foot does the lifting work for you, so you can focus on creating beautiful quilting patterns.
The Mechanical Process Behind Jumping Feet
Your longarm machine sends electronic signals to the jumping foot mechanism. These signals tell the foot exactly when to lift and when to press down.
The timing happens in milliseconds. You won’t even notice the jumping action while you’re quilting.
Pressure Control Features
Most jumping feet let you adjust the pressure settings. Light pressure works great for delicate fabrics. Heavy pressure helps with thick batting or multiple layers.
You can usually adjust this with a simple dial or digital setting on your machine.
Why Regular Quilters Struggle Without Jumping Feet
Have you ever tried to quilt a large project and ended up with puckered fabric? That’s exactly what jumping feet prevent.
Regular presser feet stay down constantly. They drag across your quilt top, creating friction and tension. This leads to several frustrating problems.
Common Issues with Standard Feet
- Fabric bunching around tight curves
- Thread breakage during direction changes
- Uneven stitching tension
- Skipped stitches in thick areas
- Difficulty with free-motion quilting
Thread Management Problems
I researched quilting forums and found that thread nests are the number one complaint among longarm beginners. Standard feet can’t release tension properly when you change directions quickly.
The jumping foot solves this by lifting at exactly the right moment. Your thread stays smooth and even throughout the quilting process.
Types of Jumping Feet Available
Not all jumping feet work the same way. Different manufacturers offer various styles and features.
Pneumatic Jumping Feet
These use air pressure to control the lifting action. They’re super responsive and work great for detailed quilting work.
Pneumatic systems tend to be quieter than other types. You’ll barely hear them working.
Electronic Jumping Feet
Electronic versions connect directly to your machine’s computer brain. They offer the most precise control and timing.
Many high-end longarm machines come with electronic jumping feet as standard equipment.
Mechanical Jumping Feet
These are the budget-friendly option. They use springs and levers instead of electronics or air pressure.
While less fancy, mechanical jumping feet still provide significant improvement over regular presser feet.
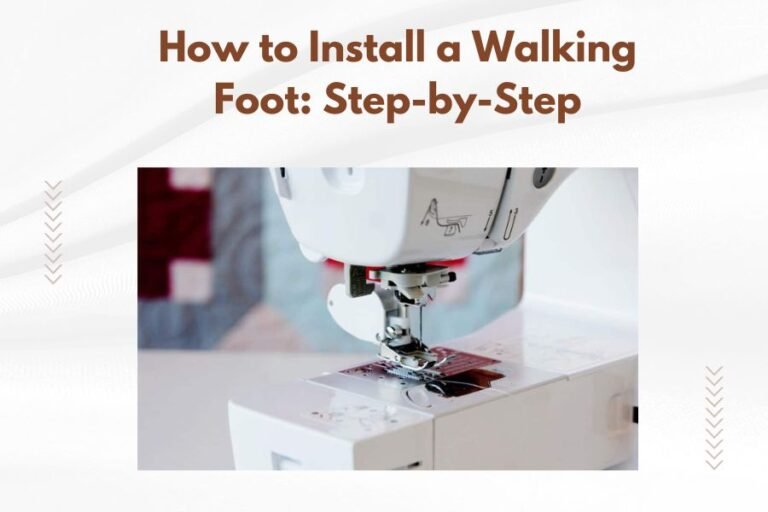
Installation and Setup Process
Installing a jumping foot isn’t as scary as it might sound. Most quilters can handle the job themselves with basic tools.
Before You Start Installation
Turn off your longarm machine completely. Unplug it from the wall for extra safety.
Gather your tools: screwdriver, allen wrenches, and the instruction manual that came with your jumping foot.
Step-by-Step Installation
Remove your current presser foot assembly. Most longarm machines use thumb screws or quick-release mechanisms.
Connect the jumping foot’s air lines or electrical connections. Follow your specific model’s color-coded instructions.
Mount the new foot assembly and tighten all connections. Don’t overtighten – snug is enough.
Testing Your New Setup
Run a test quilt sandwich through your machine before starting any real projects. Check that the foot lifts and lowers smoothly.
Adjust the pressure settings if needed. Start light and increase pressure until you get good stitch quality.
Jumping Foot vs Regular Presser Foot Comparison
| Feature | Jumping Foot | Regular Foot |
|---|---|---|
| Fabric distortion | Minimal | Common |
| Thread breaks | Rare | Frequent |
| Free-motion quilting | Excellent | Difficult |
| Learning curve | Moderate | Easy |
| Cost | Higher | Lower |
Best Practices for Using Jumping Feet
Getting the most from your jumping foot requires some technique adjustments. Think of it like learning to drive a car with power steering after using manual steering.
Speed Control Tips
Start quilting slower than usual. Jumping feet work best at moderate speeds, not full throttle.
I found online that most experts recommend 50-70% of your machine’s maximum speed when starting out.
Pressure Adjustment Guidelines
Light batting needs lighter foot pressure. Heavy cotton batting can handle more pressure without problems.
Test on scraps first. You’ll quickly learn what settings work for different fabric combinations.
Pressure Settings for Different Materials
- Silk or delicate fabrics: Lightest setting
- Cotton with cotton batting: Medium setting
- Denim or heavy materials: Higher pressure
- Multiple layers: Highest pressure setting
Troubleshooting Common Jumping Foot Issues
Even the best jumping feet can have hiccups. Here’s how to fix the most common problems.
Foot Not Lifting Properly
Check your air pressure if you have a pneumatic system. Low pressure causes sluggish lifting.
Clean any lint or thread bits from the foot mechanism. These tiny blockages can prevent smooth operation.
Inconsistent Stitch Quality
Your thread tension might need adjustment. Jumping feet sometimes require slightly different tension settings than regular feet.
Try reducing your top thread tension by one number. This often solves uneven stitching problems.
Excessive Noise During Operation
A little noise is normal, but loud banging isn’t. This usually means your foot pressure is set too high.
Reduce pressure gradually until the noise decreases but stitch quality remains good.
Maintenance Requirements
Jumping feet need more care than regular presser feet. The moving parts collect lint and need regular cleaning.
Daily Maintenance Tasks
Brush away visible lint after each quilting session. Use a small paintbrush or compressed air.
Check that all connections remain tight. Vibration can loosen fittings over time.
Weekly Deep Cleaning
Remove the foot assembly and clean all surfaces with rubbing alcohol. This removes oil residue and sticky lint buildup.
Inspect air lines for cracks or wear. Replace damaged lines before they cause problems.
Cost Considerations and Value
Jumping feet aren’t cheap. Expect to pay anywhere from $300 to $800 depending on your machine model and features.
Is the investment worth it? Most quilters say yes, especially if you do a lot of custom quilting work.
Return on Investment
Professional quilters often find that jumping feet pay for themselves quickly. Faster quilting means more projects completed per day.
Hobby quilters benefit from reduced frustration and better results. You’ll enjoy quilting more when your equipment works smoothly.
Hidden Costs to Consider
- Installation fees if you can’t do it yourself
- Replacement parts and maintenance supplies
- Possible machine modifications for compatibility
- Learning curve time investment
Conclusion
Jumping feet transform longarm quilting from a wrestling match into a smooth, enjoyable process. They eliminate most fabric distortion problems and dramatically reduce thread breaks.
While the upfront cost seems high, the improved quilting quality and reduced frustration make jumping feet a smart investment for serious quilters. Your projects will look more professional, and you’ll finish them faster.
Start with basic models if budget is tight. You can always upgrade later as your skills and needs grow.
What’s the main difference between a jumping foot and hopping foot?
These terms are often used interchangeably in quilting, but technically a jumping foot lifts completely off the fabric while a hopping foot maintains light contact. Both serve the same basic purpose of reducing fabric drag.
Can I install a jumping foot on any longarm machine?
Not all longarm machines are compatible with jumping feet. Check your machine’s manual or contact the manufacturer to verify compatibility before purchasing. Some older machines may need modifications or aren’t suitable at all.
How often should I replace the air lines on pneumatic jumping feet?
Replace air lines every 12-18 months with regular use, or sooner if you notice cracks or reduced responsiveness. Keep spare lines on hand since they’re relatively inexpensive and quick to replace.
Do jumping feet work with all thread types?
Jumping feet work with most quilting threads, but you may need to adjust tension settings for different thread weights. Metallic threads and specialty threads might require additional fine-tuning of pressure and speed settings.
What’s the learning curve like when switching to a jumping foot?
Most quilters adapt within 2-3 hours of practice quilting. The biggest adjustment is learning to trust the foot’s automatic lifting action and finding the right speed and pressure settings for your quilting style.