A quilting machine remote control lets you operate your machine from a comfortable distance, giving you better visibility and control while stitching. You connect the remote to your machine’s control panel and use it to start, stop, adjust speed, and move the needle position.
Most quilting machine remotes work by plugging into a designated port on your machine or connecting wirelessly via Bluetooth, allowing you to quilt with more freedom and less strain on your back and neck.
What Is a Quilting Machine Remote Control
Think of your quilting machine remote like a TV remote, but for your sewing machine. It’s a handheld device that controls your machine’s basic functions without touching the machine itself.
Remote controls come in two main types: wired and wireless. Wired remotes plug directly into your machine with a cord. Wireless remotes connect through Bluetooth or radio frequency signals.
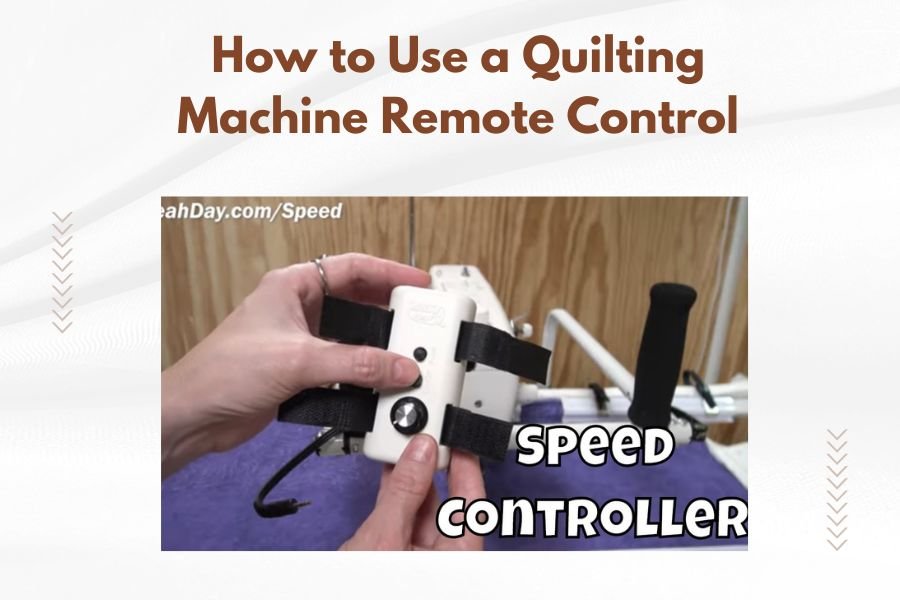
The remote typically sits in your non-dominant hand while you guide fabric with your dominant hand. This setup gives you instant control over speed and stitching without reaching for machine buttons.
Benefits of Using a Remote Control
Using a remote control changes how you quilt in several ways. You’ll find yourself more comfortable and your quilting more precise.
Better Posture and Comfort
Remote controls keep you from hunching over your machine. You can stand or sit at a comfortable distance and still control everything.
Your back and neck will thank you after long quilting sessions. I found that many quilters report less fatigue when using remotes regularly.
Improved Visibility
Standing back from your machine gives you a better view of your entire quilt. You can see patterns forming and catch mistakes before they become big problems.
This bird’s-eye view helps with free-motion quilting especially. You’ll see how your design flows across the whole piece.
More Control and Precision
Remote controls often have more sensitive speed adjustment than machine controls. You can make tiny speed changes while quilting complex areas.
Starting and stopping becomes instant. No reaching across your quilt to hit buttons means smoother transitions and cleaner stitching.
Types of Quilting Machine Remote Controls
Remote controls aren’t one-size-fits-all. Different machines use different remote styles, and each has its own benefits.
Wired Remote Controls
Wired remotes connect directly to your machine with a cable. They’re reliable because there’s no signal interference or battery issues.
The cable length usually ranges from 6 to 12 feet. This gives you plenty of room to move around your quilting frame.
Some quilters prefer wired remotes because they never lose connection. You won’t deal with pairing issues or dead batteries mid-project.
Wireless Remote Controls
Wireless remotes use Bluetooth or radio frequency to connect to your machine. They offer complete freedom of movement around your quilting area.
Battery life varies by model, but most wireless remotes run for 20-40 hours before needing a charge or new batteries.
Range typically extends 30-50 feet from your machine. That’s more than enough space for any home quilting setup.
Pendant Style Remotes
Pendant remotes hang around your neck on a lanyard. They’re small and lightweight, usually with just a few essential buttons.
These work great for quilters who move around their frame frequently. You’ll never set the remote down and forget where you put it.
Handheld Remotes
Handheld remotes look more like traditional TV remotes. They have multiple buttons and sometimes small displays showing current settings.
These offer more control options but require you to hold them or set them down nearby. They’re perfect for quilters who like having many functions at their fingertips.
Setting Up Your Remote Control
Getting your remote control working properly takes just a few minutes. The process varies slightly between wired and wireless models.
Connecting a Wired Remote
Find the remote control port on your quilting machine. It’s usually labeled clearly and located near other connection ports.
Plug the remote cable firmly into the port. You should hear or feel a slight click when it’s properly connected.
Turn on your machine and test basic functions like start/stop and speed adjustment. Most machines recognize wired remotes immediately.
Pairing a Wireless Remote
Put your quilting machine into pairing mode. Check your machine’s manual for the exact steps, as they vary by manufacturer.
Turn on your wireless remote and activate its pairing mode. This usually involves holding down specific buttons for a few seconds.
Wait for the pairing confirmation. Most systems show a light or display message when connection is successful.
Testing Your Connection
Start with basic functions before you begin quilting. Test the start/stop button first, then try speed adjustments.
Check the connection range by walking to different positions around your quilting frame. Make sure the remote works from all your usual quilting spots.
Basic Remote Control Functions
Most quilting machine remotes share common functions, though button layouts differ between brands and models.
Start and Stop Controls
The start/stop button is usually the largest button on your remote. One press starts stitching, another press stops it.
Some remotes have separate start and stop buttons. This prevents accidental starts when you meant to stop stitching.
Speed Adjustment
Speed controls let you adjust stitching speed without touching your machine. Most remotes have up and down arrows or a dial.
Speed changes happen instantly, so you can slow down for detailed work or speed up for long straight lines.
Needle Positioning
Needle up/down buttons control where your needle stops. Needle down is great for pivoting corners. Needle up makes it easier to remove your quilt.
This function prevents fabric from shifting when you lift the presser foot or turn your quilt.
Single Stitch Mode
Single stitch lets you advance one stitch at a time. This helps with precise positioning or getting out of tight spots.
Use single stitch when threading through previous stitching lines or making tiny adjustments to your quilting path.
Advanced Remote Features
High-end quilting machine remotes offer features that go beyond basic start and stop functions.
Programmable Buttons
Some remotes let you program buttons for frequently used functions. You might set one button to jump to your favorite quilting speed.
Programming saves time during long quilting sessions. You won’t need to adjust multiple settings repeatedly.
Display Screens
Remotes with small screens show current speed, stitch count, or other machine information. You can check settings without looking at your machine.
Display screens help track your progress on large quilts or complex patterns with multiple sections.
Multiple Speed Presets
Advanced remotes store different speed settings for different quilting tasks. You might have presets for detail work, fill patterns, and straight lines.
Switching between presets takes one button press instead of multiple speed adjustments.
Using Your Remote for Different Quilting Techniques
Different quilting styles benefit from remote controls in unique ways. Here’s how to make the most of your remote with various techniques.
Free-Motion Quilting
Free-motion quilting gets the biggest benefit from remote controls. You can focus completely on moving your fabric while controlling speed with your other hand.
Start slow when beginning new motifs. Increase speed gradually as you get comfortable with the pattern.
Use the start/stop function frequently. It’s better to stop, reposition, and start again than to stitch a wonky line.
Straight-Line Quilting
Straight-line quilting works well with consistent medium speeds. Set your preferred speed and maintain steady fabric movement.
Use needle down positioning when stopping mid-line. This keeps your line straight when you resume stitching.
Echo Quilting
Echo quilting requires consistent spacing and smooth curves. Remote control helps you maintain steady speed around all the curves.
Slow down on tight curves and speed up on gentle curves. The instant speed adjustment helps maintain consistent stitch quality.
Remote Control Maintenance and Care
Taking care of your remote control keeps it working reliably for years of quilting.
Battery Management
Wireless remotes need regular battery attention. Check battery levels before starting large quilting projects.
Keep spare batteries handy, or invest in rechargeable batteries. Nothing’s worse than a dead remote in the middle of quilting.
Cleaning Your Remote
Quilting creates lint and dust that can get into remote controls. Wipe your remote down regularly with a slightly damp cloth.
Avoid getting moisture into button gaps or charging ports. Use compressed air to blow out accumulated lint.
Storage
Store your remote in a safe place when not quilting. Pendant remotes can hang on hooks near your quilting machine.
Protect handheld remotes from drops by keeping them in padded cases or designated spots on your quilting table.
Troubleshooting Common Remote Issues
Remote controls sometimes act up. Here are solutions for the most common problems quilters face.
Connection Problems
If your wireless remote stops responding, try repairing it with your machine. Distance or interference might have broken the connection.
Check for other wireless devices nearby that might cause interference. Move phones, tablets, or wireless routers farther from your quilting area.
Delayed Response
Slow response usually means low battery power in wireless remotes. Replace or recharge batteries even if they’re not completely dead.
For wired remotes, check the cable connection. Loose connections can cause delayed or missed commands.
Intermittent Function
If some buttons work but others don’t, clean around the button contacts. Lint or dust might be blocking proper contact.
Try pressing buttons more firmly. Worn buttons sometimes need extra pressure to register.
Choosing the Right Remote for Your Machine
Not all remotes work with all machines. Here’s what to consider when selecting a remote control.
Compatibility
Check your machine manufacturer’s recommendations first. Some machines only work with specific remote models.
Universal remotes exist, but they might not support all your machine’s functions. Manufacturer-specific remotes usually offer the best integration.
Function Needs
Consider which functions you’ll actually use. Basic start/stop and speed control handle most quilting needs.
Advanced features like programmable buttons cost more but save time if you use varied quilting techniques.
Ergonomics
Hold different remote styles if possible before buying. Your hands will spend lots of time with this device.
Button size and placement matter for comfort during long quilting sessions. Small buttons might be hard to press accurately.
Safety Tips for Remote Control Use
Remote controls are generally safe, but following basic precautions prevents accidents and equipment damage.
Always turn off your machine before connecting or disconnecting wired remotes. Hot-plugging can damage electronic components.
Keep remotes away from water and other liquids. Electronic components don’t survive spills well.
Don’t force buttons that seem stuck. Clean around them gently or contact customer service for repair advice.
Conclusion
Using a quilting machine remote control transforms your quilting experience by giving you better control, comfort, and visibility. Whether you choose a wired or wireless model, the freedom to operate your machine from a distance makes quilting more enjoyable and less physically demanding. Start with basic functions like start/stop and speed control, then explore advanced features as you get comfortable with your remote. With proper setup, maintenance, and care, your remote control will become an essential part of your quilting toolkit that helps you create better quilts with less effort.
How far away can I use a wireless quilting machine remote?
Most wireless quilting machine remotes work effectively within 30-50 feet of your machine. The exact range depends on your specific model and any interference from other electronic devices in your quilting space.
Can I use any remote control with my quilting machine?
No, you need a remote that’s compatible with your specific quilting machine model. While universal remotes exist, manufacturer-specific remotes typically offer the best functionality and reliability with your machine.
What should I do if my remote control stops working mid-project?
First, check the battery level in wireless remotes or cable connections in wired models. Try re-pairing wireless remotes or unplugging and reconnecting wired remotes. Keep spare batteries handy to avoid interruptions during quilting sessions.
Do I need special training to use a quilting machine remote control?
No special training is required. Most quilters learn basic remote functions within minutes. Start by practicing start/stop and speed controls on scrap fabric before working on actual quilts to build confidence with the remote.
How long do batteries typically last in wireless quilting remotes?
Battery life varies by model and usage, but most wireless quilting machine remotes provide 20-40 hours of active quilting time. Battery life depends on how frequently you use the remote and which functions you access most often.