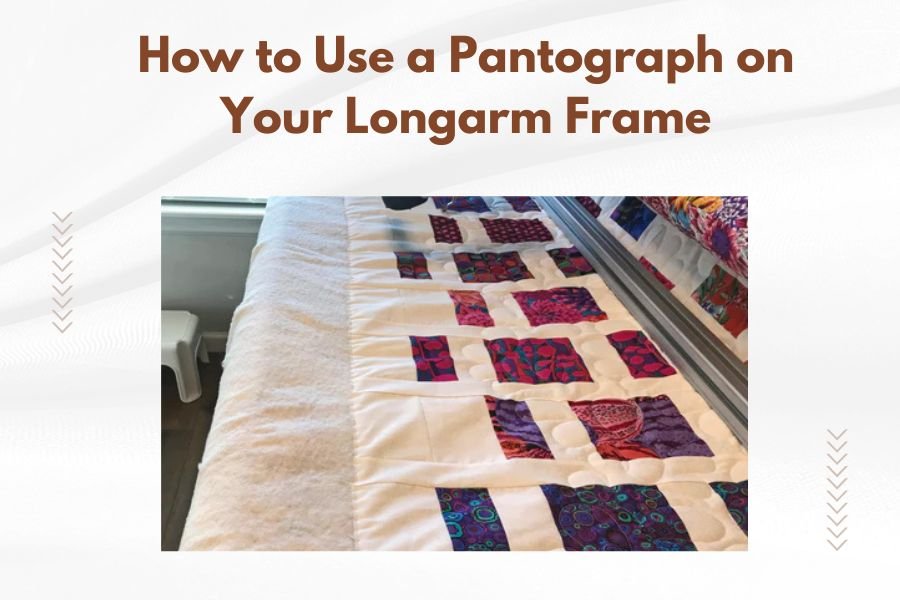
A pantograph on your longarm frame guides your quilting needle along predetermined patterns, making complex designs achievable for quilters at any skill level.
You simply trace the pantograph pattern with a laser stylus while your longarm machine follows the same movements to quilt identical designs across your entire quilt.
Understanding Pantograph Systems for Longarm Quilting
Think of a pantograph like a copy machine for your quilting. When you move the stylus along the pattern, your quilting machine mirrors that exact movement on your quilt fabric.
The system connects your quilting machine head to a pantograph table through a series of cables or electronic sensors. This connection ensures perfect pattern reproduction every time.
Types of Pantograph Systems
Two main systems exist for pantograph quilting on longarm frames. Each has distinct benefits depending on your quilting goals and budget.
Cable-Driven Pantograph Systems
Cable systems use physical cables to connect your machine head to the pantograph table. These systems cost less and work reliably for most quilting projects.
I found that many quilting experts recommend cable systems for beginners. They’re simpler to set up and maintain than electronic versions.
Electronic Pantograph Systems
Electronic systems use sensors and computer controls instead of cables. They offer more precision and can store digital patterns for repeated use.
These systems typically cost more but provide greater flexibility for advanced quilting techniques.
Setting Up Your Pantograph System
Proper setup makes the difference between smooth quilting and frustrating pattern mistakes. Take your time during this process.
Mounting the Pantograph Table
Position your pantograph table at a comfortable height beside your longarm frame. Most quilters find elbow height works best for extended quilting sessions.
Secure the table firmly to prevent wobbling during use. Any movement in the table transfers directly to your quilted pattern.
Adjusting Table Height
Your arm should rest comfortably when holding the stylus. Too high causes shoulder strain. Too low creates back problems during long quilting sessions.
Checking Table Stability
Push gently on all sides of the table. It shouldn’t move or shake. Tighten all mounting hardware before starting your first pattern.
Connecting the System Components
Follow your manufacturer’s instructions exactly when connecting cables or setting up electronic components. Each system has specific requirements.
Test all connections before loading your quilt. A loose connection mid-project ruins hours of work.
Choosing and Preparing Pantograph Patterns
Pattern selection affects your quilting success more than any other factor. Start simple and work toward complex designs as your skills improve.
Pattern Size Considerations
Match your pattern size to your quilt dimensions. Patterns that are too large create awkward spacing. Patterns that are too small look busy and cluttered.
Most pantograph patterns come in multiple sizes. Choose the size that divides evenly into your quilt width for the best appearance.
Calculating Pattern Repeats
Measure your quilt width and divide by the pattern width. Aim for whole numbers or simple fractions like 2.5 or 3.5 repeats.
Planning Pattern Placement
Start your pattern at the quilt’s center and work outward. This approach keeps any partial patterns at the edges where they’re less noticeable.
Pattern Preparation Steps
Clean your pattern thoroughly before mounting. Dust and debris interfere with stylus tracking and create uneven quilting lines.
Check for pattern damage like tears or worn tracking lines. Damaged patterns produce poor quilting results.
Loading Your Quilt Properly
Quilt loading affects pantograph performance significantly. Uneven tension or poor alignment causes pattern distortion.
Creating Even Tension
Load your quilt backing first, ensuring even tension across the entire width. Uneven backing tension telegraphs through to your quilted pattern.
Add your batting and quilt top with the same care. Each layer needs consistent tension for best results.
Checking Quilt Alignment
Use a square ruler to verify your quilt hangs straight on the frame. Crooked loading creates slanted patterns that look unprofessional.
Testing Tension Consistency
Press gently on different areas of your loaded quilt. The resistance should feel the same everywhere. Adjust rollers as needed.
Operating Your Pantograph System
Smooth operation comes from consistent stylus movement and proper machine settings. Practice makes perfect with pantograph quilting.
Stylus Control Techniques
Hold your stylus like a pencil, but don’t grip it tightly. Tension in your hand transfers to shaky quilting lines.
Move the stylus at a steady speed that matches your machine’s stitching rate. Too fast creates skipped stitches. Too slow makes dense, heavy quilting.
Finding Your Rhythm
Start with simple patterns to develop smooth stylus movement. Complex patterns require the muscle memory that comes from practice.
Maintaining Steady Speed
Count or hum while tracing patterns. This helps maintain consistent stylus speed throughout your quilting session.
Machine Settings for Pantograph Work
Adjust your stitch length for the pattern you’re quilting. Dense patterns need shorter stitches. Open patterns can use longer stitches.
Set your thread tension properly for your thread and fabric combination. Test on scraps before starting your actual quilt.
| Pattern Type | Recommended Stitch Length | Best Thread Weight |
|---|---|---|
| Dense Geometric | 8-10 stitches per inch | 40-50 weight |
| Open Flowing | 6-8 stitches per inch | 30-40 weight |
| Background Fill | 10-12 stitches per inch | 50-60 weight |
Troubleshooting Common Pantograph Problems
Every quilter faces pantograph challenges. Knowing how to fix common problems saves time and frustration.
Pattern Distortion Issues
Distorted patterns usually result from uneven quilt tension or loose system connections. Check these areas first when patterns look wrong.
Fixing Stretched Patterns
Stretched patterns indicate your quilt backing is too loose. Tighten the backing gradually until patterns return to normal proportions.
Correcting Compressed Patterns
Compressed patterns suggest overly tight quilt tension. Loosen the tension slightly and test on a small area.
Tracking Problems
When your machine doesn’t follow the stylus accurately, check all connection points and clean your equipment thoroughly.
I found that most tracking issues come from dirty sensors or worn cables. Regular maintenance prevents most problems.
Conclusion
Using a pantograph on your longarm frame opens up endless quilting possibilities. Start with simple patterns and basic techniques, then advance to more complex designs as your confidence grows. Remember that consistent practice and proper setup create the foundation for beautiful pantograph quilting. Your quilts will show dramatic improvement once you master these fundamental skills and techniques.
Can I use any pantograph pattern with my longarm frame?
Most pantograph patterns work with standard longarm frames, but check your system’s maximum pattern size before purchasing. Some oversized patterns may not fit your pantograph table dimensions.
How do I clean and maintain my pantograph system?
Clean your pantograph table weekly with a lint-free cloth and mild cleaner. Lubricate cable systems monthly and check all connections for wear. Electronic systems need occasional sensor cleaning with compressed air.
What’s the best pantograph pattern for beginners?
Simple geometric patterns like meandering lines or basic swirls work best for new pantograph users. These patterns forgive small tracking errors and help you develop smooth stylus control before attempting complex designs.
How do I fix uneven stitching in my pantograph quilting?
Uneven stitching usually comes from inconsistent stylus speed or incorrect thread tension. Practice maintaining steady stylus movement and test your thread tension on fabric scraps before quilting your project.
Can I create custom patterns for my pantograph system?
Yes, you can create custom patterns by drawing them on paper or purchasing digital pattern creation software. Make sure your custom patterns fit your pantograph table size and include proper registration marks for alignment.