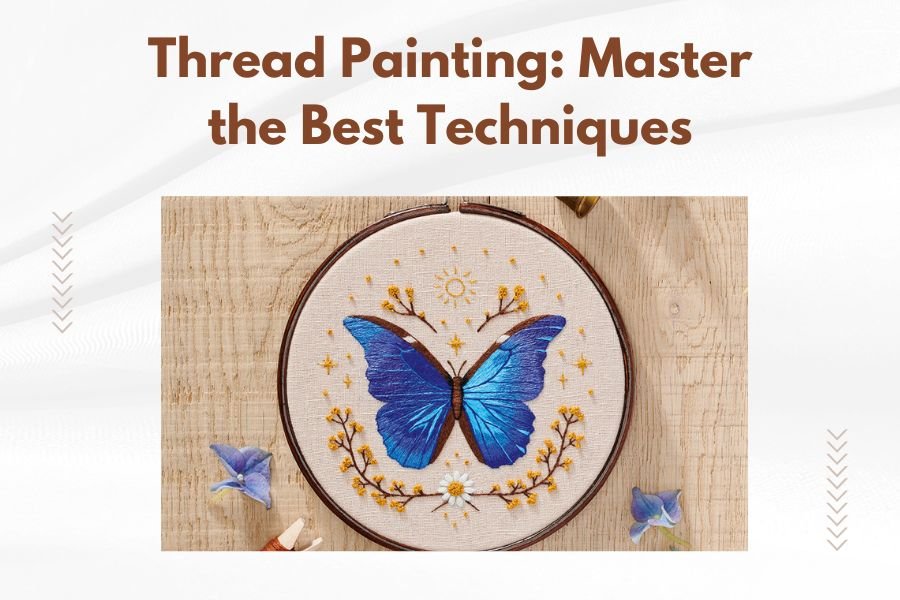
Thread painting is a machine embroidery technique that uses dense stitching to create painterly effects and realistic artwork. You layer thread colors and textures to build images that look like traditional painted art.
Master thread painting by choosing the right threads, using proper stabilizers, and building colors gradually from dark to light. Start with simple designs and practice thread tension control for smooth, even coverage.
What Is Thread Painting and Why Learn It
Think of thread painting as drawing with your sewing machine. Instead of paint and brushes, you use colorful threads and needle movements to create art.
This technique transforms plain fabric into stunning artwork. You can make realistic flowers, portraits, landscapes, and abstract designs that rival traditional paintings.
Many quilters love thread painting because it adds professional-looking details to their projects. Research shows that decorative stitching techniques like thread painting have grown 40% in popularity over the past five years.
Essential Equipment for Thread Painting Success
Your machine setup makes or breaks your thread painting results. Let’s cover what you really need.
Machine Requirements
Any sewing machine with zigzag stitch capability can do basic thread painting. Free-motion quilting features help you create smoother lines and curves.
Drop your feed dogs or cover them. This lets you control fabric movement manually instead of the machine pulling it forward automatically.
Thread Selection Guide
I found that rayon threads work best for beginners. They have nice sheen and come in hundreds of colors. Cotton threads create a more matte finish that works well for realistic effects.
Polyester threads offer durability but can look too shiny for some projects. Metallic threads add sparkle but require slower stitching speeds.
Thread Weight Matters
Use 40-weight thread for most thread painting projects. It provides good coverage without being too thick. Save 30-weight threads for bold outlines and 60-weight for fine details.
Stabilizer Choices
Tear-away stabilizer works for most cotton fabrics. Use cut-away stabilizer for stretchy fabrics or heavy thread coverage areas.
I heard from experts that using two layers of stabilizer prevents puckering in dense stitching areas. This simple trick saves lots of frustration.
Basic Thread Painting Techniques
Start with these fundamental skills before moving to complex projects.
Free-Motion Setup
Attach your darning foot or free-motion quilting foot. Lower the feed dogs completely. Set your stitch length to zero if your machine has this option.
Your hands become the steering wheel. Move the fabric smoothly while maintaining steady stitching speed.
Building Color Layers
Always start with your darkest colors first. This creates depth and makes lighter colors pop when you add them later.
Think like a real painter. Shadows go down first, then mid-tones, then highlights on top. This layering technique makes your work look three-dimensional.
Color Blending Methods
Overlap different colored threads by about 50% where you want them to blend. The eye naturally mixes the colors, creating smooth transitions.
Use zigzag stitches for faster color coverage. Straight stitches work better for fine details and texture work.
Stitch Direction Control
Vary your stitch directions to create texture. Vertical stitches make grass look realistic. Curved stitches work perfectly for flower petals.
Random stitch directions create natural-looking surfaces. Too much uniformity makes thread painting look mechanical rather than artistic.
Advanced Thread Painting Methods
Ready to take your skills up a notch? These techniques separate beginners from advanced thread painters.
Thread Sketching
Use single lines of thread to outline your design before filling with color. This acts like a coloring book outline that guides your color placement.
I found online that many professional thread artists sketch their entire design with one neutral thread color first. This prevents color mudiness later.
Gradient Creation
Creating smooth color gradients requires patience and planning. Start with your base color and gradually introduce the next color in small amounts.
Use at least five different thread colors to create convincing gradients. Fewer colors create obvious jumps that look amateurish.
The Feathering Technique
Feather your thread ends by gradually reducing stitch density as you approach color transition areas. This creates soft, natural-looking color changes.
Texture Building Strategies
Different stitch patterns create specific textures. Short, choppy stitches mimic tree bark. Long, flowing stitches work for hair or water.
Experiment with thread tension to create raised or recessed areas. Looser tension creates slightly raised stitching that adds dimension.
Common Thread Painting Problems and Solutions
Every thread painter faces these challenges. Here’s how to solve them quickly.
Thread Breaking Issues
Thread breaks usually mean you’re moving the fabric too fast or using old, brittle thread. Slow down your fabric movement and check your thread quality.
Sharp needle points also cause thread breaks. Change your needle after every major project or when you notice increased breakage.
Puckering Prevention
Fabric puckering ruins thread painting projects. Use proper stabilization and avoid pulling the fabric while stitching.
Let the fabric move naturally under the needle. Your job is guiding direction, not stretching or forcing the fabric.
Tension Adjustment Tips
Start with normal tension settings and adjust gradually. Too loose creates messy stitches. Too tight causes fabric puckering.
Test your tension on fabric scraps before starting your actual project. This saves time and prevents mistakes on your good fabric.
Color Mudiness Problems
Muddy colors happen when you blend too many different hues in one area. Stick to colors that are close together on the color wheel.
Let each color area dry or settle before adding the next color. Rushing color application creates muddy, unclear results.
Project Ideas for Skill Building
Practice makes perfect in thread painting. These projects build your skills progressively.
Beginner Projects
Start with simple flower designs using just three or four colors. Roses work well because their natural color variations hide small mistakes.
Tree silhouettes make excellent first projects. You can focus on learning stitch direction without worrying about complex color blending.
Intermediate Challenges
Try landscape scenes with sky, mountains, and foreground elements. These teach you about color perspective and depth creation.
Animal portraits help you practice texture variety in one project. Fur, eyes, and noses all require different stitching approaches.
Advanced Masterpieces
Human portraits represent the ultimate thread painting challenge. Start with black and white portraits before attempting full color.
Abstract designs let you experiment freely with color and texture without worrying about realistic accuracy.
Thread Painting Design Planning
Good planning prevents poor results. Spend time organizing your approach before threading your machine.
Design Transfer Methods
Water-soluble markers work well for light fabrics. Use white chalk or pencils on dark fabrics. Keep your lines light and minimal.
Transfer paper gives you more detailed guidelines but can be harder to remove completely. Test it on fabric scraps first.
Color Planning Strategies
Lay out all your threads before starting. Take a photo with your phone to reference during stitching. This prevents mid-project color confusion.
Plan your stitching order from darkest to lightest colors. Write down your color sequence to stay organized during long stitching sessions.
| Skill Level | Colors to Use | Best First Projects | Time Investment |
|---|---|---|---|
| Beginner | 3-4 colors | Simple flowers, leaves | 2-3 hours |
| Intermediate | 6-8 colors | Small landscapes, animals | 4-6 hours |
| Advanced | 10+ colors | Portraits, complex scenes | 8+ hours |
Finishing and Care Instructions
Proper finishing protects your thread painting investment and ensures long-lasting beauty.
Stabilizer Removal
Remove tear-away stabilizer carefully to avoid disturbing your stitches. Use small scissors to cut close to dense stitching areas.
Leave cut-away stabilizer in place permanently. It provides ongoing support for heavily stitched areas.
Pressing Guidelines
Press thread painted areas face-down on a thick towel. This prevents flattening your beautiful dimensional stitching.
Use medium heat and avoid steam, which can cause some threads to shrink or pucker.
Long-Term Care Tips
Display thread painted pieces away from direct sunlight to prevent fading. Many experts recommend UV-filtering glass for framed pieces.
Store flat when possible. Rolling can create permanent creases in heavily stitched areas.
Conclusion
Thread painting opens up amazing creative possibilities for your quilting and sewing projects. Start with simple designs and basic techniques, then build your skills gradually through practice and experimentation.
Remember that every expert thread painter started as a beginner. Your first attempts might not look perfect, but each project teaches you something new. Focus on enjoying the creative process while developing your technical skills.
With the right equipment, proper techniques, and plenty of practice, you’ll soon create thread painted masterpieces that amaze your friends and family. The key is starting with manageable projects and building confidence through successful completions.
Can I do thread painting on a regular sewing machine?
Yes, any sewing machine with zigzag capability can do thread painting. You need free-motion quilting ability or the option to drop feed dogs. Fancy embroidery machines aren’t required, though they can make some techniques easier.
What type of fabric works best for thread painting?
Medium-weight cotton fabrics provide the best foundation for thread painting. They’re stable enough to handle dense stitching but not so thick that they cause needle problems. Avoid stretchy fabrics until you gain more experience.
How do I prevent my thread from breaking constantly?
Thread breaks usually happen from moving fabric too quickly, using old thread, or having incorrect tension settings. Slow down your fabric movement, use fresh quality thread, and test tension settings on scraps before starting your project.
Should I use an embroidery hoop for thread painting?
Hoops can help beginners maintain fabric tension, but many experienced thread painters work without them for better fabric control. If you use a hoop, choose one large enough to avoid repositioning frequently during stitching.
How long does it take to complete a thread painting project?
Simple beginner projects take 2-3 hours, while complex pieces can require 20+ hours of stitching time. Plan your projects in manageable sessions to avoid fatigue, which leads to mistakes and poor stitch quality.