Thread bunching happens when your sewing machine’s tension is unbalanced, the needle is wrong for your fabric, or lint builds up in the bobbin area.
You can fix thread bunching by checking your upper and lower thread tension, cleaning your machine, and using the right needle size for your project.
What Causes Thread Bunching in Your Sewing Machine?
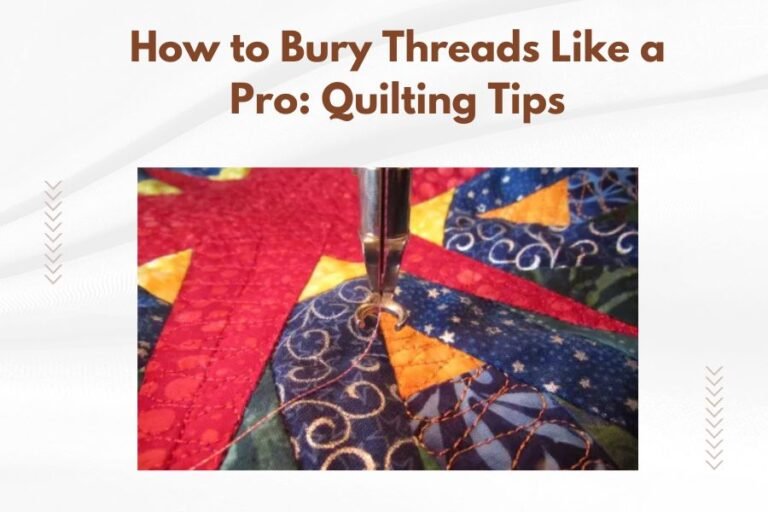
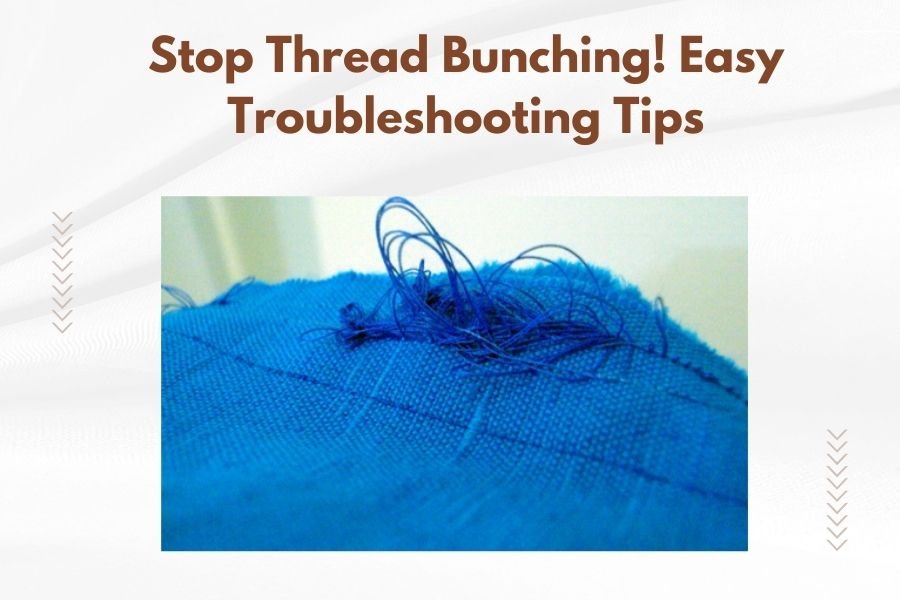
Picture this: you’re working on a beautiful quilt, and suddenly your machine starts creating messy thread nests instead of perfect stitches. Frustrating, right?
Thread bunching stems from a few common problems. Your machine needs balanced tension between the upper and lower threads to create smooth stitches. When this balance breaks, you get those annoying tangles.
I found through research that most thread bunching issues come from these main causes:
- Wrong thread tension settings
- Incorrect needle type or size
- Lint buildup in the bobbin case
- Poor quality or old thread
- Threading mistakes
Quick Fixes You Can Try Right Now
Check Your Thread Tension First
Start with the easiest fix. Your upper thread tension dial should usually sit between 3-5 for most projects.
Too loose? Your bobbin thread will show on top. Too tight? You’ll see puckering and thread breaks.
Test Your Tension Settings
Grab two different colored threads – one for the bobbin, one for the top. Sew a test line on scrap fabric.
Good tension means you see only the top thread color on the fabric’s right side. If you see bobbin thread peeking through, tighten the upper tension slightly.
Clean Your Bobbin Area
Lint loves to hide in your bobbin case. Even tiny bits can throw off your machine’s timing.
Remove your bobbin and bobbin case. Use a small brush or compressed air to clear out every speck of lint. You’ll be amazed how much accumulates there.
Check Your Bobbin Case Position
Your bobbin case needs to sit perfectly in place. If it’s slightly off, your stitches will suffer.
Look for a small notch or mark that shows correct positioning. Make sure it clicks securely into place.
Thread and Needle Solutions
Match Your Needle to Your Fabric
Using a heavy needle on delicate fabric is like trying to thread a rope through a keyhole. It just doesn’t work well.
| Fabric Weight | Needle Size | Thread Weight |
|---|---|---|
| Lightweight (silk, cotton) | 70/10 – 80/12 | 50-60 weight |
| Medium (quilting cotton) | 80/12 – 90/14 | 40-50 weight |
| Heavy (denim, canvas) | 100/16 – 110/18 | 30-40 weight |
When to Change Your Needle
Dull needles cause more problems than you might think. They can’t pierce fabric cleanly, which leads to skipped stitches and thread bunching.
Change your needle after every 8-10 hours of sewing. If you hear a popping sound as you sew, your needle needs replacing immediately.
Choose Quality Thread
Cheap thread might save money upfront, but it costs you time and frustration later. Low-quality thread breaks easily and sheds lint.
I found from quilting experts that cotton or polyester threads from reputable brands work best for most projects. Store your thread in a cool, dry place away from sunlight.
Threading Problems and Solutions
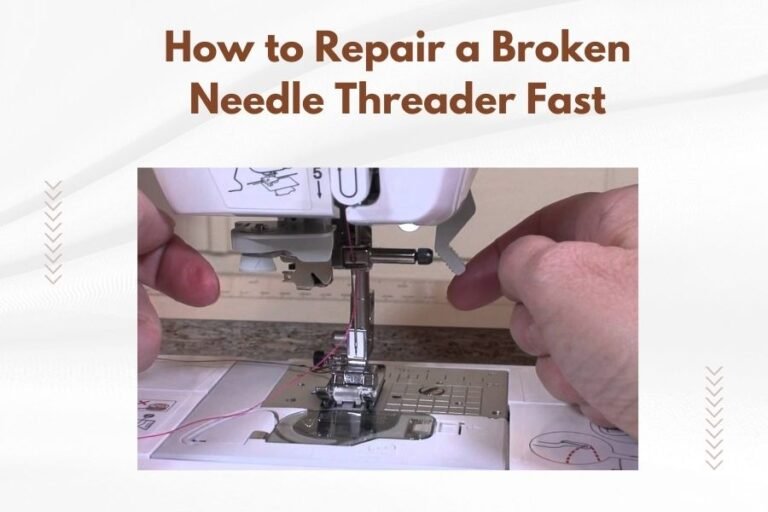
Re-thread Your Machine Completely
Sometimes the simplest solution works best. Take all the thread out and start fresh.
Make sure your presser foot is up when threading. This opens the tension discs so your thread can slip between them properly.
Follow the Threading Path Exactly
Every loop and guide matters. Skip one, and your tension goes haywire.
Use your machine’s threading diagram. Go slowly and double-check each step. Thread should flow smoothly without catching anywhere.
Check Your Bobbin Threading
Your bobbin thread needs to flow in the right direction too. Most machines have arrows showing the correct path.
Pull about 6 inches of bobbin thread through the case before inserting it. This gives your machine something to grab when you start sewing.
Machine Settings That Matter
Adjust Your Stitch Length
Very short stitches can cause thread buildup, especially on thick fabrics. Try lengthening your stitch slightly.
For quilting, a 2.5-3.0mm stitch length usually works well. For garment sewing, 2.0-2.5mm is often perfect.
Consider Your Machine’s Speed
Racing through your project might seem efficient, but it can cause threading issues. Slow down, especially around curves and corners.
Your machine needs time to form each stitch properly. Think of it like handwriting – you get neater results when you don’t rush.
Presser Foot Pressure
Some machines let you adjust how firmly the presser foot holds your fabric. Too much pressure can cause thread bunching on delicate materials.
If your fabric puckers or won’t feed smoothly, try reducing the presser foot pressure slightly.
Advanced Troubleshooting Steps
Check Your Machine’s Timing
If basic fixes don’t work, your machine’s timing might be off. This happens when the needle and bobbin hook don’t meet at exactly the right moment.
Timing issues usually need professional repair. Don’t try to adjust this yourself unless you’re experienced with machine mechanics.
Look for Bent or Damaged Parts
A bent needle plate or damaged bobbin case can cause persistent threading problems. Check for scratches, dents, or rough edges.
Even small damage can catch thread and create bunching. Replace damaged parts rather than trying to work around them.
Consider Your Fabric Choices
Some fabric combinations fight against smooth stitching. Stretchy fabrics with non-stretch thread often cause problems.
Use stabilizer when sewing knits or very lightweight fabrics. This gives your machine something stable to work with.
Prevention Tips for Future Projects
Regular Maintenance Schedule
Clean your machine after every few projects. Oil it according to your manual’s schedule. A well-maintained machine rarely develops sudden threading problems.
Keep a small brush and lint-free cloth handy. Quick cleanups prevent big problems later.
Test Before You Start
Always sew a test sample with your actual project materials. This catches threading issues before you cut into your good fabric.
Keep test samples in a notebook with settings written down. You’ll build a reference guide for future projects.
Quality Supplies Matter
Good thread, sharp needles, and quality fabric make your machine’s job easier. Think of it as an investment in smooth sewing sessions.
Buy supplies from reputable sources. Store them properly to maintain their quality over time.
When to Call a Professional
Some problems need expert attention. If you’ve tried these fixes and still get thread bunching, your machine might need professional service.
Persistent timing issues, unusual noises, or mechanical damage require trained technicians. Don’t feel bad about seeking help – even experienced sewers need professional service sometimes.
Signs You Need Professional Help
- Thread bunching continues after all adjustments
- Unusual grinding or clicking noises
- Visible damage to internal parts
- Stitches that look wrong despite correct settings
Conclusion
Thread bunching doesn’t have to ruin your sewing projects. Most cases come from simple issues you can fix yourself – wrong tension, dirty bobbin areas, or mismatched needles and thread.
Start with the basics: check your tension, clean your machine, and make sure everything is threaded correctly. These steps solve most threading problems quickly and easily.
Remember that prevention works better than fixes. Regular maintenance, quality supplies, and test stitching keep your machine running smoothly. When simple fixes don’t work, professional service can get you back to creating beautiful projects.
Why does thread keep bunching under my fabric?
Thread bunching underneath usually means your upper thread tension is too loose or your bobbin case isn’t seated correctly. Try tightening your upper tension slightly and make sure your bobbin case clicks firmly into place.
Can old thread cause bunching problems?
Yes, old thread becomes brittle and sheds fibers that can jam your machine. Thread older than 3-5 years often causes more problems than it’s worth. Replace old thread with fresh, quality options for better results.
How often should I clean my bobbin case to prevent bunching?
Clean your bobbin case after every 3-4 projects or whenever you notice lint buildup. Quilting and fuzzy fabrics create more lint, so you might need to clean more frequently with these materials.
What’s the difference between upper and lower thread tension problems?
Upper tension problems usually show bobbin thread on top of your fabric or create loose, loopy stitches. Lower tension issues cause tight stitches, puckering, or thread breaking. Most bunching comes from upper tension being too loose.
Should I adjust bobbin tension or upper tension first?
Always adjust upper tension first. Bobbin tension rarely needs changing and is harder to get back to the right setting. Most sewing problems resolve with upper tension adjustments between 3-5 on your dial.