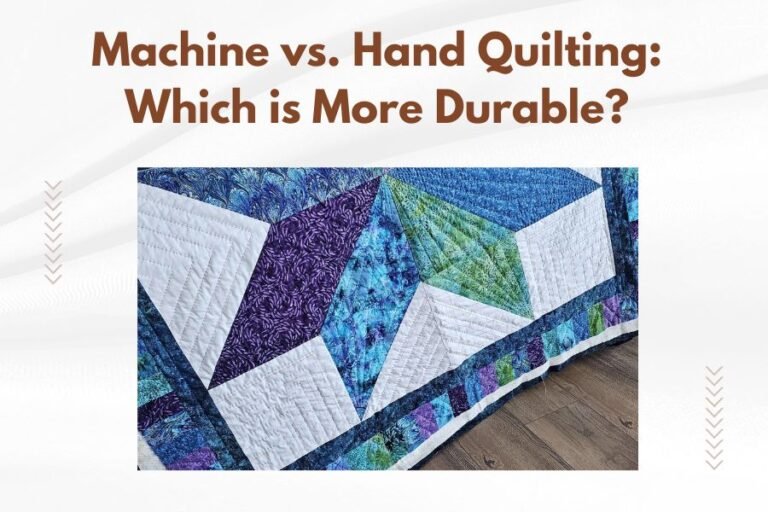
Stitch-in-the-ditch is a quilting technique where you sew directly in the seam lines between fabric pieces to secure quilt layers together invisibly.
This method creates a nearly invisible quilting line that follows your pieced blocks’ natural divisions, making it perfect for beginners and experienced quilters alike.
What is Stitch-in-the-Ditch Quilting?
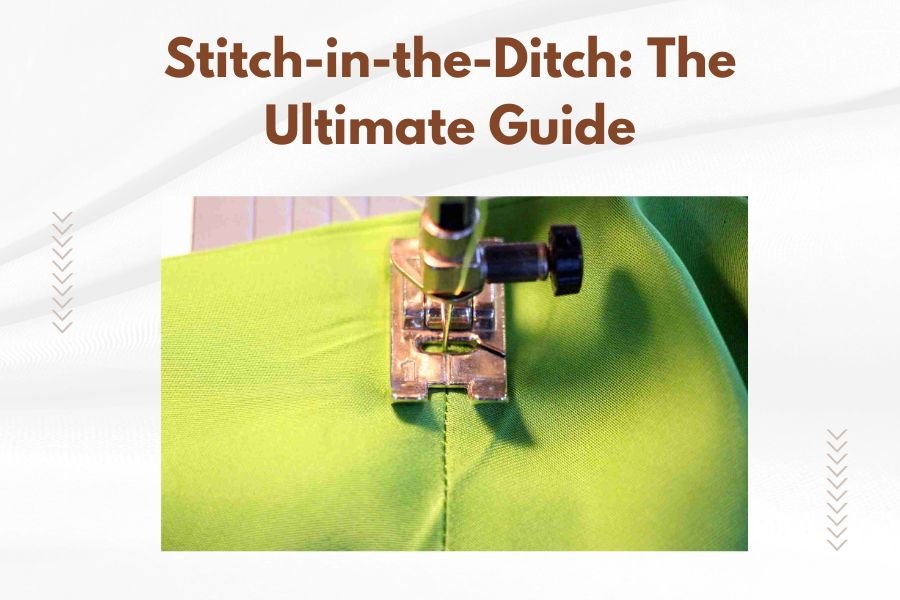
Think of stitch-in-the-ditch as following a path that’s already there. You’re stitching right where two fabric pieces meet, in that little valley created by the seam.
The “ditch” is the lower side of a pressed seam. When you press seams to one side, one side sits higher than the other. You stitch on the lower side, keeping your stitching hidden.
Why Quilters Love This Technique
You don’t need to mark quilting lines. The seams guide your needle naturally. This saves hours of prep work.
Your quilting becomes nearly invisible from the front. The focus stays on your beautiful pieced design instead of busy quilting patterns.
When to Use Stitch-in-the-Ditch
This technique works best for geometric quilt blocks. Log cabin, nine-patch, and flying geese blocks are perfect candidates.
I found that many quilters use this method for their first quilts. It builds confidence without the pressure of perfect curved lines or complex patterns.
Best Fabric Combinations
High contrast fabrics make finding the ditch easier. Think dark blue next to white, or red against cream.
Tone-on-tone fabrics can be tricky. The seam lines disappear visually, making accurate stitching harder.
Thread Color Choices
Match your thread to the darker fabric in the seam. This hides any slight wobbles in your stitching line.
Neutral threads like gray or tan work well when you have multiple fabric colors in one quilt.
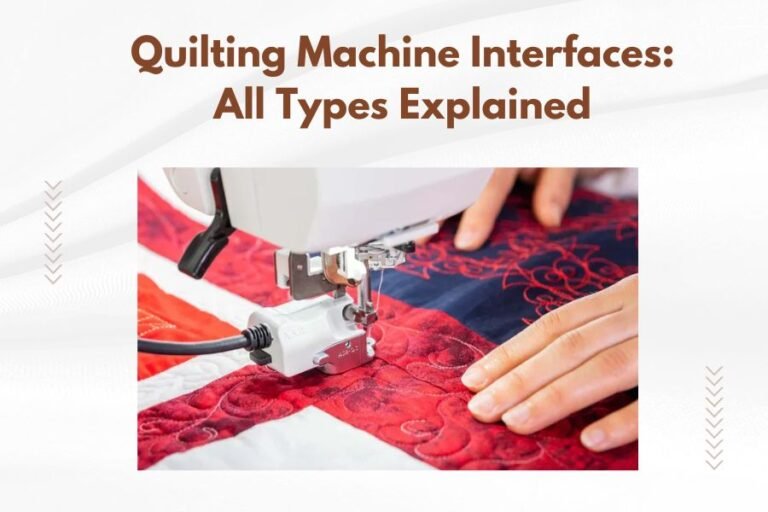
Essential Tools for Success
You need a walking foot or dual feed system. This prevents fabric layers from shifting as you sew.
A seam ripper stays handy for fixing mistakes. Even experienced quilters keep one nearby during this process.
Machine Settings That Work
Set your stitch length to 10-12 stitches per inch. This creates strong quilting without perforating your fabric.
Reduce your presser foot pressure slightly. Heavy pressure can stretch your quilt sandwich as you sew.
Needle Selection Guide
Universal needles in size 80/12 or 90/14 work for most cotton quilts. The batting thickness determines which size you choose.
Quilting needles have a special tip that pierces cleanly through multiple layers without snagging.
Step-by-Step Technique
Start by identifying which side of each seam was pressed toward. You’ll stitch on the opposite side – the “ditch.”
Place your quilt sandwich under the presser foot with the needle positioned right in the seam line.
Getting Started Right
Begin stitching from the center of your quilt and work outward. This prevents fabric bunching and puckering.
Lower your needle into the fabric before lowering the presser foot. This anchors your starting point perfectly.
Maintaining Straight Lines
Keep your eyes focused about 2 inches ahead of your needle. Looking directly at the needle causes wobbly stitching.
Move the quilt smoothly with both hands. Avoid pulling or pushing – let the feed dogs do the work.
Navigating Intersections
Seam intersections create bulk where multiple fabric layers meet. Slow down and take your time through these areas.
Sometimes you need to stop with the needle down and adjust your fabric layers. Don’t rush through thick spots.
Dealing with Seam Allowances
When seam allowances change direction, your stitching path shifts slightly. Follow the natural ditch, even when it moves.
Some quilters backstitch at direction changes. Others prefer continuous stitching for smoother lines.
Common Problems and Solutions
| Problem | Cause | Solution |
|---|---|---|
| Stitching shows on quilt front | Sewing on wrong side of seam | Stitch in the lower “ditch” side |
| Wavy quilting lines | Looking directly at needle | Focus ahead of stitching area |
| Skipped stitches | Wrong needle or tension | Use quilting needle, adjust tension |
| Fabric puckering | Excessive presser foot pressure | Reduce pressure setting |
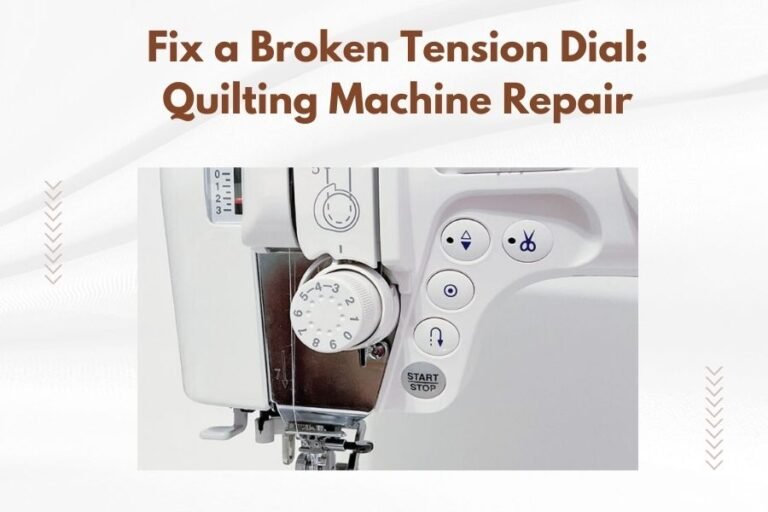
Thread Tension Troubles
Tight upper tension creates puckered seams. Loose tension makes stitches look messy on the quilt back.
Test your tension on quilt sandwich scraps before starting your actual project. Small adjustments make big differences.
Batting Considerations
Low-loft batting works best for beginners. High-loft batting can hide your stitching line, making accuracy harder.
Cotton batting grips fabric layers, reducing shifting. Polyester batting slides more but creates lighter quilts.
Advanced Techniques
Echo quilting combines beautifully with stitch-in-the-ditch. Quilt the main seams first, then add echo lines in open areas.
Selective stitching means you don’t quilt every seam line. Choose the most important structural lines for your design.
Creating Quilting Plans
Draw your quilting path on paper first. This helps you avoid getting trapped in corners or creating impossible turns.
Number your stitching sequence. Start with horizontal lines, then add vertical ones, finishing with any diagonal elements.
Continuous Line Quilting
Plan routes that minimize starting and stopping. Continuous lines create smoother quilting and fewer thread ends to bury.
Sometimes you need to cross previously quilted lines. Go slowly to avoid needle deflection or thread breakage.
Finishing Touches
Bury all thread tails by pulling them to the back and weaving through the batting layer. Trim excess close to the surface.
Press your finished quilt lightly if needed. Heavy pressing can flatten the quilted texture you worked hard to create.
Quality Check Points
Check both sides of your quilt for consistent stitch quality. The back should show even stitches without loose loops.
Look for any areas where the layers shifted during quilting. These spots might need additional quilting for stability.
Conclusion
Stitch-in-the-ditch quilting gives you professional-looking results with a beginner-friendly technique. Your seam lines guide every stitch, eliminating guesswork and complex marking.
Practice on small samples first. Once you master the basic technique, you can combine it with other quilting methods for truly custom results. Remember that even experienced quilters rely on this trustworthy method for many of their projects.
Can you stitch-in-the-ditch without a walking foot?
While possible, a walking foot prevents fabric layers from shifting and creates much more even stitching. The investment pays off in better results and less frustration during quilting.
What happens if you accidentally stitch on the wrong side of the seam?
Your stitching will show prominently on the quilt front, disrupting the design. Remove these stitches carefully with a seam ripper and re-stitch in the correct ditch location.
How close together should stitch-in-the-ditch quilting lines be?
Follow your batting manufacturer’s recommendations, typically 4-6 inches apart maximum. Your block design naturally determines spacing – you’re following existing seam lines rather than creating arbitrary distances.
Does stitch-in-the-ditch work with curved seams?
Yes, but it requires more skill and patience. Curved seams create curved ditches that need careful navigation. Practice on samples before attempting curved areas on your actual quilt.
Should you backstitch at the beginning and end of each quilting line?
Many quilters prefer to pull thread tails to the back and bury them instead of backstitching. Backstitching can create visible bumps, while buried threads maintain the smooth appearance of your quilting lines.