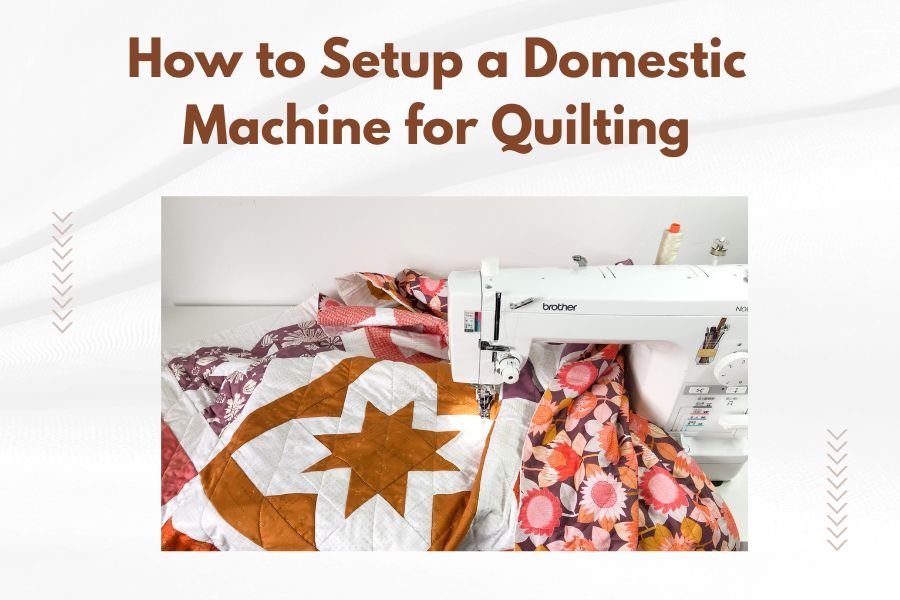
Setting up a domestic machine for quilting requires adjusting tension, installing a walking foot, and using the right thread and needle combination for your fabric layers.
Most quilting problems come from incorrect machine setup, but following these step-by-step adjustments will get your domestic machine ready for beautiful quilting results.
What Makes Domestic Machine Quilting Different
Your regular sewing machine can absolutely handle quilting projects. You just need to make some key adjustments first.
Quilting means sewing through multiple layers at once. That’s different from regular sewing where you typically work with two pieces of fabric.
Think of it like the difference between stapling two sheets of paper versus stapling a thick book. Your machine needs different settings to handle the extra bulk.
The Three Layer Challenge
Every quilt has three main parts: the top, batting, and backing. Your machine has to pierce through all three layers evenly.
This creates more resistance than normal sewing. Your feed dogs have to grip and move more material. Your needle faces more friction.
Why Regular Settings Don’t Work
I found through research that most quilting frustrations come from using regular sewing settings. The tension pulls differently with thick layers.
Your standard presser foot might not provide enough even pressure. The needle might not be strong enough for the job.
Essential Equipment for Setup
Before you start adjusting settings, make sure you have the right tools ready.
Walking Foot or Even Feed Foot
This attachment feeds the top and bottom layers at the same speed. Without it, your layers might shift and bunch up.
Most domestic machines can use a walking foot. Check your manual or call your dealer to find the right model.
How Walking Feet Work
The walking foot has its own set of feed dogs on top. These grip the upper layer while your machine’s regular feed dogs move the bottom layer.
It’s like having two people carry a heavy couch instead of one person dragging it. Both ends move at the same pace.
Quilting Needles
Regular needles can break or create holes in batting. Quilting needles are designed differently.
They have a tapered point that slides between fibers instead of punching through them. Sizes 90/14 or 100/16 work well for most quilting projects.
Quality Thread
Cheap thread breaks easily under the stress of quilting. Cotton or polyester quilting thread works best.
Many quilting experts recommend using the same thread in both the top and bobbin for even tension.
Step-by-Step Machine Setup Process
Now let’s walk through setting up your machine properly. Take your time with each step.
Step 1: Clean Your Machine
Remove lint from the bobbin case and feed dogs. Quilting creates more lint than regular sewing.
Oil your machine if the manual recommends it. A smooth-running machine handles thick layers better.
Step 2: Install the Walking Foot
Remove your regular presser foot. Attach the walking foot according to your manual’s instructions.
The walking foot arm needs to fit over the needle bar. Make sure it’s seated properly before tightening any screws.
Testing the Walking Foot
Turn your handwheel slowly to make sure everything moves smoothly. The walking foot should move up and down with the needle.
If something seems stuck or loose, double-check the installation steps.
Step 3: Thread Selection and Installation
Use the same thread weight in both top and bobbin. This helps maintain balanced tension.
Thread your machine with extra care. The thread path might be slightly different with the walking foot attached.
Bobbin Winding Tips
Wind your bobbin at medium speed. Fast winding can stretch thread and cause tension problems later.
Fill the bobbin completely but don’t overfill it. An overstuffed bobbin creates uneven tension.
Adjusting Machine Settings
Your machine settings need to accommodate the extra thickness of quilting layers.
Tension Adjustments
Start with your machine’s normal tension setting. You’ll likely need to adjust from there.
Perfect tension shows tiny dots of bobbin thread on the quilt top. If you see loops, the top tension is too loose.
Testing Tension on Scraps
Always test on a sample quilt sandwich first. Use the same fabrics and batting as your real project.
Sew a few lines and check both sides. Adjust tension in small increments until the stitches look balanced.
Stitch Length Settings
Longer stitches work better for quilting. Try starting with 3.0 to 3.5mm stitch length.
Shorter stitches can create too much thread buildup in thick layers. Longer stitches also quilt faster.
Presser Foot Pressure
If your machine has adjustable presser foot pressure, you might need to increase it slightly for quilting.
Too little pressure lets layers shift. Too much pressure makes it hard to guide your quilt smoothly.
Creating Your Test Quilt Sandwich
Before quilting your real project, make a practice sandwich with scraps.
Layering Your Test Sandwich
Cut pieces about 12 inches square. This gives you room to test different quilting patterns.
Layer backing face down, batting, then quilt top face up. Pin or baste the layers together.
Basting Methods That Work
Safety pins work well for small test pieces. Place them about 4 inches apart.
Spray basting is faster but can be messy. Use it in a well-ventilated area.
Testing Different Quilting Motions
Try straight lines first. Then test gentle curves if your project needs them.
Pay attention to how the sandwich feeds through your machine. It should move smoothly without puckering.
Common Setup Problems and Solutions
Even with careful setup, you might run into issues. Here are the most common problems I found quilters face.
Skipped Stitches
This usually means your needle is too small or dull. Try a larger quilting needle.
Sometimes the needle isn’t fully seated in the needle clamp. Remove and reinstall it carefully.
Thread Breaking
Check your thread path first. Make sure thread isn’t catching anywhere.
Tension that’s too tight can also cause breaks. Lower your top tension slightly and test again.
Bobbin Thread Issues
If bobbin thread keeps breaking, check that your bobbin is wound evenly.
Also make sure the bobbin case is clean and properly inserted.
Puckering or Shifting Layers
This often happens when you don’t have a walking foot or when presser foot pressure is wrong.
Double-check that your walking foot is installed correctly and moving properly.
Speed and Rhythm for Success
Quilting works best at moderate speeds. Racing through creates more problems than it solves.
Finding Your Quilting Pace
Start slower than normal sewing speed. You need time to guide the quilt smoothly.
Consistent speed gives more even stitches than constantly speeding up and slowing down.
Supporting Heavy Quilts
Large quilts can be heavy and awkward. Set up tables on both sides of your machine for support.
Roll or fold the bulk of the quilt to keep it from pulling against your stitching.
Workspace Setup Tips
Your quilt should be level with your machine bed. This reduces drag and makes guiding easier.
Good lighting helps you see your quilting lines clearly. Position lights to avoid shadows.
Final Setup Checks
Before starting your real project, run through this quick checklist.
| Check Item | What to Look For |
|---|---|
| Walking foot | Properly attached and moving smoothly |
| Needle | Quilting needle, right size, fully seated |
| Thread | Same weight top and bobbin, properly threaded |
| Tension | Tested on sample sandwich, stitches balanced |
| Workspace | Adequate support, good lighting |
Making Small Adjustments
Don’t be afraid to stop and adjust settings as you quilt. Different areas of your quilt might need slightly different handling.
Keep notes about what settings work best. This saves time on your next quilting project.
Conclusion
Setting up your domestic machine for quilting isn’t complicated, but it does require attention to detail. The key steps are installing a walking foot, choosing the right needle and thread, and adjusting your tension properly.
Take time to test your setup on scraps before working on your real project. This small investment in preparation prevents frustration and gives you better quilting results. Your regular sewing machine can create beautiful quilts when it’s set up correctly.
Remember that quilting is a skill that improves with practice. Start with simple straight-line designs and work up to more complex patterns as you get comfortable with your machine setup.
What type of batting works best with domestic machines?
Low-loft polyester or cotton batting works easiest with domestic machines. Thick or high-loft batting can be harder for home machines to handle and may cause tension issues.
Can I quilt without a walking foot?
While possible for very small projects, a walking foot makes quilting much easier and gives better results. The even feeding prevents layers from shifting and creates more consistent stitches.
How do I know if my tension is set correctly?
Correct tension shows tiny dots of bobbin thread on the quilt top with no loops or puckering on either side. The stitches should look the same from both directions when you examine your test sandwich.
What’s the maximum quilt size I can handle on a domestic machine?
Most domestic machines can handle queen-size quilts with proper setup and workspace support. The key is having enough table space around your machine to support the quilt’s weight and bulk.
Should I use the same thread in the top and bobbin?
Using the same thread weight and type in both top and bobbin typically gives the most balanced results. Some quilters use lighter weight bobbin thread, but this requires more careful tension adjustment.