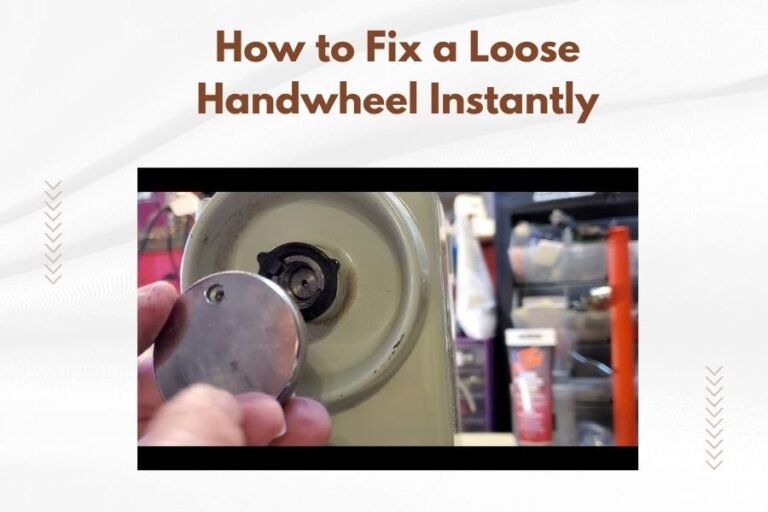
You can replace a broken thread guide in 5-10 minutes by removing the damaged guide with pliers or a screwdriver and installing the new part in the same position.
Most quilting machines use either screw-in or snap-fit thread guides that require basic tools like screwdrivers, pliers, and sometimes needle-nose pliers for tight spaces.
What You Need Before Starting
Getting the right tools makes this repair quick and painless. You don’t need anything fancy.
Essential Tools for Thread Guide Replacement
Here’s what I found works best for most quilting machines:
- Small Phillips head screwdriver
- Flathead screwdriver (tiny one)
- Needle-nose pliers
- Tweezers for small parts
- Good lighting or flashlight
Finding the Right Replacement Part
Check your machine’s manual first. It usually lists part numbers for common repairs.
Can’t find your manual? Look for the model number on your machine. It’s typically on a sticker near the power cord or underneath.
Generic thread guides work on many machines. Just match the mounting style and size.
Step-by-Step Replacement Process
Let’s walk through this repair together. Take your time and don’t force anything.
Step 1: Turn Off and Unplug Your Machine
Safety first, right? Always disconnect power before working on your quilting machine.
This prevents accidental starts and protects both you and your machine’s electronics.
Step 2: Locate the Broken Thread Guide
Thread guides sit along the thread path from your spool to the needle. Common locations include:
- Top of the machine near the spool pins
- Along the front panel
- Above the needle area
- On the take-up lever assembly
Look for cracked plastic, bent metal, or completely missing pieces.
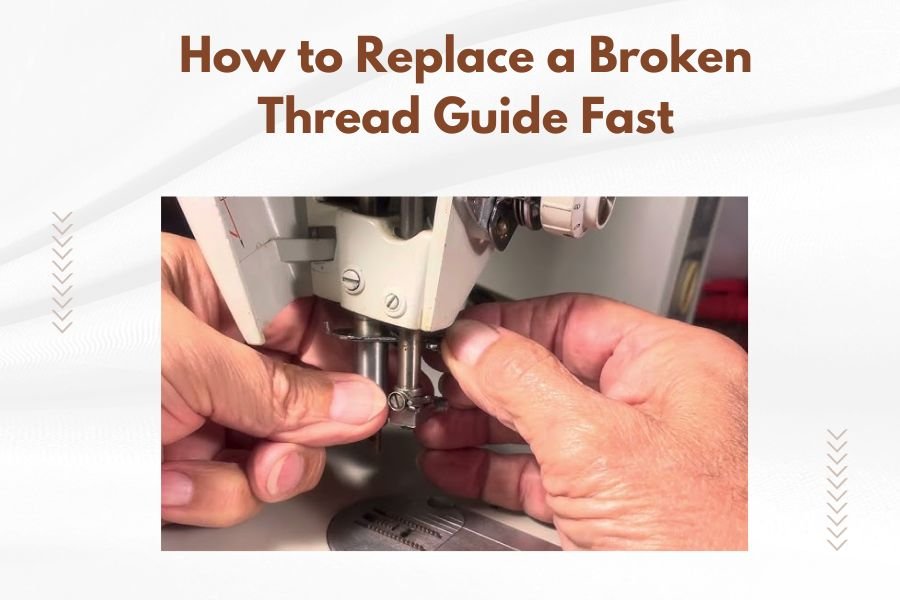
Step 3: Remove the Damaged Guide
Most thread guides attach in one of three ways. Here’s how to handle each:
Screw-In Thread Guides
Turn the guide counter-clockwise with your fingers first. If it’s stuck, use needle-nose pliers with gentle pressure.
Wrap a cloth around the guide to prevent scratches if using pliers.
Snap-Fit Guides
These pop on and off. Look for small tabs or clips holding them in place.
Press the release mechanism while pulling the guide straight out. Don’t twist or force it.
Screw-Mounted Guides
Remove the mounting screw with your screwdriver. Keep track of washers or spacers.
Some guides have multiple screws. Take a photo before removing them so you remember the setup.
Step 4: Clean the Mounting Area
Wipe away lint, dust, and old thread bits with a soft cloth.
This ensures your new guide sits properly and lasts longer.
Installing Your New Thread Guide
Now comes the satisfying part. Your new guide should slide right into place.
Proper Alignment Tips
Thread guides need to line up with the thread path. Check that the opening faces the right direction.
If you took a photo during removal, use it as reference now.
Tightening Without Over-Tightening
Snug is enough. Over-tightening can crack plastic guides or strip threads.
For screw-in guides, hand-tight plus a quarter turn usually works well.
Common Thread Guide Problems
I researched the most frequent issues quilters face with thread guides. Here’s what I found:
Cracked or Broken Guides
Plastic guides crack from age and repeated thread tension. Metal guides bend from impact or dropping the machine.
Replace cracked guides immediately. Rough edges will shred your thread and cause constant breaks.
Loose Thread Guides
Vibration loosens guides over time. Check them monthly during regular maintenance.
A loose guide creates uneven tension and poor stitch quality.
Wrong Guide Position
Guides installed backwards or upside-down cause thread jams and skipped stitches.
The thread should glide smoothly through each guide without sharp bends.
Different Types of Thread Guides
Understanding your guide type helps you find the right replacement and install it correctly.
Eye Guides vs Hook Guides
Eye guides have closed loops that thread passes through. Hook guides use an open curve or slot.
Eye guides provide better thread control but are harder to thread. Hook guides are convenient but offer less precision.
Spring-Loaded Guides
These guides move slightly to accommodate thread tension changes. They’re common on high-end quilting machines.
When replacing spring guides, make sure the spring mechanism works smoothly before installation.
Machine-Specific Considerations
Different quilting machine brands have unique thread guide designs. Let me share what I learned about popular models:
Long-Arm Quilting Machines
Long-arm machines often use larger, more robust thread guides due to higher speeds and longer operating periods.
Replacement guides for these machines typically cost more but last longer under heavy use.
Domestic Quilting Machines
Home quilting machines use smaller, lighter guides that are easier to replace but may need more frequent attention.
Generic parts often work well for domestic machines from major brands.
Testing Your Repair
Don’t assume everything works perfectly right away. A quick test prevents problems later.
Thread Path Check
Thread your machine completely and watch the thread move through each guide.
Look for snags, rough spots, or areas where thread catches or frays.
Test Stitching
Sew a few test lines on scrap fabric. Check for even tension and consistent stitch formation.
Adjust thread tension if needed. A new guide sometimes changes how thread flows through your machine.
Preventing Future Thread Guide Problems
A little prevention saves time and money on repairs.
Regular Cleaning Schedule
Clean thread guides monthly with a soft brush or cloth. Lint buildup creates rough surfaces that damage thread.
Use compressed air to blow out hard-to-reach areas around guide assemblies.
Quality Thread Matters
Cheap thread often has loose fibers and inconsistent thickness. This extra debris wears out guides faster.
Quality thread flows smoothly and creates less wear on your machine’s components.
When to Call a Professional
Some thread guide problems need expert help. Don’t feel bad about seeking professional repair.
Complex Assemblies
If your thread guide connects to tension discs or other moving parts, professional service might be safer.
Modern computerized machines have delicate sensors that can be damaged by DIY repairs.
Warranty Considerations
New machines under warranty should go to authorized service centers for any repairs.
DIY fixes might void your warranty even if the repair seems simple.
Cost Comparison
Here’s what I found about thread guide replacement costs:
| Repair Option | Typical Cost | Time Required |
|---|---|---|
| DIY Replacement | $5-15 for part | 10-15 minutes |
| Shop Repair | $40-80 total | 1-3 days |
| Mobile Technician | $60-120 total | Same day |
Conclusion
Replacing a broken thread guide is one of the easiest repairs you can do on your quilting machine. With basic tools and a few minutes, you’ll have your machine running smoothly again.
Remember to match the replacement part to your original guide and take your time during installation. A properly installed thread guide will serve you well for years of quilting projects.
Keep a spare thread guide or two in your sewing kit. When one breaks during an important project, you’ll be glad to have a backup ready.
Can I use super glue to fix a cracked thread guide temporarily?
Avoid gluing thread guides because the repair rarely holds under thread tension and glue residue can catch your thread. The rough surface from dried glue will cause more thread breaks than the original crack.
How do I know if my thread guide is the wrong size?
Wrong-size guides either won’t fit properly in the mounting hole or will move around loosely during sewing. The thread opening should also match your thread weight – too small causes friction, too large provides poor thread control.
Why does my new thread guide keep coming loose?
Loose guides usually indicate worn mounting threads or a guide that’s slightly undersized for your machine. Try a small drop of thread locker compound on screw-in guides or replace snap-fit guides with a slightly larger size.
Can different thread guide materials affect my stitching?
Yes, ceramic or polished metal guides create less friction than plastic ones, leading to smoother thread flow and more consistent tension. However, they cost more and plastic guides work fine for most quilting applications.
What should I do if I can’t find an exact replacement thread guide?
Universal thread guides often work if you match the mounting style and approximate size. Sewing machine repair shops sometimes modify guides to fit unusual machines or can recommend compatible alternatives from different manufacturers.