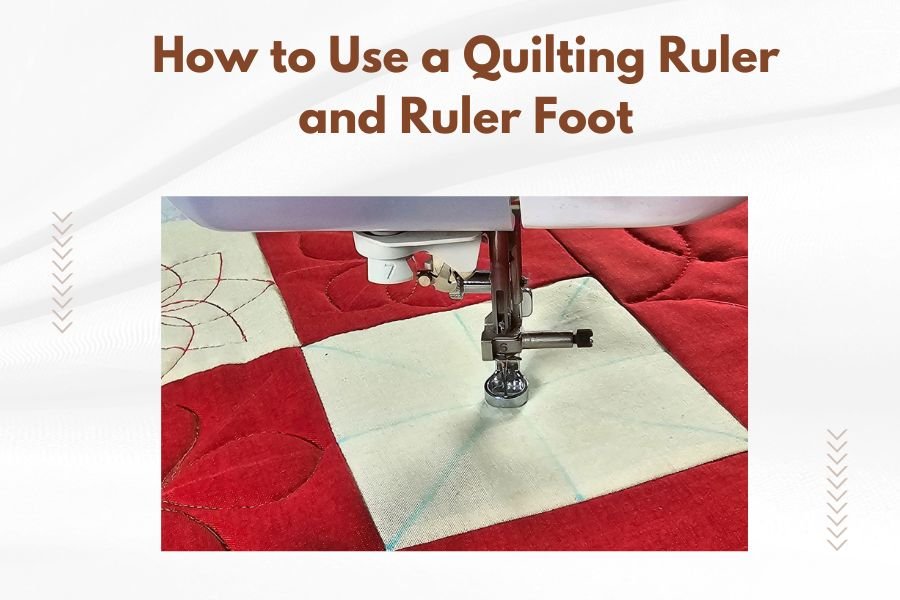
A quilting ruler and ruler foot work together to create perfectly straight lines and accurate measurements on your quilts. Place the ruler on your fabric, align the ruler foot against the ruler’s edge, and slowly guide your machine along the ruler for precise stitching.
This technique gives you professional-looking results by keeping your stitches consistent and your lines perfectly straight every time.
What Is a Quilting Ruler and Ruler Foot
Think of a quilting ruler as your quilting GPS. It’s a thick acrylic template that guides your machine exactly where you want to go.
The ruler foot is your machine’s special attachment. It has a small lip that runs along the ruler’s edge, keeping your stitches at a perfect distance from the ruler.
Types of Quilting Rulers
Straight rulers are perfect for borders and sashing. Curved rulers help you create flowing designs. Circle rulers make perfect rings and arcs.
Most quilters start with a 6-inch and 12-inch straight ruler. These handle about 80% of your ruler work projects.
How Ruler Feet Work
Your ruler foot sits about 1/4 inch above your fabric. This creates space for the ruler to slide underneath.
The foot’s edge touches the ruler while the needle stitches beside it. It’s like having a steady hand that never shakes.
Setting Up Your Machine for Ruler Work
First, drop your feed dogs. These are the little teeth that normally move your fabric. For ruler work, you control the movement instead.
Attach your ruler foot securely. Make sure it’s tight but not over-tightened.
Adjusting Your Machine Settings
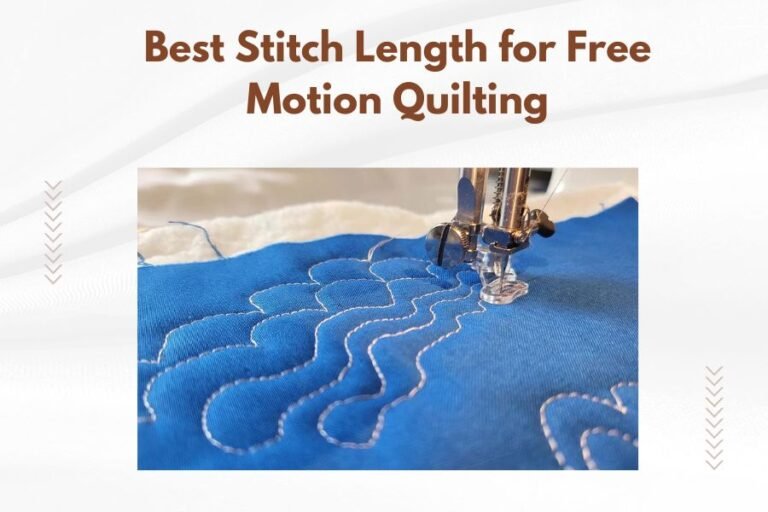
Set your stitch length to zero. Your machine will stitch in place until you move the fabric.
Use a medium thread tension setting. Too tight and your fabric puckers. Too loose and your stitches look messy.
Speed Control Tips
Start with your machine’s slowest speed setting. Ruler work needs precision, not speed.
Many machines have a speed slider. Set it to about 25% when you’re learning.
Thread and Needle Selection
Use quality cotton or polyester thread. Cheap thread breaks easily and creates frustration.
A size 80/12 needle works well for most cotton fabrics. Go up to 90/14 for thicker battings.
Basic Ruler Work Techniques
Place your ruler on the fabric where you want to stitch. Hold it firmly with both hands, keeping your fingers away from the ruler foot’s path.
Start stitching slowly. The ruler foot will naturally follow the ruler’s edge as you guide the fabric.
Holding the Ruler Correctly
Use your fingertips, not your palms. Spread your fingers wide for better control.
Keep steady pressure without pressing too hard. The ruler should stay put but still slide smoothly when you need to reposition it.
Moving Your Fabric
Move the fabric in smooth, steady motions. Quick jerky movements create uneven stitches.
Think of drawing with a pencil. You wouldn’t scribble fast if you wanted neat handwriting.
Starting and Stopping
Begin each line with a few stitches in place to lock your thread. End the same way.
Lift your presser foot when repositioning. This prevents accidentally moving your fabric.
Straight Line Quilting with Rulers
Straight lines are the foundation of ruler work. Master these first, then move to curves and complex shapes.
Position your straight ruler where you want the line. The ruler foot will travel along one edge while your needle stitches along the other.
Creating Parallel Lines
Many rulers have measurement marks. Use these to space your lines evenly.
You can also use painter’s tape on your ruler as a quick spacing guide.
Working with Long Rulers
Long rulers can be tricky to control. Start in the middle and work toward one end, then return and work toward the other end.
This prevents the ruler from shifting as you stitch.
Managing Large Quilts
Roll up the sides of large quilts to fit under your machine’s arm. Use binder clips to keep the rolls tight.
Support the weight of your quilt with a table or ironing board beside your machine.
Curved and Specialty Ruler Techniques
Curved rulers open up amazing design possibilities. The technique is similar to straight rulers, but requires more attention.
Keep your ruler foot in constant contact with the curve. Any gaps will show in your stitching.
Circle and Arc Rulers
Start at the bottom of circles and work clockwise. This feels more natural for most people.
Take your time with tight curves. Speed causes wobbly lines.
Wave and Serpentine Patterns
These rulers create flowing, organic designs. Practice on scraps first because the motion takes getting used to.
Think of the motion like driving on a winding road. Smooth turns, not sharp jerks.
Feather and Leaf Rulers
These specialty rulers create beautiful traditional quilting motifs. Follow the ruler’s shape completely for the best results.
Some quilters trace the pattern with their finger first to memorize the path.
Troubleshooting Common Problems
Wobbly lines usually mean you’re moving too fast. Slow down and focus on smooth, steady motion.
If your ruler keeps slipping, try ruler grips. These small dots stick to the ruler’s bottom and prevent sliding.
Thread Issues
Thread breaking often happens when your tension is too tight or you’re pulling the fabric.
Let the machine do the work. You just guide the direction.
Uneven Stitches
Uneven stitches come from inconsistent speed. Practice moving at the same pace throughout each line.
Some quilters count in their head to maintain rhythm.
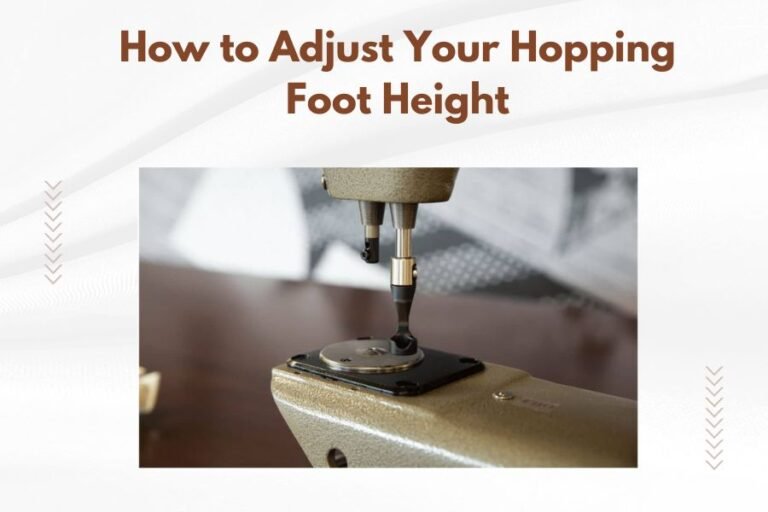
Ruler Foot Problems
If your ruler foot catches on the ruler, check your machine’s height adjustment. Most ruler feet have height screws.
The foot should glide smoothly along the ruler without binding.
Practice Exercises for Beginners
| Exercise | Skill Level | Practice Time |
|---|---|---|
| Straight parallel lines | Beginner | 15 minutes |
| Crosshatch patterns | Beginner | 20 minutes |
| Simple curves | Intermediate | 25 minutes |
| Feather motifs | Advanced | 45 minutes |
Start with scrap fabric sandwiches. Use old batting and backing fabric for practice.
Focus on control, not speed. Beautiful quilting comes from steady, controlled movement.
Building Muscle Memory
Practice the same pattern multiple times. Your hands will learn the motions and improve naturally.
Many experts suggest 15 minutes of daily practice. Short, frequent sessions work better than long, occasional ones.
Advanced Ruler Work Tips
Once you’re comfortable with basic techniques, try combining different rulers in one design.
You can create complex patterns by layering simple shapes. A straight line through a circle creates interesting intersections.
Custom Spacing Techniques
Use masking tape on your machine bed as spacing guides. This helps maintain consistent distances between design elements.
Some quilters mark their fabric lightly with washable markers before stitching.
Working with Different Fabrics
Silk and satin require lighter pressure and slower speeds. Cotton and linen are more forgiving.
Batiks can be slippery. Extra ruler grips help prevent shifting.
Conclusion
Learning to use a quilting ruler and ruler foot transforms your quilting from good to great. The precision and professional appearance you’ll achieve makes the learning curve worth every minute of practice.
Start with simple straight lines and basic rulers. As your confidence grows, experiment with curves and specialty shapes. Remember that even expert quilters started with wobbly first attempts.
The key is consistent practice with quality tools. Invest in good rulers and keep your ruler foot properly maintained. Your quilts will show the difference, and you’ll wonder how you ever quilted without these amazing tools.
Can I use regular rulers instead of quilting rulers?
No, regular rulers are too thin and flexible. Quilting rulers are specifically made thick enough for the ruler foot to glide along their edges without the ruler moving or bending under pressure.
Do I need a special sewing machine for ruler work?
Most modern sewing machines can do ruler work with the right ruler foot attachment. You need the ability to drop feed dogs and control your machine’s speed, which most machines offer.
How do I prevent my ruler from slipping during quilting?
Use ruler grips or small adhesive dots on the bottom of your rulers. These create friction against your fabric without leaving permanent marks. Clean hands also help maintain better grip control.
What’s the difference between ruler work and free motion quilting?
Ruler work uses templates to guide your stitching for precise, repeatable patterns. Free motion quilting relies entirely on your hand movements without guides, giving you complete creative freedom but requiring more skill for consistent results.
How long should I practice before attempting ruler work on a real quilt?
Practice on sample quilt sandwiches until you can create smooth, consistent lines without stopping to adjust. This usually takes 3-5 practice sessions of 30 minutes each, depending on your comfort level with machine control.