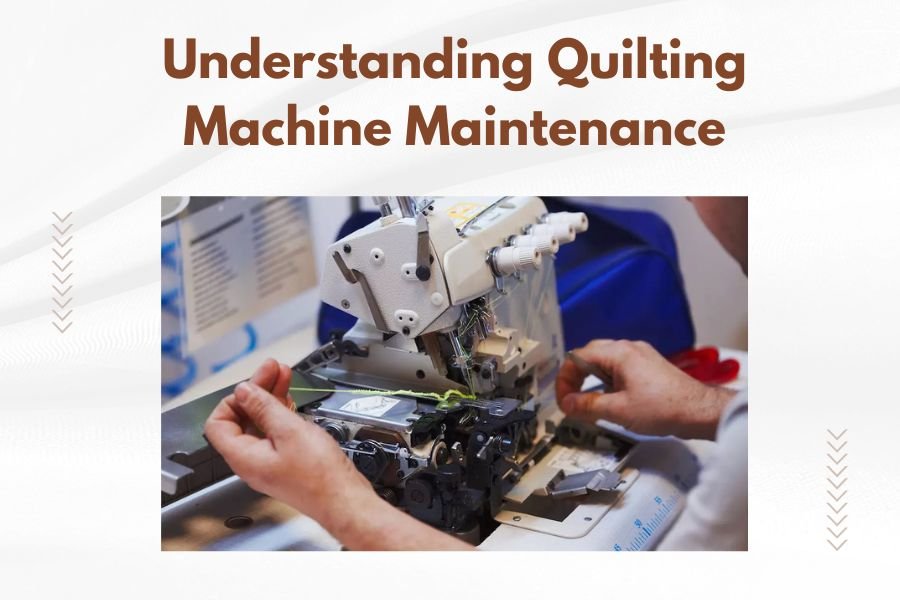
Quilting machine maintenance requires cleaning, oiling, and inspecting your equipment regularly to prevent costly breakdowns and ensure smooth stitching.
Most quilting machine issues stem from lack of basic maintenance, making routine care the key to extending your machine’s lifespan and maintaining stitch quality.
Why Regular Quilting Machine Maintenance Matters
Think of your quilting machine like a car. Skip the oil changes and tune-ups, and you’ll face expensive repairs down the road. The same applies to your quilting equipment.
I found that well-maintained quilting machines last 15-20 years on average. Neglected machines often break down within 5-7 years. That’s a huge difference in your investment return.
Regular maintenance prevents thread breaks, skipped stitches, and motor strain. You’ll spend less time troubleshooting and more time creating beautiful quilts.
Essential Maintenance Tools You Need
Before we jump into maintenance tasks, let’s gather your toolkit. You don’t need expensive equipment. Most items cost under $20 total.
- Soft-bristled brush or lint brush
- Compressed air canister
- High-quality sewing machine oil
- Small screwdriver set
- Clean, lint-free cloths
- Tweezers for removing stubborn threads
Choosing the Right Oil
Not all oils are created equal. Use only sewing machine oil, never household oils like WD-40 or cooking oil. These attract dirt and can damage your machine.
Many experts recommend synthetic sewing machine oils because they resist gumming and last longer than petroleum-based options.
Daily Maintenance Tasks
Your daily routine should take less than 5 minutes. These small steps prevent big problems later.
Clean the Bobbin Area
Remove the bobbin case after each quilting session. Use your brush to sweep out lint and thread bits. This simple step prevents 80% of tension issues.
Pay special attention to the race area where the bobbin case sits. Lint loves to hide there and cause timing problems.
Wipe Down the Machine
Use a dry cloth to remove dust from the machine surface. Dust can work its way into moving parts and cause wear.
Clean the needle area thoroughly. Thread fibers accumulate here and can affect stitch formation.
Check Thread Tension
Run your fingers along the thread path. Feel for snags or rough spots that might indicate worn guides or tension discs.
Weekly Maintenance Routine
Weekend maintenance takes 15-20 minutes but saves hours of frustration later.
Deep Clean the Feed System
Remove the throat plate if possible. Clean underneath with compressed air or a brush. This area collects surprising amounts of debris.
Check feed dogs for bent or damaged teeth. Damaged feed dogs cause uneven fabric movement and poor stitch quality.
Inspect Needles and Change When Needed
Look for bent, dull, or burred needles. A damaged needle can cause thread breaks, skipped stitches, and fabric damage.
Change needles every 8-10 hours of quilting time, or sooner if you notice problems. This simple swap solves many stitching issues.
Clean Thread Guides
Thread guides accumulate lint and thread residue. Clean them with a cotton swab dipped in rubbing alcohol.
Smooth thread guides mean smooth thread flow. Rough spots can shred thread and cause breaks.
Monthly Deep Maintenance
Once a month, give your machine some extra attention. This deeper cleaning prevents major issues.
Oil Moving Parts
Check your manual for oiling points. Most machines need oil on the hook race, needle bar, and other moving parts.
Use just one drop per point. Too much oil attracts dirt and can stain fabric. Think “less is more” when oiling.
Common Oiling Points
- Hook race mechanism
- Needle bar pivot points
- Thread take-up lever
- Bobbin winder mechanism
Check Belt Tension
If your machine has drive belts, check for proper tension. Loose belts slip and cause timing issues. Tight belts stress motors and bearings.
The belt should deflect about 1/2 inch when pressed with moderate finger pressure.
Test All Functions
Run through all machine functions monthly. Test different stitches, speeds, and features. Catching problems early prevents bigger repairs.
Seasonal Maintenance Tasks
Four times per year, perform these deeper maintenance tasks to keep your machine running smoothly.
Professional Tune-Up Consideration
Many quilters schedule professional service annually or bi-annually. Technicians can spot problems you might miss and perform adjustments requiring special tools.
I found online that professional servicing typically costs $75-150 but can prevent repairs costing $200-500.
Motor and Electrical Check
Listen to your motor during operation. Unusual noises, vibration, or overheating suggest problems needing professional attention.
Check electrical cords for damage, especially where they bend near the machine. Damaged cords are safety hazards.
Troubleshooting Common Issues
Even with good maintenance, problems sometimes occur. Here’s how to diagnose and fix common issues.
Thread Breaking Problems
Thread breaks frustrate everyone. The cause is usually simple to fix once you know what to look for.
Check These First
- Needle condition and size
- Thread quality and age
- Threading path correctness
- Tension settings
Old thread becomes brittle and breaks easily. Thread over 2-3 years old often causes problems, especially if stored in sunlight or heat.
Skipped Stitch Solutions
Skipped stitches usually indicate timing issues or needle problems. Try a new needle first – this solves the problem 70% of the time.
If needle changes don’t help, your machine may need professional timing adjustment. Don’t attempt this yourself unless you’re experienced with machine repair.
Tension Troubles
Tension problems show up as loose or tight stitches, puckering, or thread loops on fabric surfaces.
Start with thorough cleaning of the tension assembly. Lint and thread bits often cause erratic tension.
Storage and Environmental Care
Where and how you store your machine affects its longevity significantly.
Ideal Storage Conditions
Keep your machine in a clean, dry environment. Humidity causes rust and electrical problems. Extreme temperatures damage lubricants and plastics.
Cover your machine when not in use. Dust covers prevent debris accumulation and protect against accidental damage.
Moving Your Machine Safely
Always engage the hand wheel or needle position control before moving your machine. This prevents internal damage from jarring.
Remove loose parts like extension tables and accessories before transport. They can shift and cause damage during movement.
Warning Signs Requiring Professional Help
Some problems need professional attention. Don’t attempt these repairs yourself unless you have proper training and tools.
Timing Issues
If your needle hits the hook or bobbin case, stop using the machine immediately. Timing problems can cause expensive damage if ignored.
Timing adjustment requires special tools and expertise. Most home repairs make the problem worse.
Motor Problems
Unusual motor noises, overheating, or speed control issues need professional diagnosis. Electric motor repairs can be dangerous for untrained people.
Electronic Control Issues
Modern computerized quilting machines have complex electronic systems. Circuit board problems need factory-trained technicians.
Maintenance Schedule Reference
| Frequency | Tasks | Time Needed |
|---|---|---|
| Daily | Clean bobbin area, wipe down machine | 5 minutes |
| Weekly | Deep clean feed system, check needles | 15-20 minutes |
| Monthly | Oil moving parts, check belts | 30-45 minutes |
| Seasonally | Full inspection, consider professional service | 1-2 hours |
Cost-Effective Maintenance Tips
Good maintenance doesn’t have to break the bank. Here are ways to keep costs down while maintaining quality care.
Buy Quality Tools Once
Invest in good brushes, oil, and basic tools. Cheap tools often damage machines or wear out quickly.
A $15 quality brush lasts years and cleans better than multiple cheap brushes.
Learn Basic Repairs
Simple tasks like changing needles, adjusting tension, and basic cleaning save service call fees.
Many manufacturers offer free online tutorials and maintenance guides. These resources help you become more self-sufficient.
Conclusion
Quilting machine maintenance isn’t complicated, but it requires consistency. Daily cleaning, weekly inspections, and monthly deeper care will keep your machine running smoothly for years.
Remember that prevention costs far less than repair. The few minutes you spend on maintenance each day prevent hours of frustration and expensive service calls.
Your quilting machine is an investment in your creativity. Treat it well, and it will reward you with years of trouble-free quilting enjoyment.
What’s the most important maintenance task for quilting machines?
Daily cleaning of the bobbin area is the most critical task. This simple 2-minute routine prevents 80% of common quilting machine problems including thread breaks, tension issues, and timing problems.
How often should I oil my quilting machine?
Oil your quilting machine monthly or after every 40-50 hours of use, whichever comes first. Use only high-quality sewing machine oil and apply just one drop per oiling point as specified in your manual.
Can I use household oils like WD-40 on my sewing machine?
Never use household oils, WD-40, or cooking oils on your quilting machine. These products attract dirt, become gummy over time, and can damage precision parts. Only use oil specifically designed for sewing machines.
When should I replace my quilting machine needle?
Change your quilting machine needle every 8-10 hours of quilting time or immediately if you notice thread breaks, skipped stitches, or fabric snagging. A fresh needle solves 70% of common stitching problems.
How do I know if my quilting machine needs professional service?
Schedule professional service if you experience timing issues, unusual motor noises, overheating, or electronic malfunctions. Also consider annual professional maintenance to catch problems early and keep warranties valid.