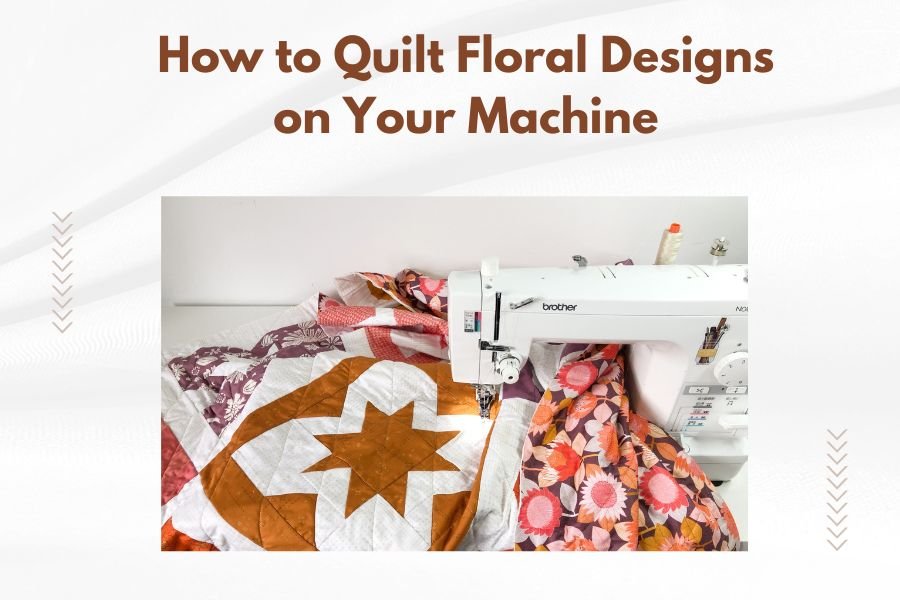
Machine quilting floral designs requires setting up your machine with the right foot, adjusting tension to medium, and using coordinating thread colors that complement your fabric choice.
You can quilt beautiful flowers using free-motion techniques, built-in decorative stitches, or simple straight-line methods that create petals, leaves, and stems with professional results.
Essential Machine Setup for Floral Quilting
Getting your machine ready makes all the difference. You need the right tools before you start stitching those pretty petals.
Choosing the Right Presser Foot
Free-motion quilting foot works best for organic floral shapes. This foot lets you move fabric in any direction. Your feed dogs should be lowered or covered.
Walking foot helps for straight-line flower designs. Use this when quilting geometric petals or structured leaf patterns.
Thread Selection That Makes Flowers Pop
Cotton thread gives clean, crisp lines for traditional flowers. Polyester thread adds slight sheen that mimics real petal texture.
Variegated thread creates natural color changes within each flower. Pick colors that blend with your fabric background.
Top Thread vs Bobbin Thread Colors
Match your top and bobbin threads for consistent color on both quilt sides. Use contrasting bobbin thread only if you want different colors showing through.
Tension and Stitch Length Settings
Set tension between 3-4 for most floral quilting. Too tight creates puckering. Too loose makes messy stitches.
Stitch length depends on your design. Short stitches (1-2mm) work for detailed petals. Longer stitches (3-4mm) suit bold, simple flowers.
Planning Your Floral Design Layout
Smart planning saves time and prevents mistakes. Think of your quilt like a garden that needs good design flow.
Marking Your Design on Fabric
Water-soluble pens work great for light fabrics. Heat-erasable pens suit darker materials. Test markers on fabric scraps first.
Stencils help create consistent flower shapes. You can buy ready-made stencils or make your own from cardboard.
Creating Balance Across Your Quilt
Place larger flowers as focal points first. Fill in with smaller blooms and leaves. This creates natural visual flow.
Odd numbers look more natural than even groupings. Three roses look better than two or four.
Spacing Considerations
Leave enough space between flowers for quilting movement. Crowded designs become hard to stitch smoothly.
Plan your stitching path to minimize thread cuts. You can often connect flowers with vine-like lines.
Free-Motion Floral Quilting Techniques
Free-motion quilting gives you the most creative freedom. Your hands guide the fabric while the needle does its work.
Basic Rose Quilting Method
Start from the center and spiral outward. Keep your movements smooth and steady. Think of drawing with thread instead of pencil.
Make 3-4 spirals for a full rose shape. Vary the spiral size for different rose varieties.
Adding Rose Leaves
Quilt leaves in teardrop shapes extending from rose base. Add a center vein line for realistic detail.
Simple Daisy Patterns
Create petals using elongated oval shapes radiating from center. Make 5-8 petals depending on daisy size you want.
Fill the center with small stippling or tiny circles. This adds texture contrast to smooth petals.
Connecting Multiple Daisies
Link flowers with curved stem lines. Add small leaves along stems for fuller look.
Vine and Leaf Combinations
Curved vines connect different floral elements naturally. Vary vine thickness by changing your movement speed.
Quilt leaves in pairs along vines. Alternate leaf directions for realistic growth patterns.
Using Built-in Decorative Stitches
Many modern machines have flower stitches built right in. These create consistent results with less skill needed.
Selecting Appropriate Stitch Patterns
Look for stitches labeled as floral, nature, or decorative. Test each stitch on fabric scraps first.
Adjust stitch width and length to fit your quilt scale. Larger quilts need bigger stitches to show up well.
Combining Different Decorative Stitches
Mix flower stitches with leaf patterns for complete designs. Use straight stitches for stems between decorative elements.
Creating Borders with Floral Stitches
Decorative stitches work great for quilt borders. Choose repeating patterns that match your main design theme.
Corner treatments need special planning. Stop and pivot carefully or use mitered corner techniques.
Straight-Line Floral Approaches
You don’t need curves to make beautiful flowers. Geometric approaches create modern, stylized blooms.
Geometric Petal Designs
Triangle petals create contemporary flower looks. Quilt 6-8 triangles pointing outward from center.
Diamond shapes work well for abstract flowers. Layer different sized diamonds for depth.
Grid-Based Flower Patterns
Use your quilting ruler to create structured floral grids. This approach suits modern quilt styles perfectly.
Echo Quilting Around Applique Flowers
If you have applique flowers, echo quilt around them. Create concentric lines that follow flower shapes.
Space echo lines 1/4 to 1/2 inch apart. This creates gentle ripple effects that highlight your flowers.
Common Troubleshooting Issues
Even experienced quilters face challenges. Here are solutions for typical problems.
Thread Breaking Problems
Old thread breaks more often than fresh thread. Replace thread that’s been sitting around for years.
Check your needle size matches your thread weight. Heavy threads need larger needles.
Tension-Related Issues
Loops on top mean bobbin tension is too loose or top tension too tight. Adjust gradually.
Tight, puckered fabric usually means tension is too tight on top thread.
Uneven Stitch Quality
Inconsistent speed creates uneven stitches in free-motion work. Practice steady movement on scraps first.
Clean lint from your machine regularly. Built-up lint affects stitch formation.
Finishing Touches for Professional Results
Small details make big differences in your final appearance.
Securing Thread Ends
Pull threads to quilt back and tie small knots. Bury knots in batting layer.
Thread burrying tools make this job easier and neater.
Pressing Considerations
Press gently after quilting to avoid flattening your beautiful texture. Use pressing cloth if needed.
| Floral Design Type | Skill Level | Best Machine Foot | Time Required |
|---|---|---|---|
| Built-in decorative stitches | Beginner | Standard presser foot | 30-60 minutes |
| Straight-line geometric flowers | Beginner-Intermediate | Walking foot | 1-2 hours |
| Free-motion roses | Intermediate | Free-motion foot | 2-4 hours |
| Complex vine patterns | Advanced | Free-motion foot | 4-8 hours |
Practice Projects for Skill Building
Start small and build your confidence with manageable projects.
Quilted Placemats
Single flowers on placemats let you practice without big commitment. Make a set with different flower types.
Table Runner Designs
Long table runners work perfectly for vine patterns with scattered blooms. This teaches you design flow.
Small Wall Hangings
Create seasonal floral wall quilts for practice. Spring flowers, summer gardens, fall leaves all make great subjects.
Conclusion
Machine quilting floral designs opens up a world of creative possibilities for your quilting projects. Whether you choose free-motion techniques, built-in decorative stitches, or geometric approaches, each method offers unique ways to bring nature’s beauty into your quilts. Start with simple designs and gradually work up to more complex patterns as your skills develop.
Remember that practice makes progress, not perfection. Each flower you quilt teaches you something new about tension, speed, and design flow. Your quilting machine is ready to help you create stunning floral masterpieces that will be treasured for years to come.
How do I prevent fabric puckering when quilting flowers?
Use a quilting hoop or frame to keep fabric taut, adjust your machine tension to medium settings, and maintain consistent stitching speed throughout your design.
What’s the best thread weight for machine quilting floral designs?
40-weight cotton or polyester thread works best for most floral quilting, providing good coverage without being too heavy or creating bulk in detailed areas.
Can I quilt flowers on thick batting?
Yes, but use a larger needle (size 90/14 or 100/16) and adjust your presser foot pressure to accommodate the extra thickness while maintaining smooth fabric movement.
How do I plan flower placement on large quilts?
Start by marking major focal points first, then fill in with smaller elements, working from the center outward to maintain balanced design distribution across the entire quilt surface.
Should I use the same color thread for all parts of my floral design?
Not necessarily – using different colored threads for petals, leaves, and stems creates more realistic and visually interesting results, but keep colors within the same tone family for cohesion.